How can I create a website using the website builder?
Thanks to the Tools tab, you can access the website builder, where you can create a new website or edit an existing one.
Building a website
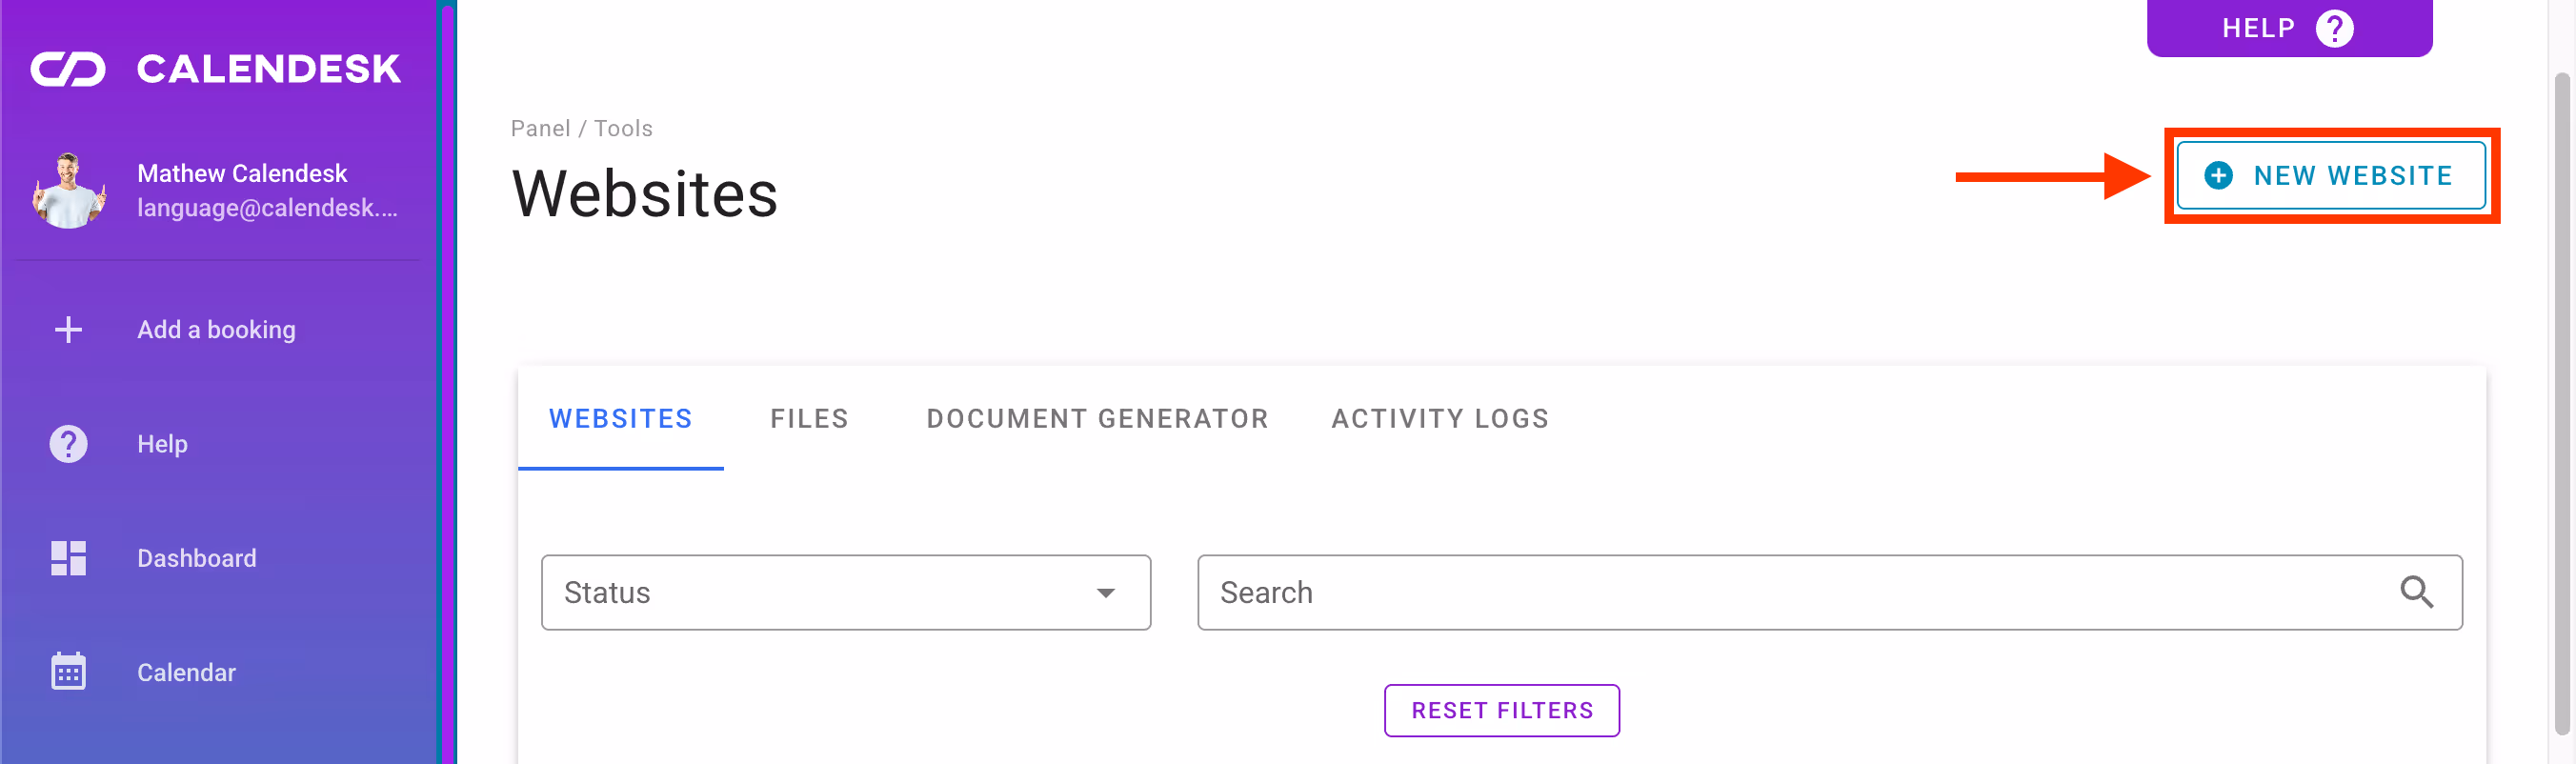
If you want to create a new website, go to the Tools – Websites tab.
There, you will find buttons for Add Website or New Website to start building your site.
At the template name level, you can see the status of the website.
- If the website is published, it means it is available to your customers at the URL specified in the Domain column.
- An additional piece of information visible here is the Main Website label.
- Customers will be redirected to the Main Website if, for example, they reschedule an appointment or cancel a booking.

Disabling and Editing a Website
If you wish, you can disable your website (making it inaccessible online when entering the URL in a web browser) or edit it.
Both actions can be performed by clicking the three-dot menu next to the template name and then selecting either Edit or Disable.
In this menu, you can also rename the template.
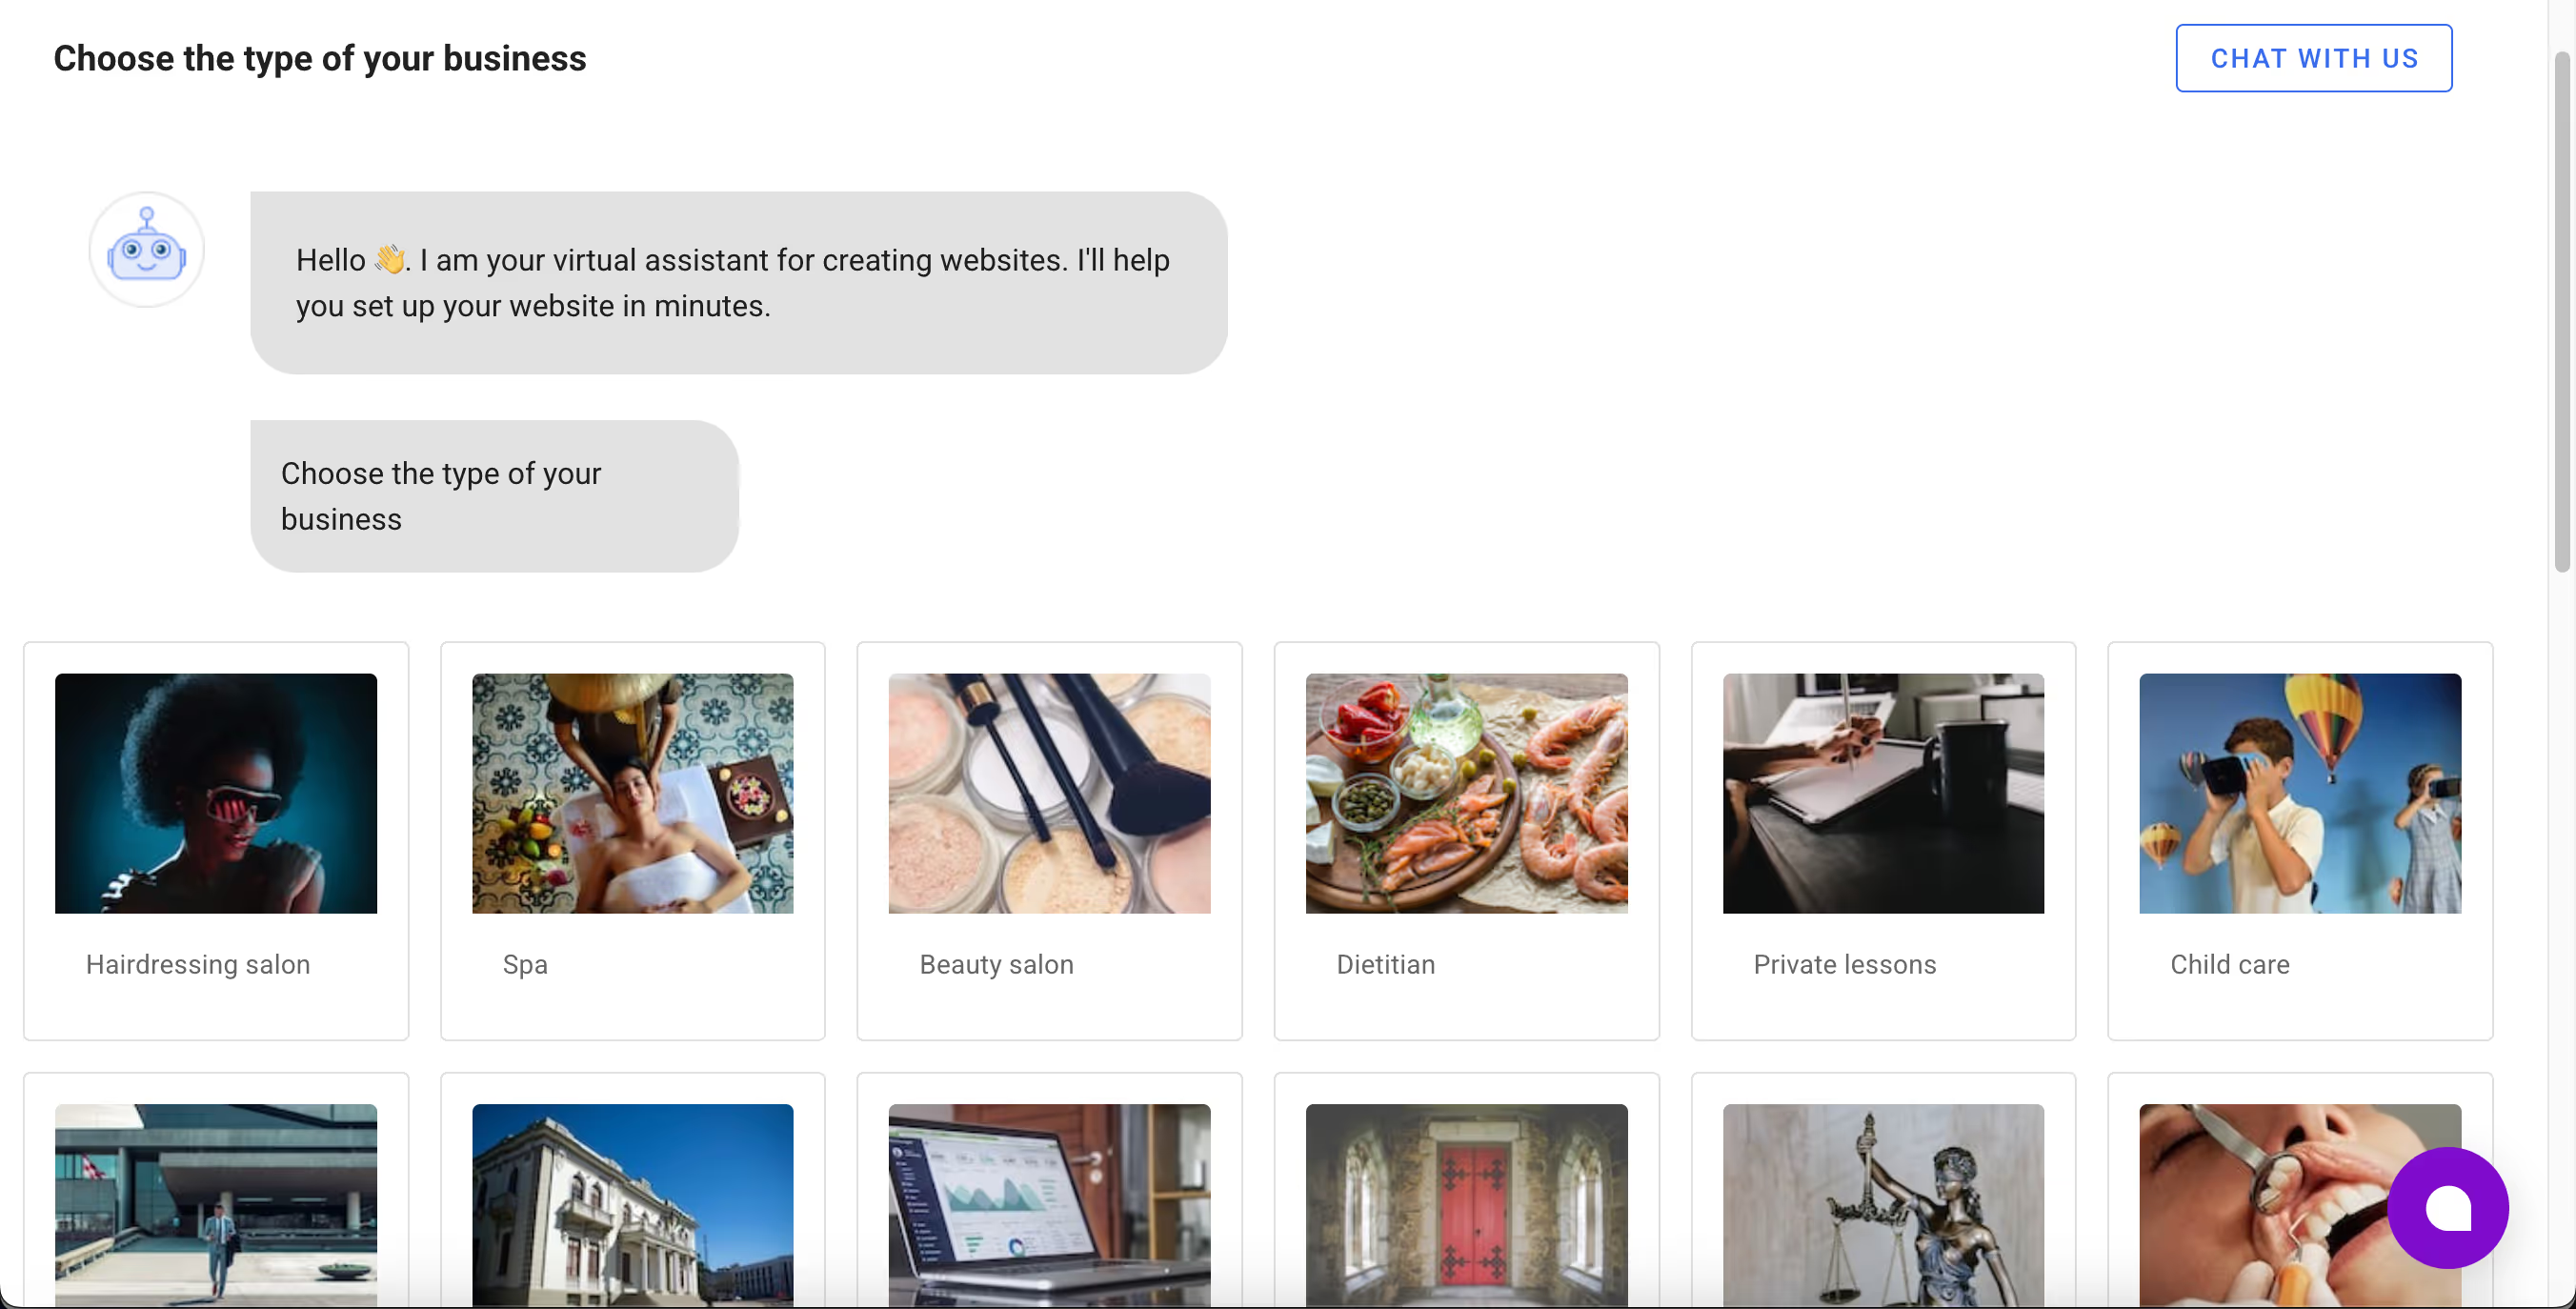
Your Business
By selecting the Create Website button, you will see a screen where you need to choose one of the suggested tiles representing the type of business you run.
Of course, not every business type is listed, so at the end of the suggested templates, you will find an Other option.
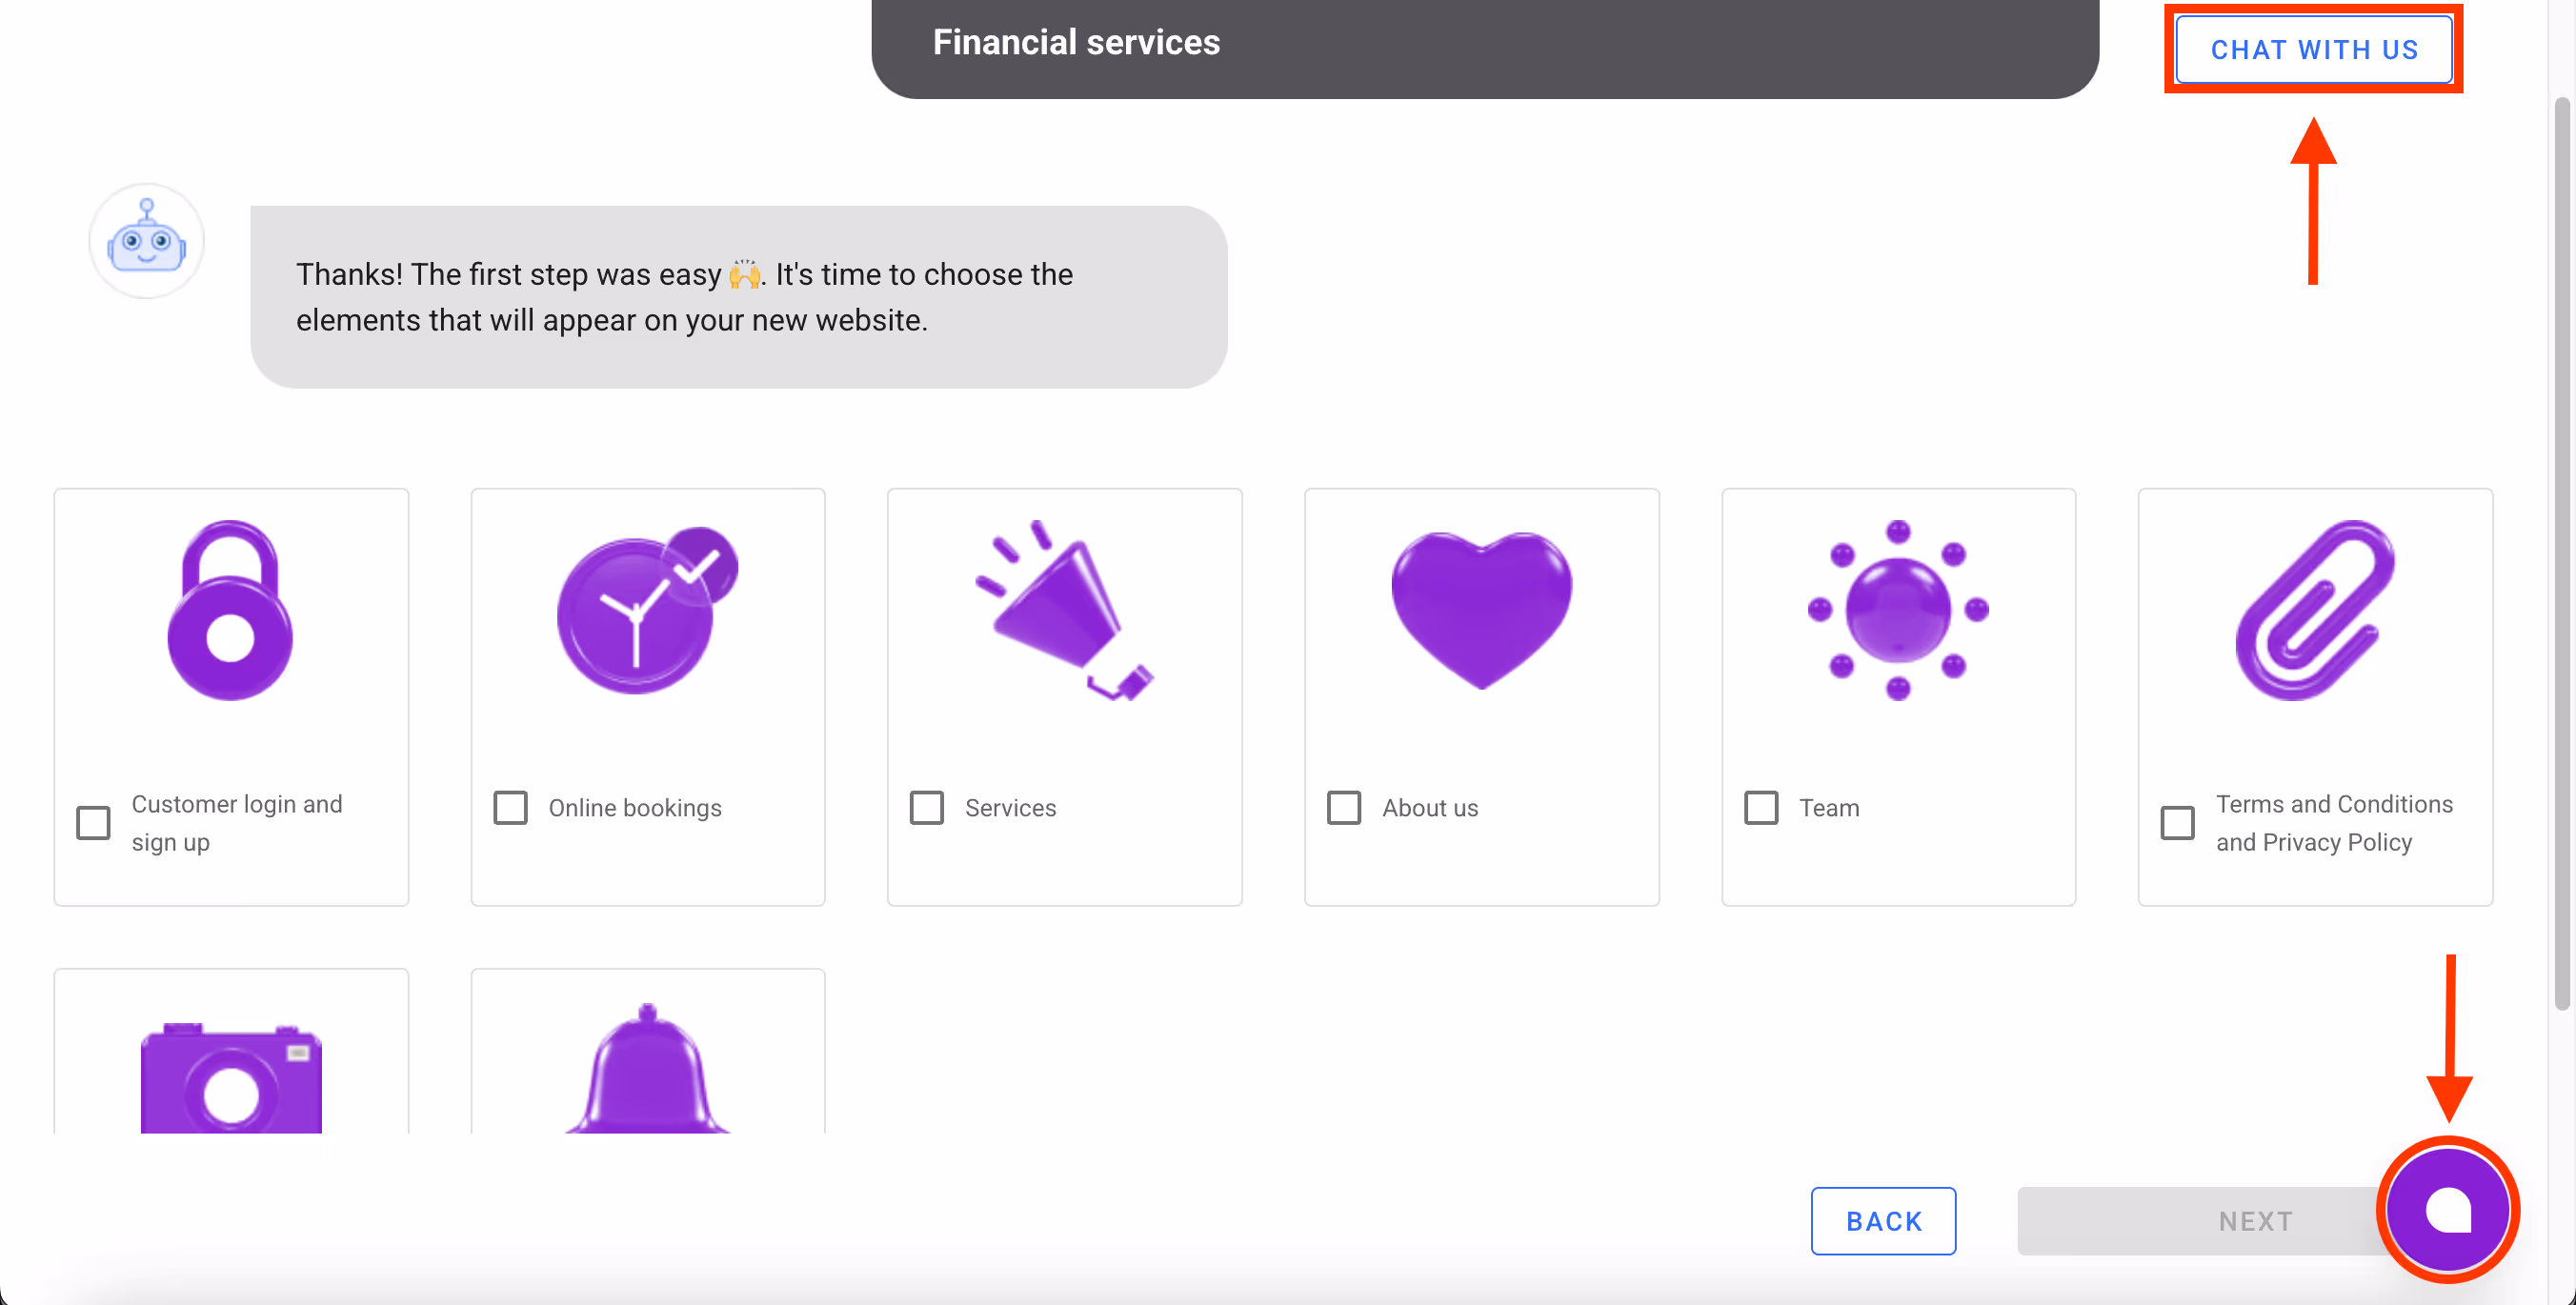
Elements on Your Website
After selecting a business type, proceed to the next step – choosing the elements. The selected elements will appear on your website.
Remember, if necessary, you can use the assistance of our consultants. To do so, click the Chat with Support button or the purple speech bubble located at the bottom right corner of the browser.
Additionally, you can return to the previous step (business selection) by clicking the Back button. When you click Next, the browser will redirect you to the following step.
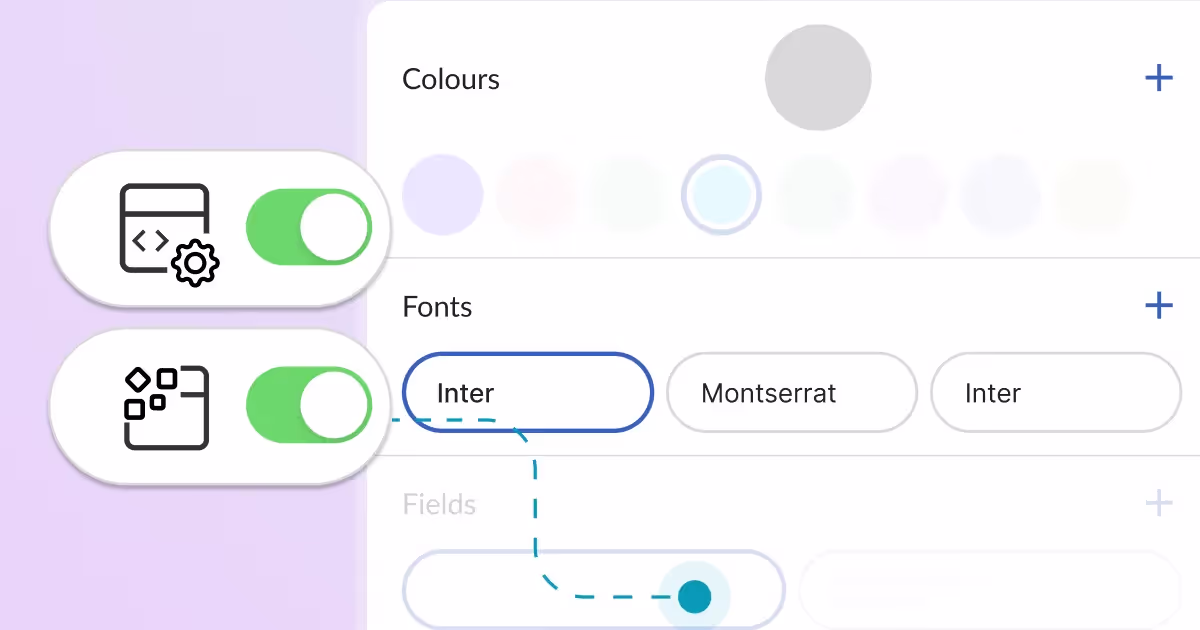
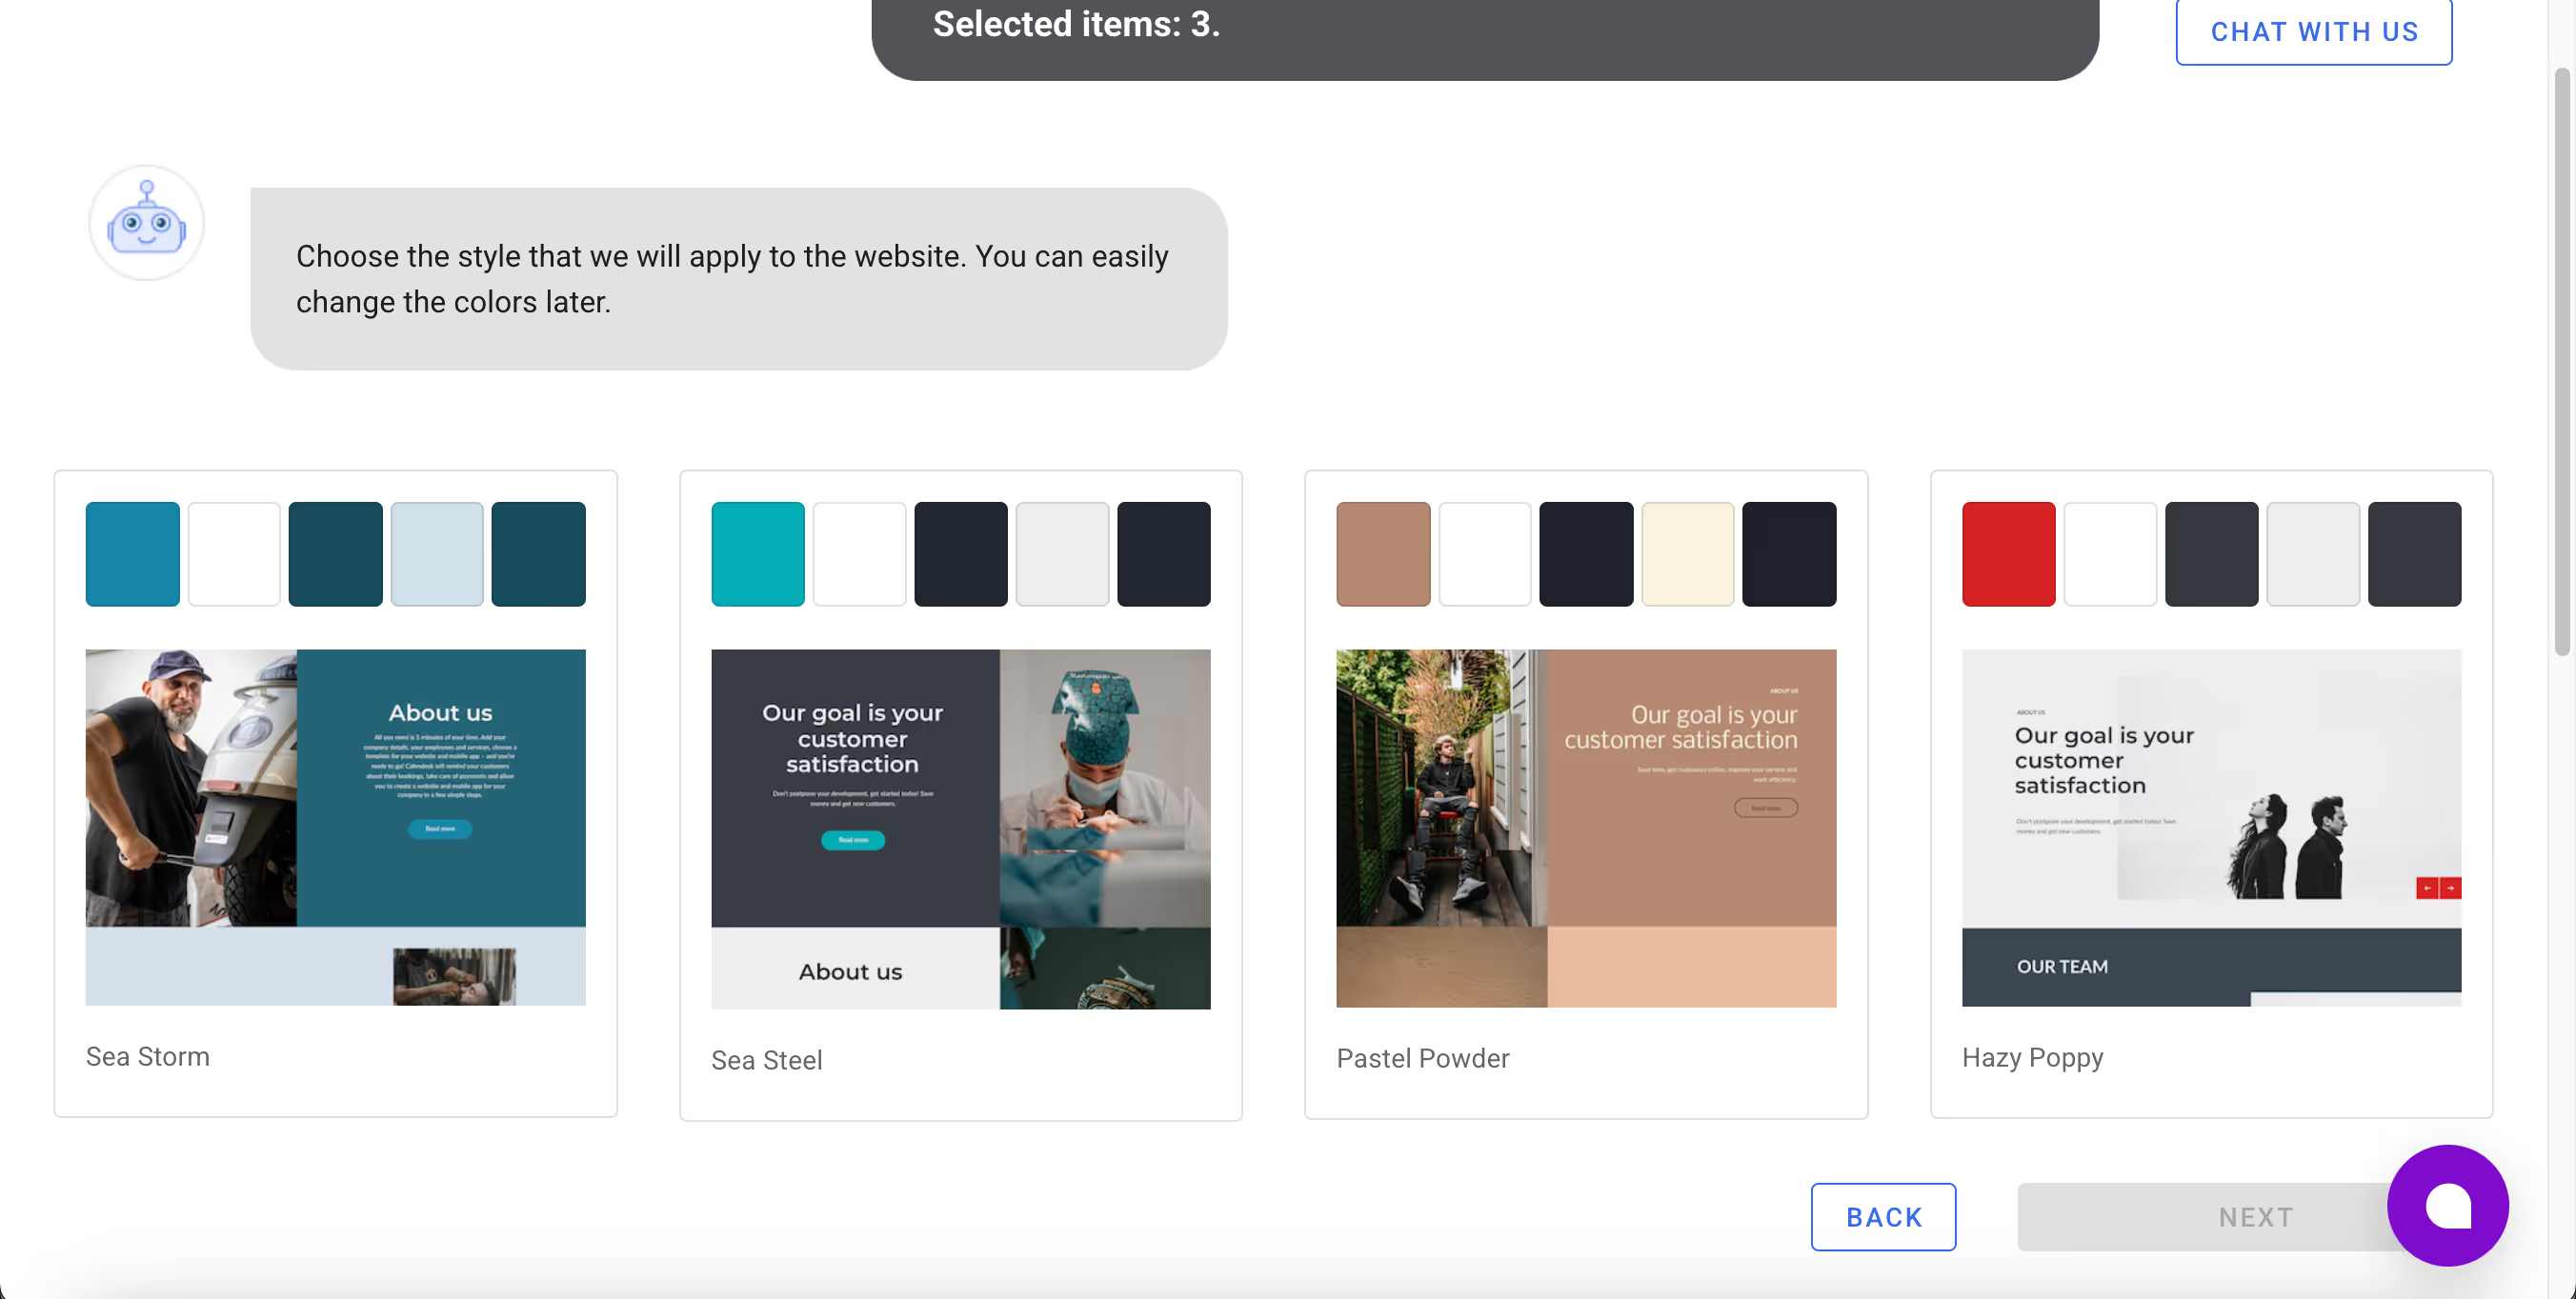
Your Style
The next step is to choose the style (colour scheme) for your website. Once you have selected your preferred option, click the Next button. Your website is almost ready!
Now, all you need to do is give your website a name. This name will only be visible to you in the admin panel.
Your Website
We have just walked you through the step-by-step process of building a website using the Calendesk website builder. The website builder and admin panel configuration allow you to create a modern website effortlessly and in a very short time.
The website you created must be published to be accessible to your customers. To publish your website, click the Publish button located in the top right corner of the builder.
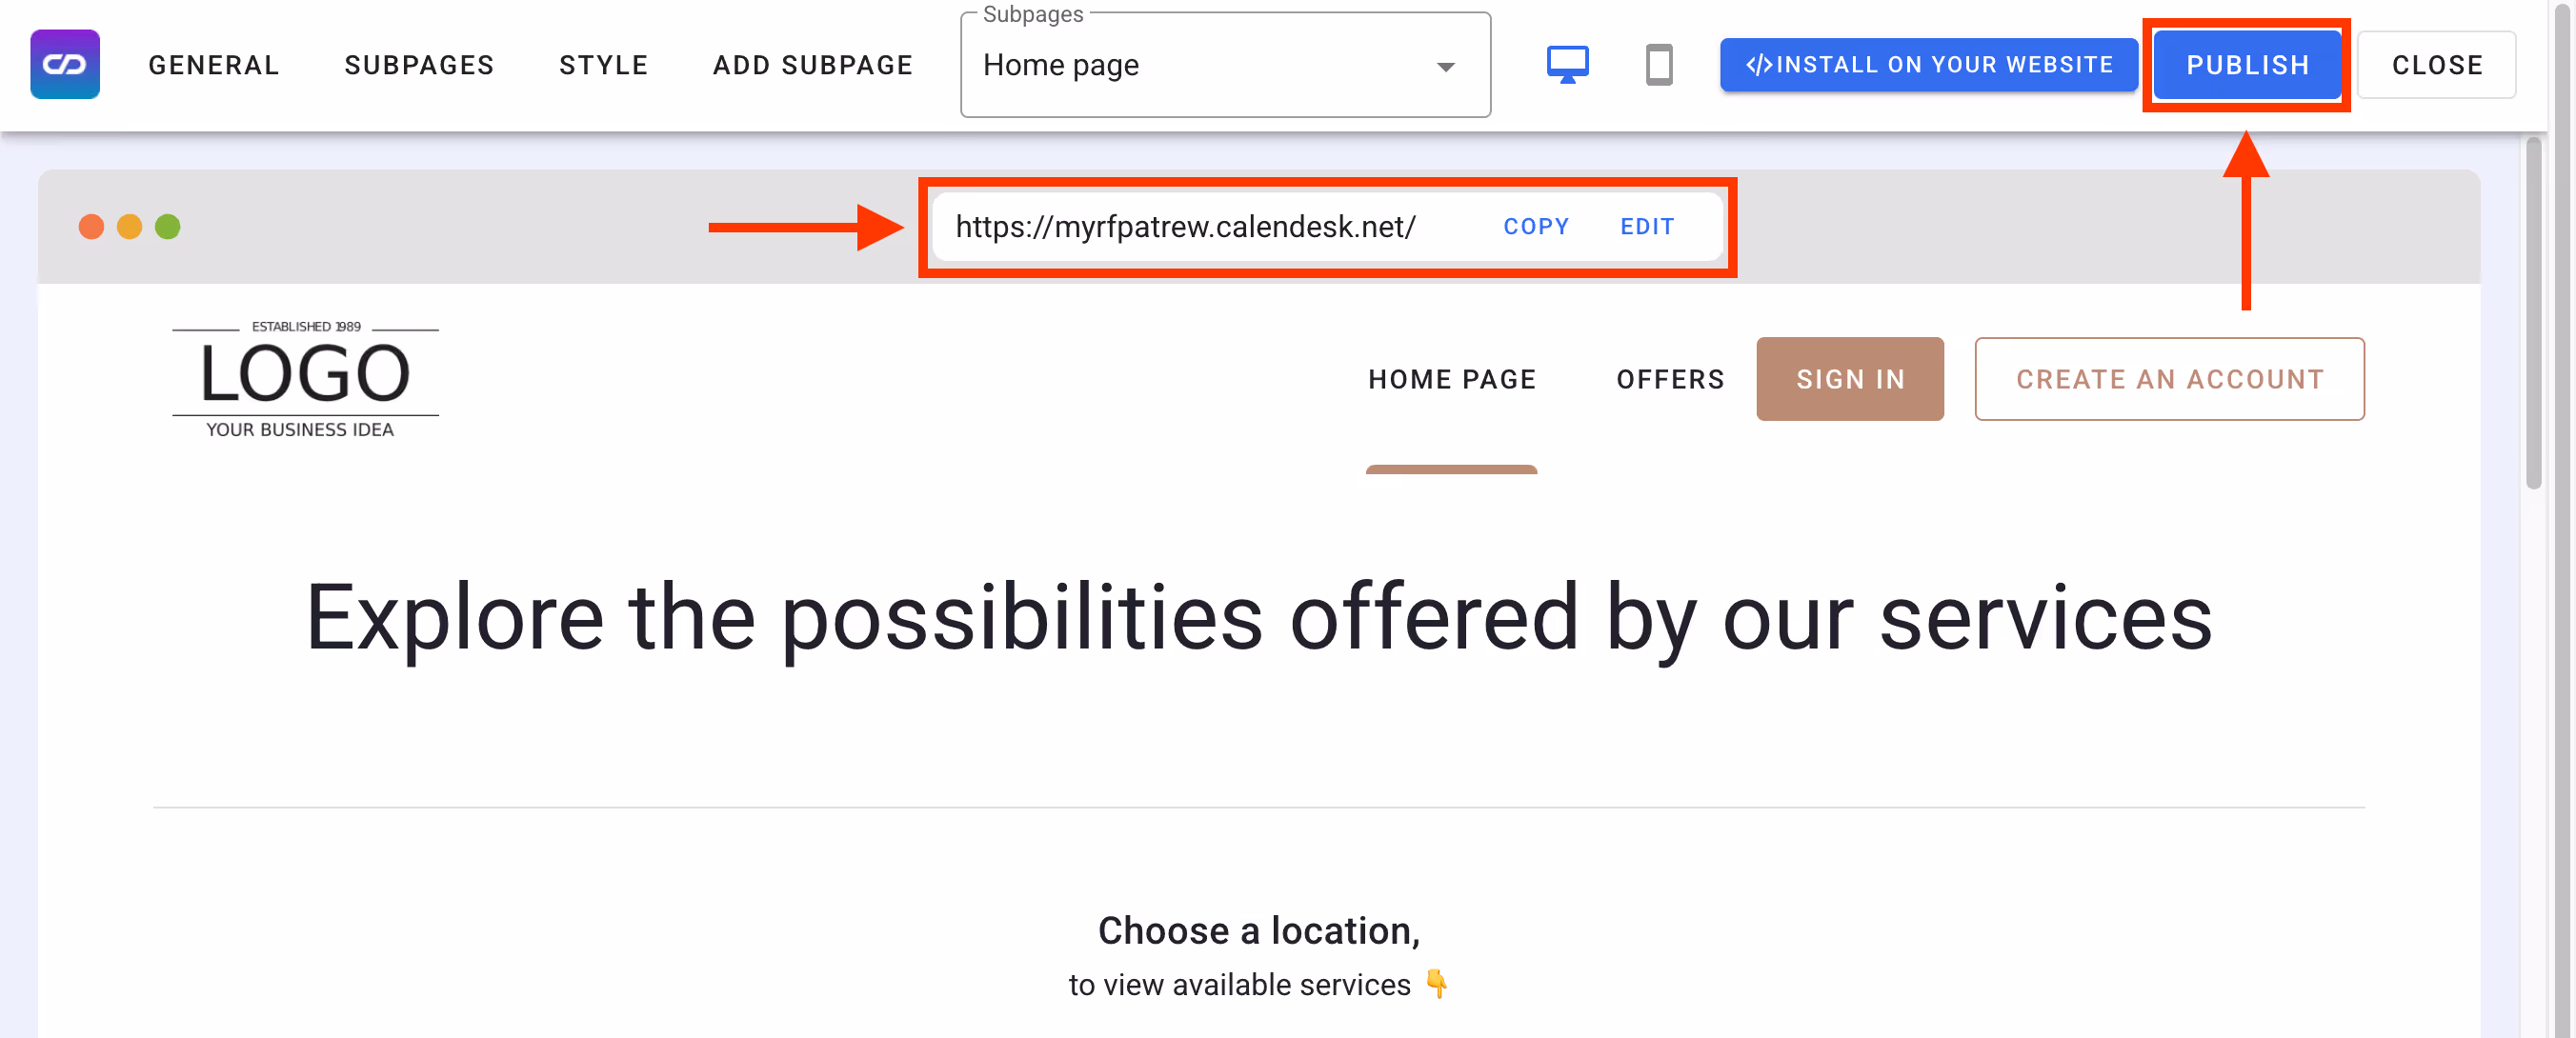
In the image above, you will find the location where the URL of your website is displayed. If you wish, you can edit it. In the free version, you can assign an address that will include the calendesk.net domain. This is called a subdomain. If you'd like, you can connect your own domain. You can read about how to connect it in the article. How to set your custom domain for your website?
We have just shown you how to create a modern website using the Calendesk website builder. To learn how to edit the template prepared for you, please proceed to the next article – How can I personalize a website?