How can I upload, edit, and use pictures?
In this article, you will learn everything about adding and editing files – schedules that you upload to enhance the aesthetic value of your website/calendar.
Adding files
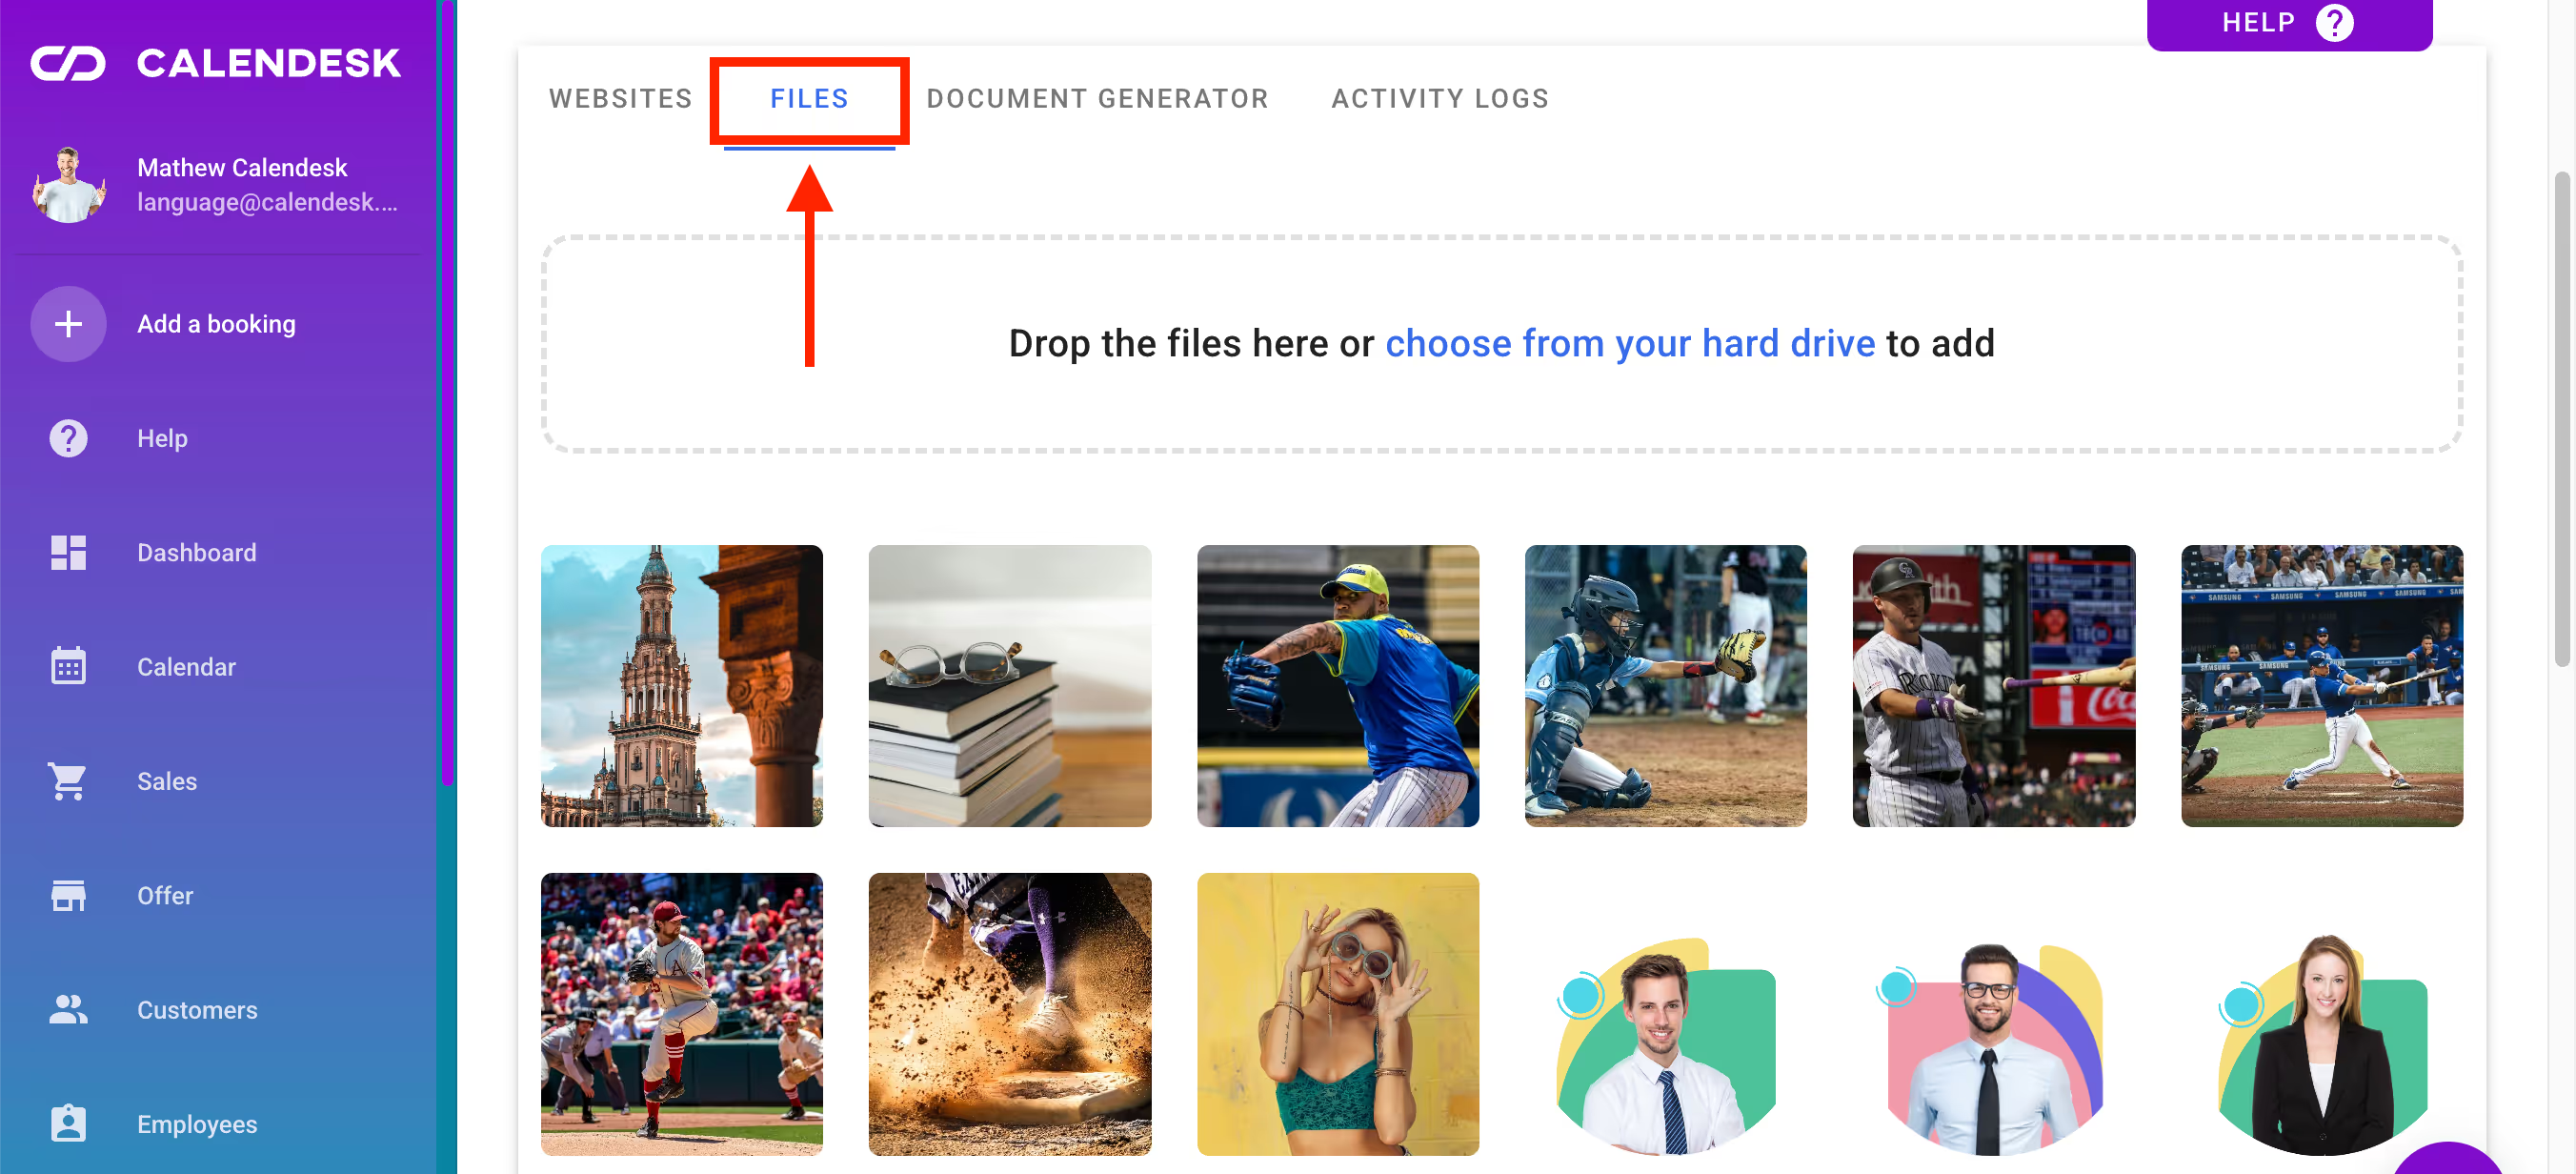
You can add files in several ways. If you wish, you can open the Tools – Files tab and then click the Choose from your hard drive link. Calendesk will immediately open a window that allows you to add files previously saved on your computer.

Another way to add images is by adding them directly from the section of the website to which they belong.
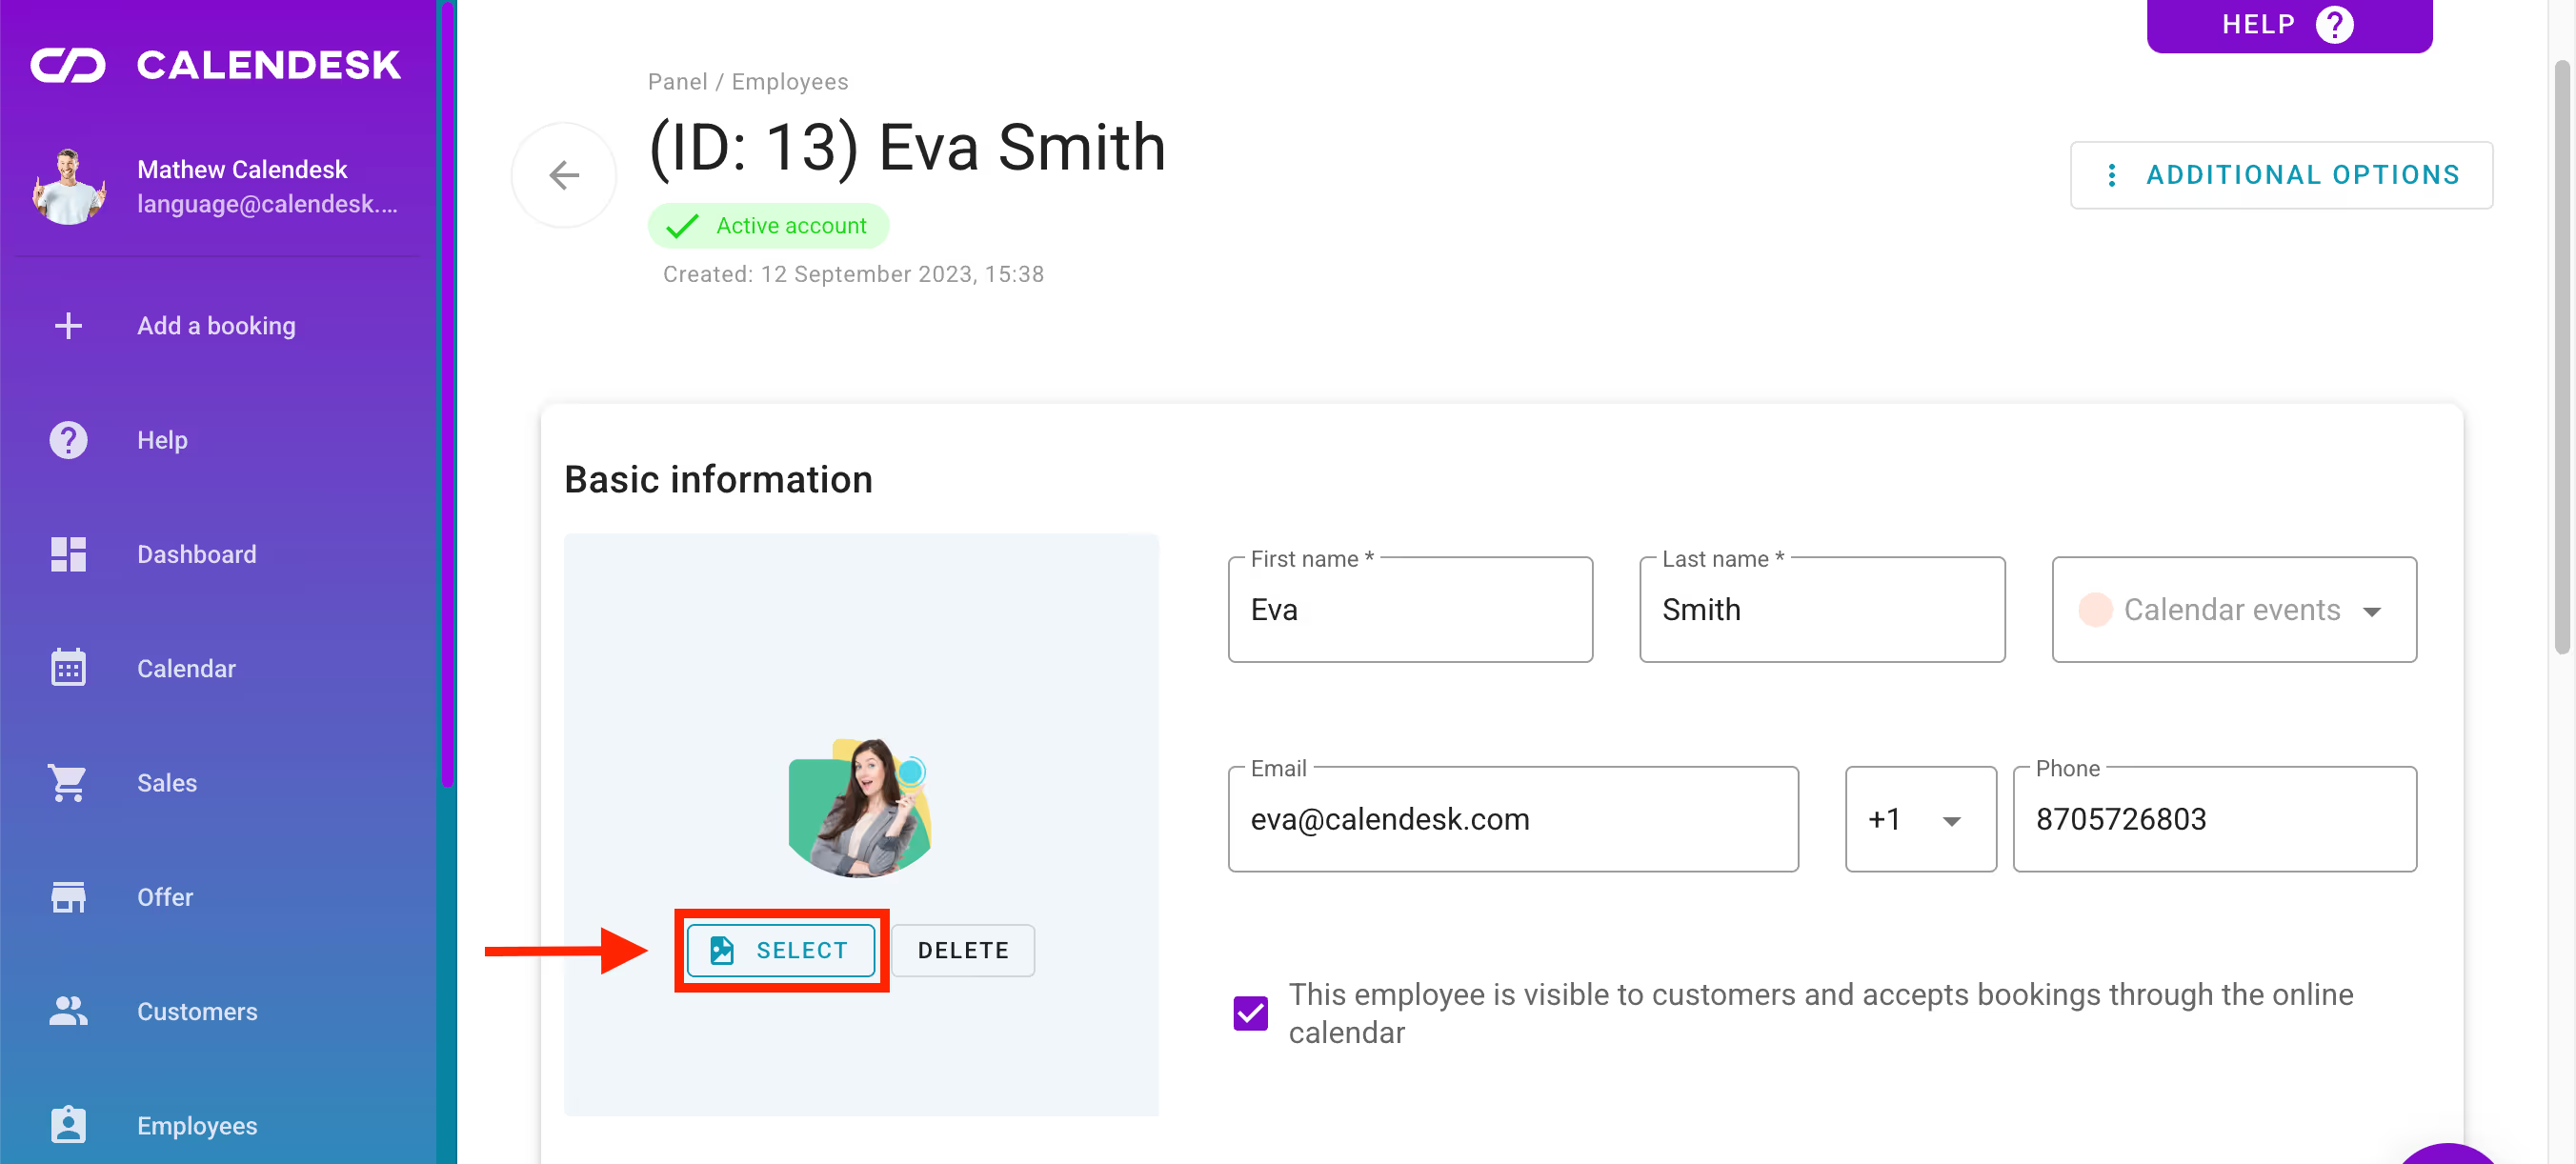
If you are at the stage of adding employees, go to the Employees tab and then click the Select button.
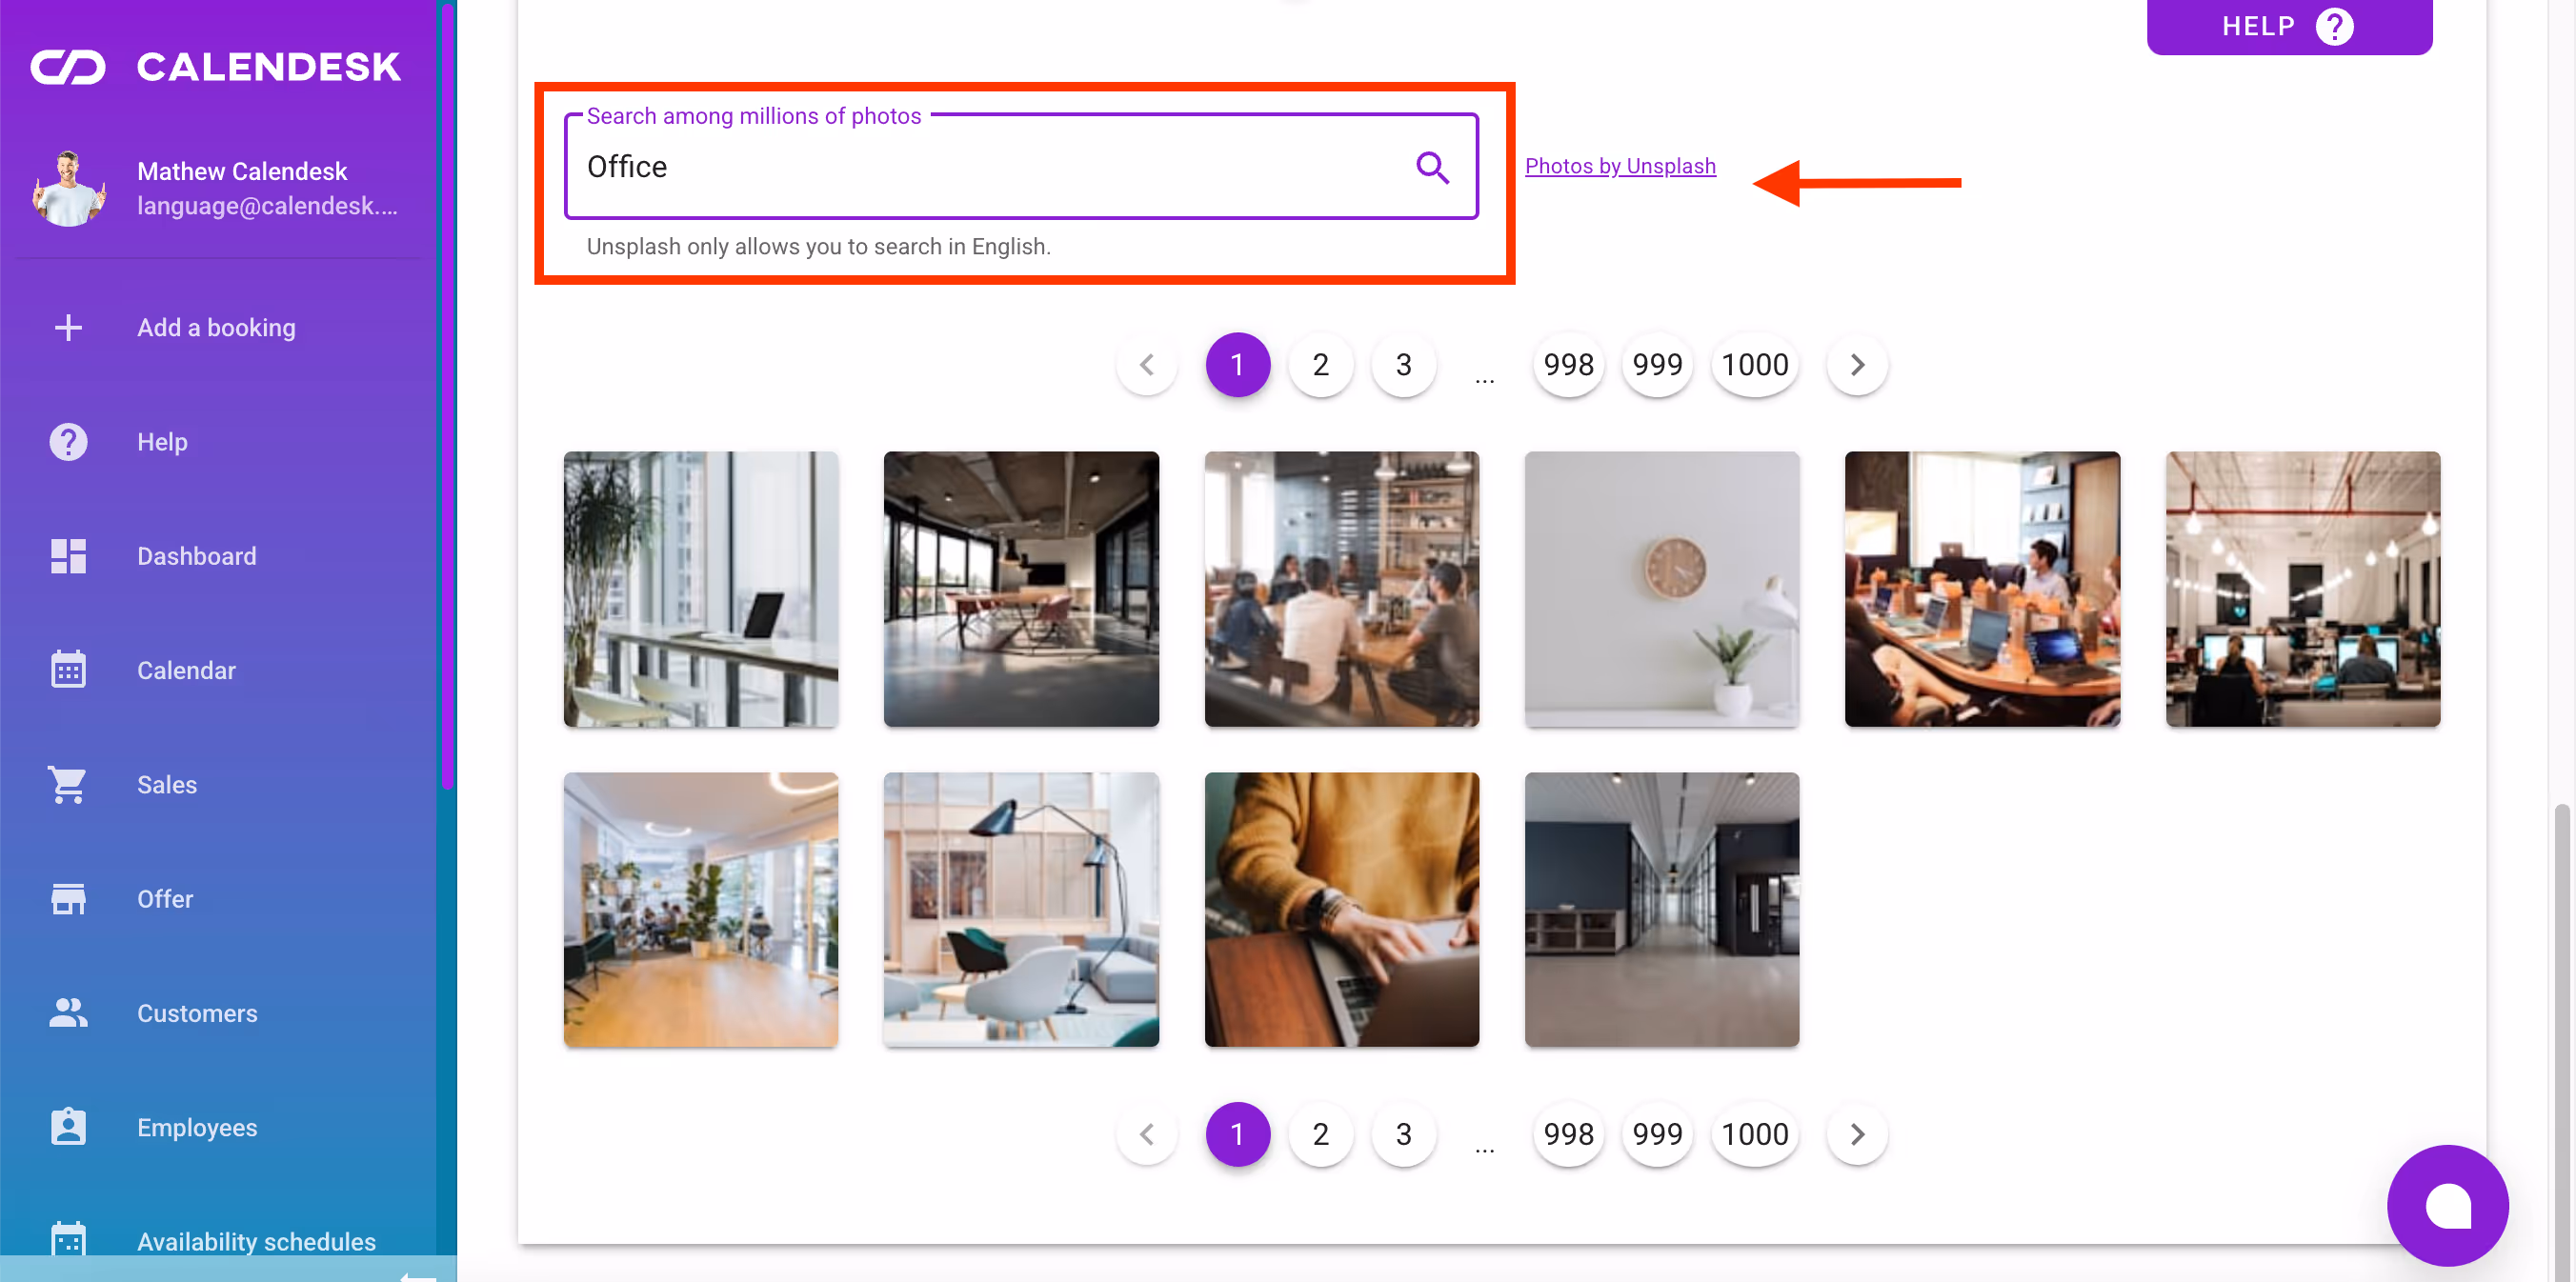
Adding files is possible thanks to our platform's integration with the Unsplash library. Using the search engine located in the Tools – Files tab, after clicking the Tools option in the main panel of the Calendesk system, you can download photos directly to the Calendesk platform without the need to first download them to your computer.
File editing
After selecting this button, you will be directed to a window where you can choose the image that fits the specific employee. The images can be slightly modified using the tool integrated within the Calendesk platform. In this section, you can:
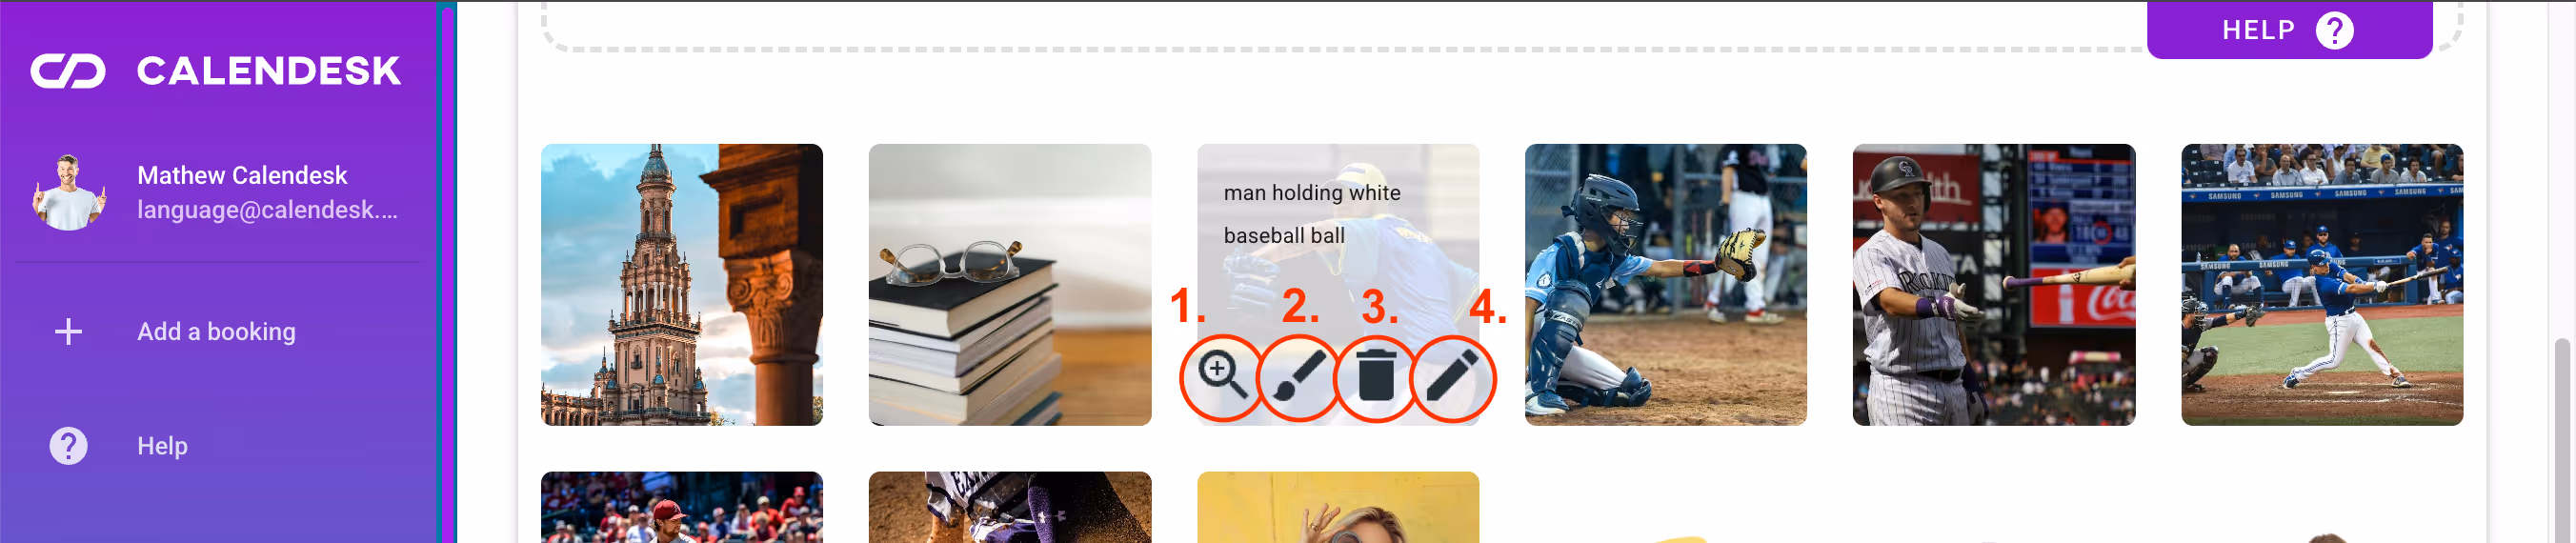
- Zoom in on the image for a better preview,
- Edit (crop) the image,
- Delete the selected image,
- Edit the image name.
Editing – cropping an image involves adjusting its size to centre the elements of the image that you want to be visible.
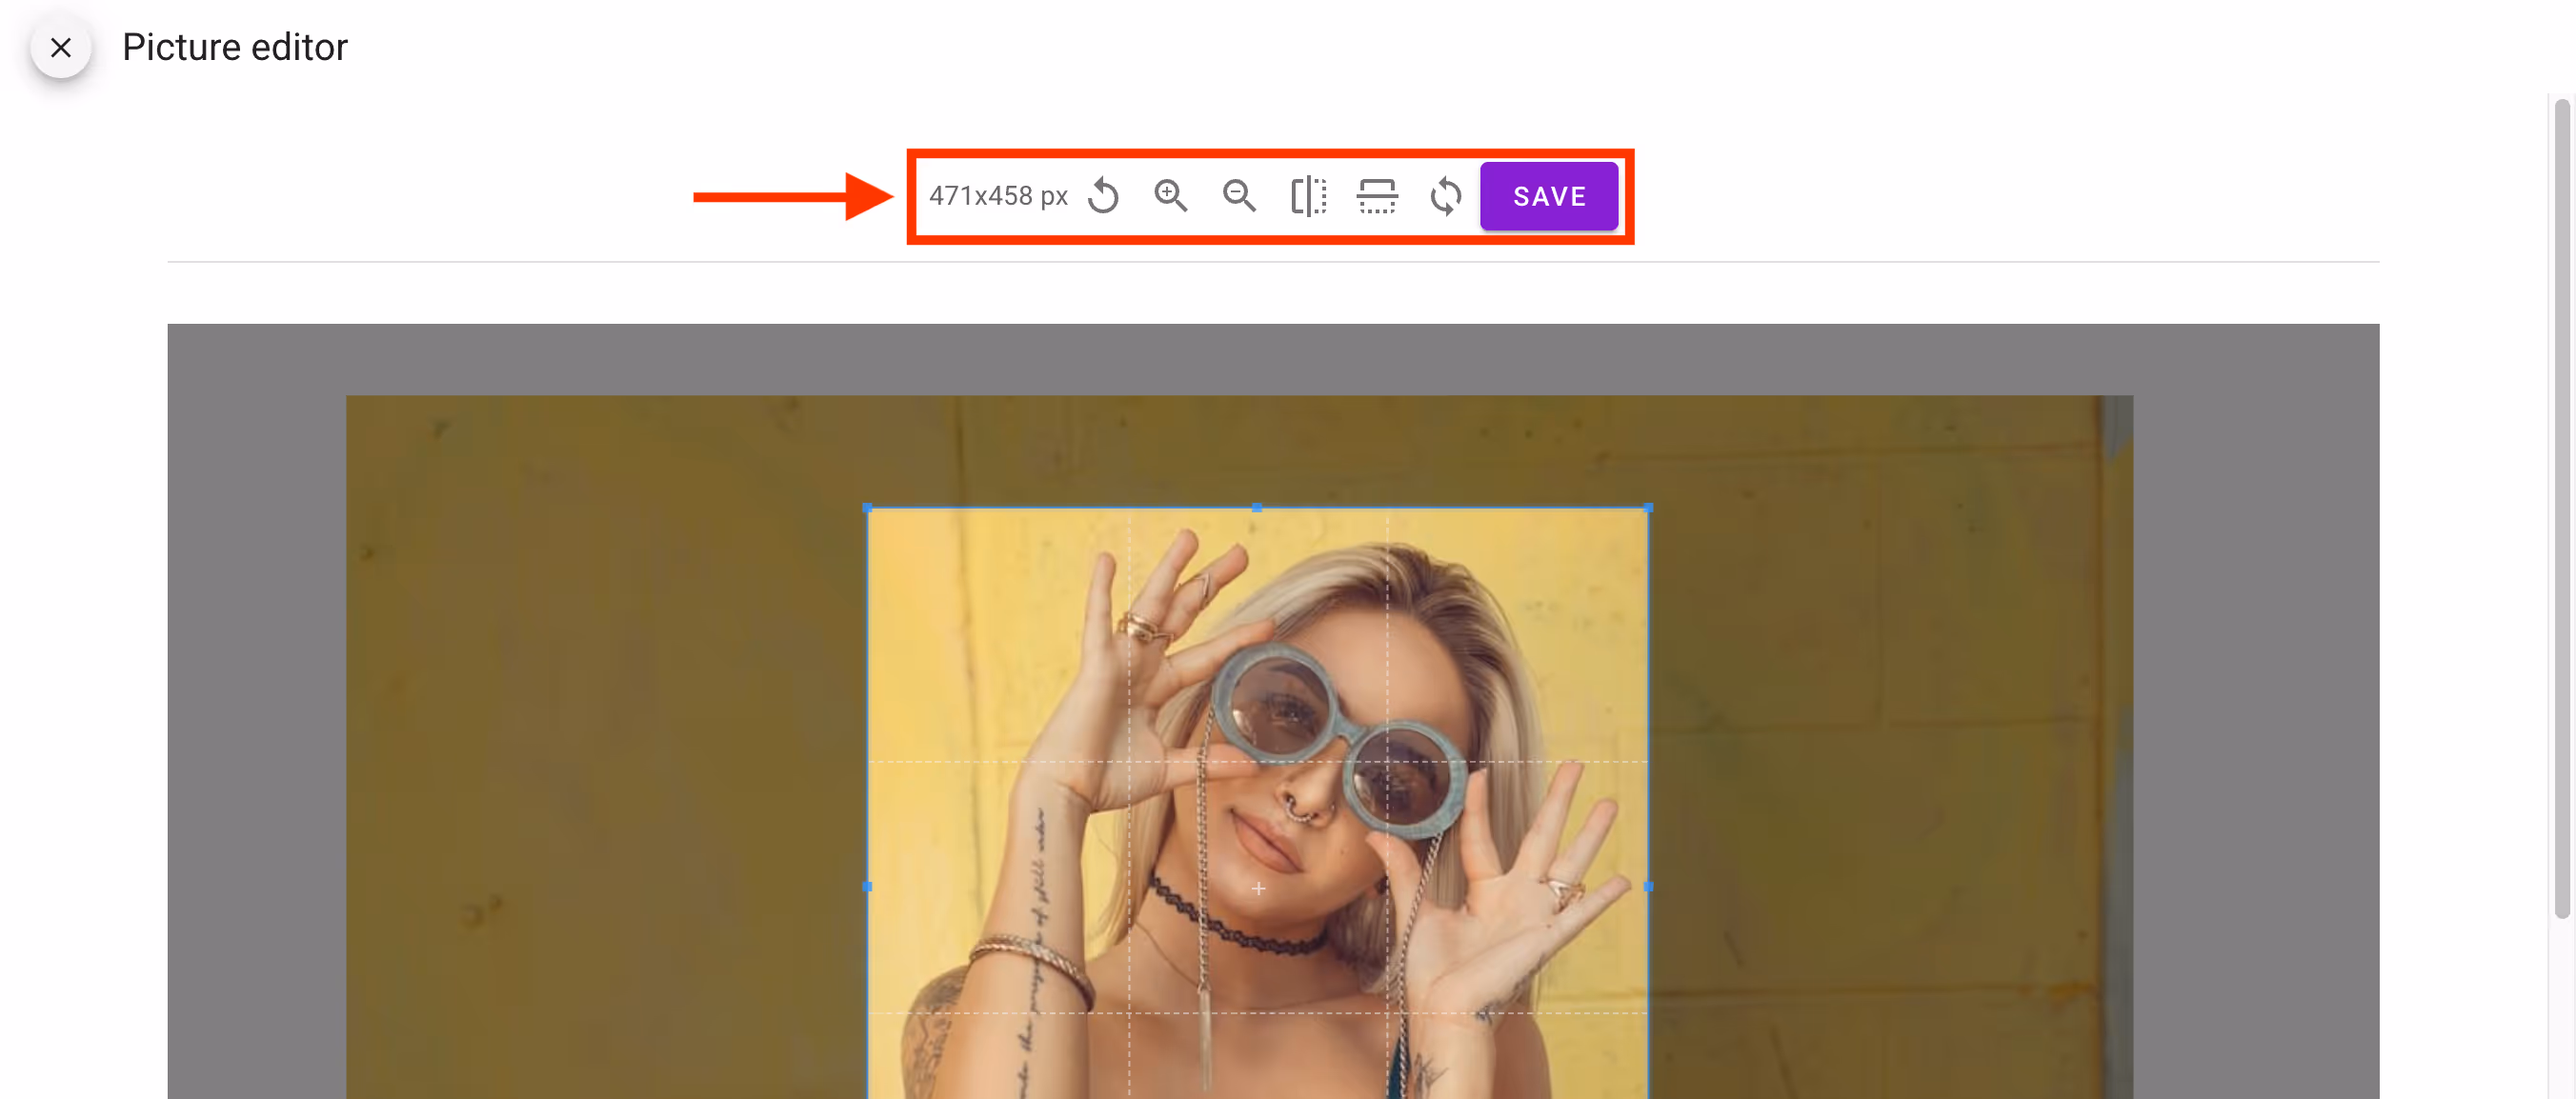
The marked area on the image above shows what you can do with an image during editing. Cropping images is very helpful when, for example, you want to adjust the image so that the face is fully visible in the employee's profile picture. Our application works by centring the image to display a smaller version of the photo as the profile picture. Your task is to ensure that the application centres the correct area.
If you wish, you can rotate the image by 90 degrees as many times as needed, either to the right or to the left, and also flip it along the X-axis (from right to left) or along the Y-axis (from top to bottom).
Copyrights
Remember, adding graphics is a delicate matter, particularly due to copyright laws. Therefore, only download images from stores and platforms that offer graphics under the licenses granted to them. The Unsplash library allows you to use graphics according to their terms, which you can review here.