How can I personalize a website?
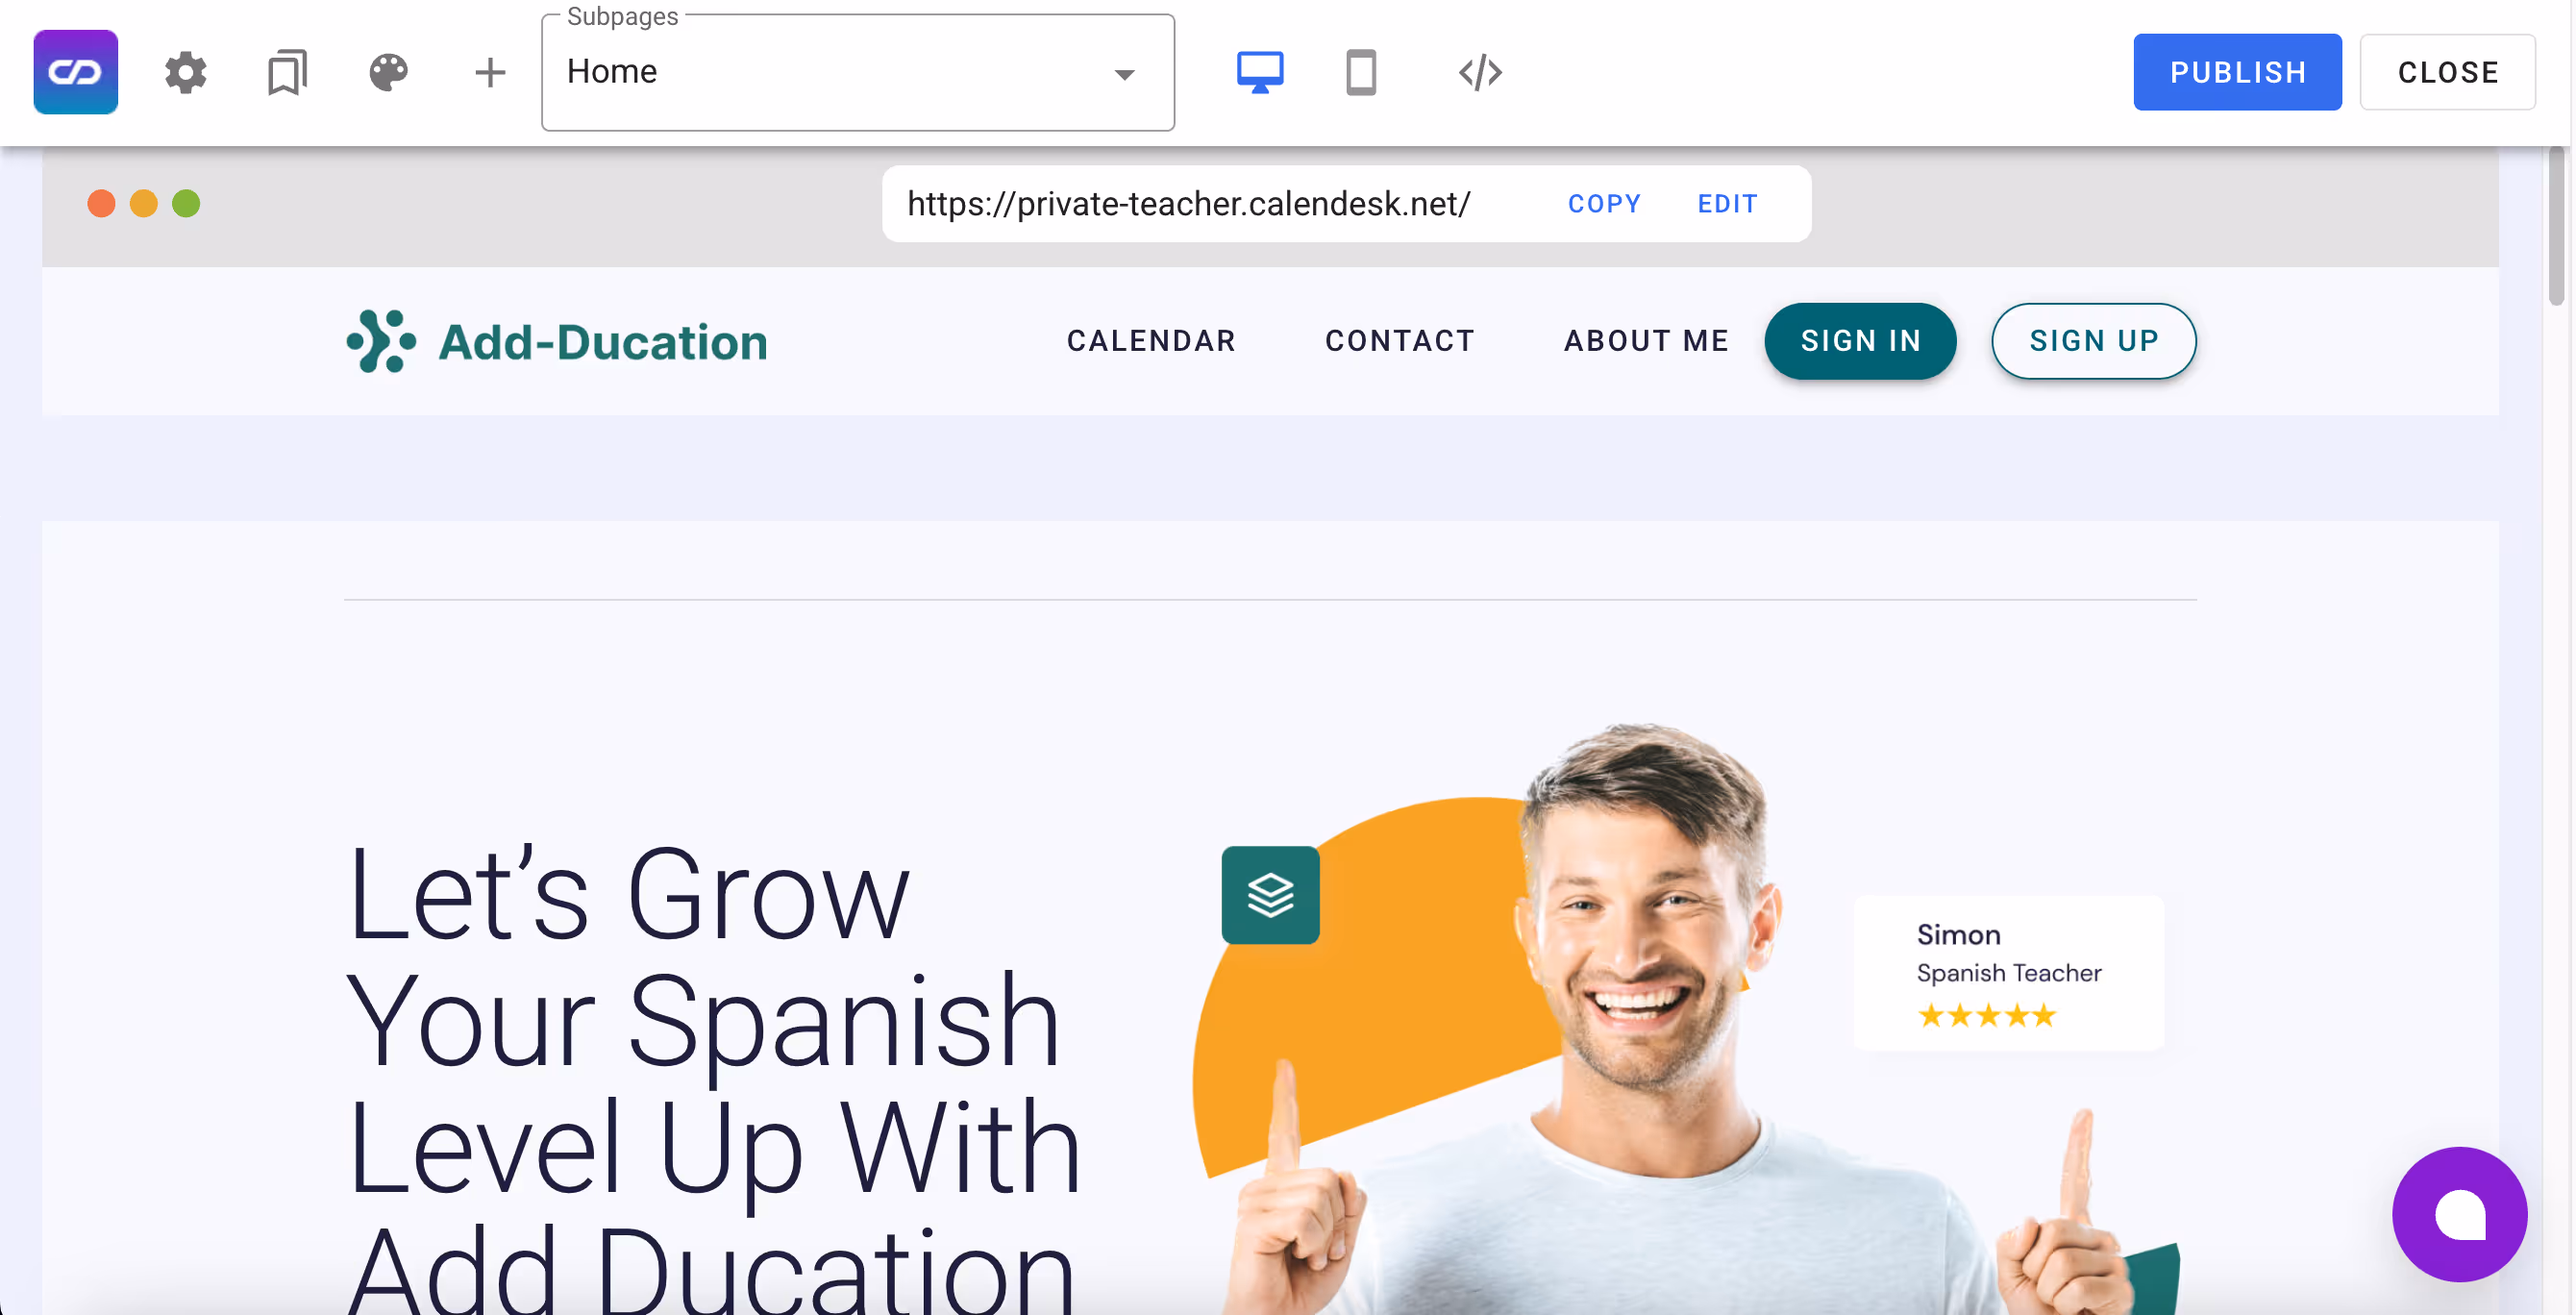
Toolbar
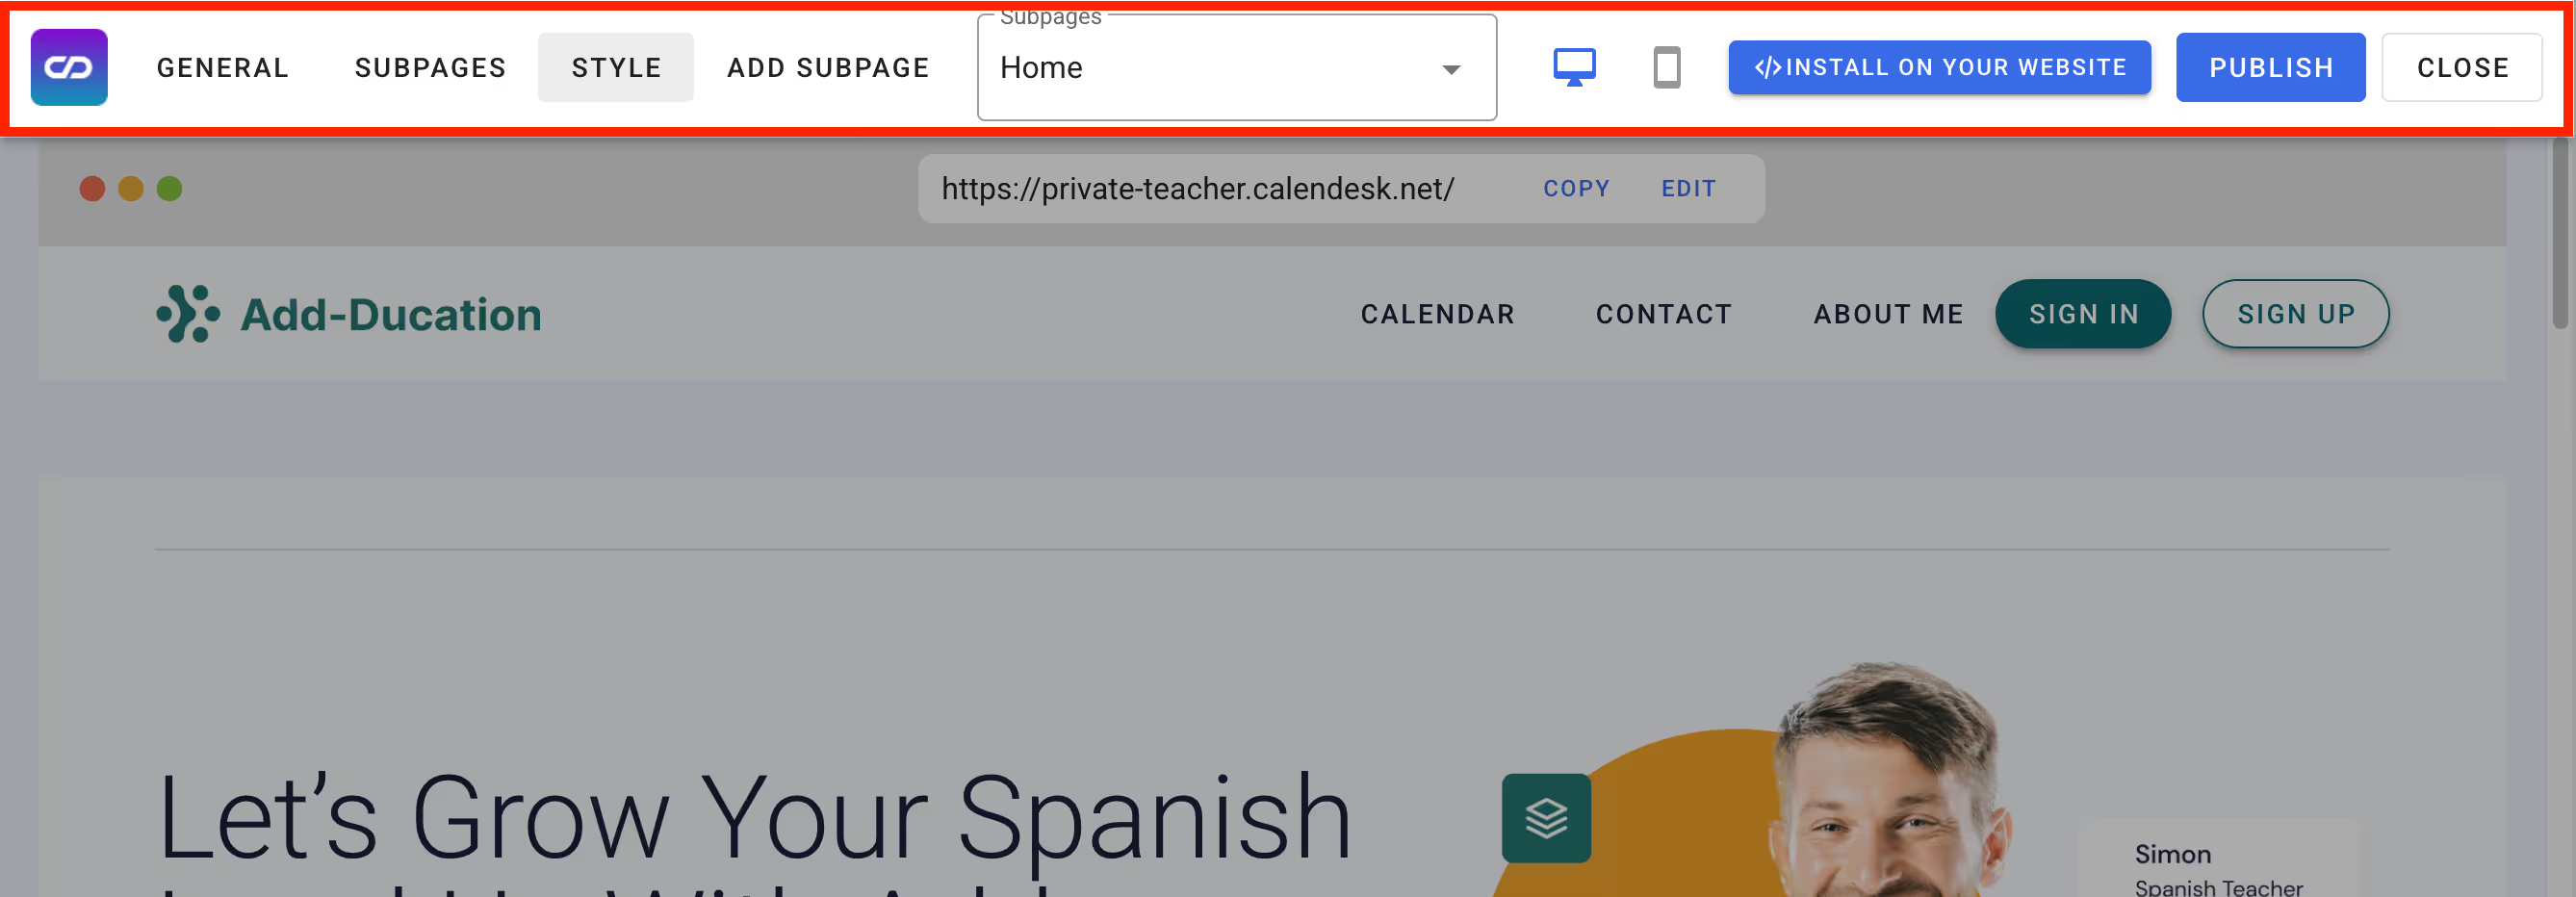
Here, you can edit various elements of your website, such as:
- general website settings,
- activating a field for discount codes,
- adding custom scripts,
- enabling client login and registration,
- hiding employees when selecting specialists in the booking calendar,
- managing subpages (adding, deleting, and redirects),
- customising the style – including website and booking calendar colours,
- more.
Google Tag Manager
Google Tag is a tool from Google that allows you to connect external services such as Google Analytics, Live Chat, and more. You can learn more about Google Tag in this article: Overview of Tag Manager.
Subpages and External Links
The option to add subpages helps you structure your website in a more organised way, making it clearer and easier to navigate. External links allow you to connect multiple websites together.
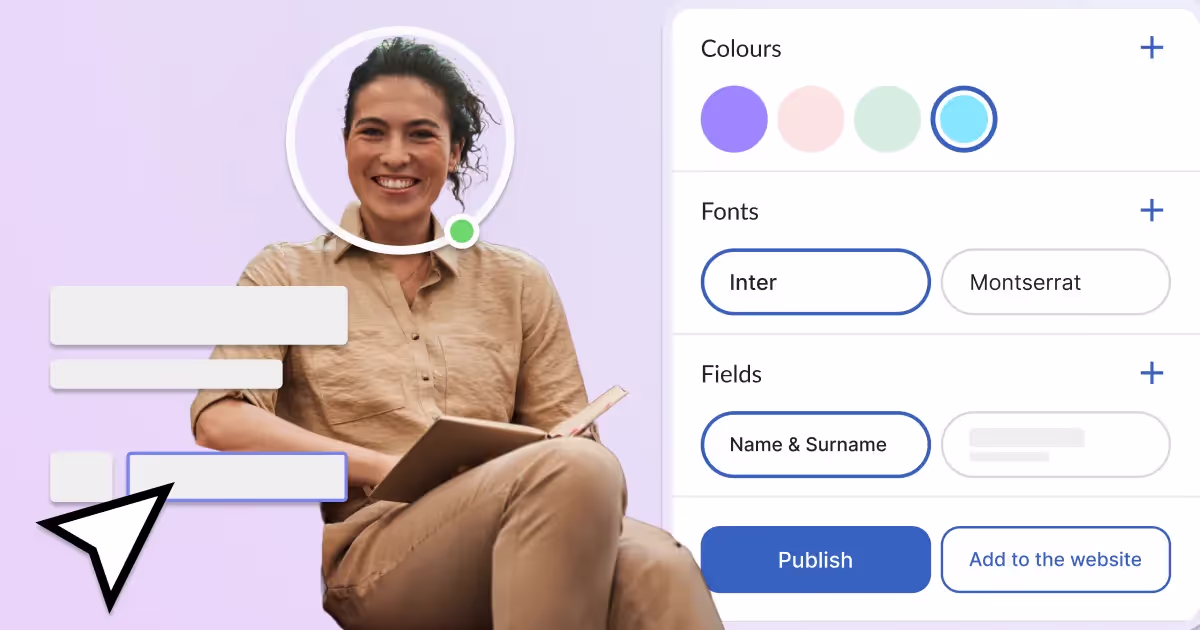
Style
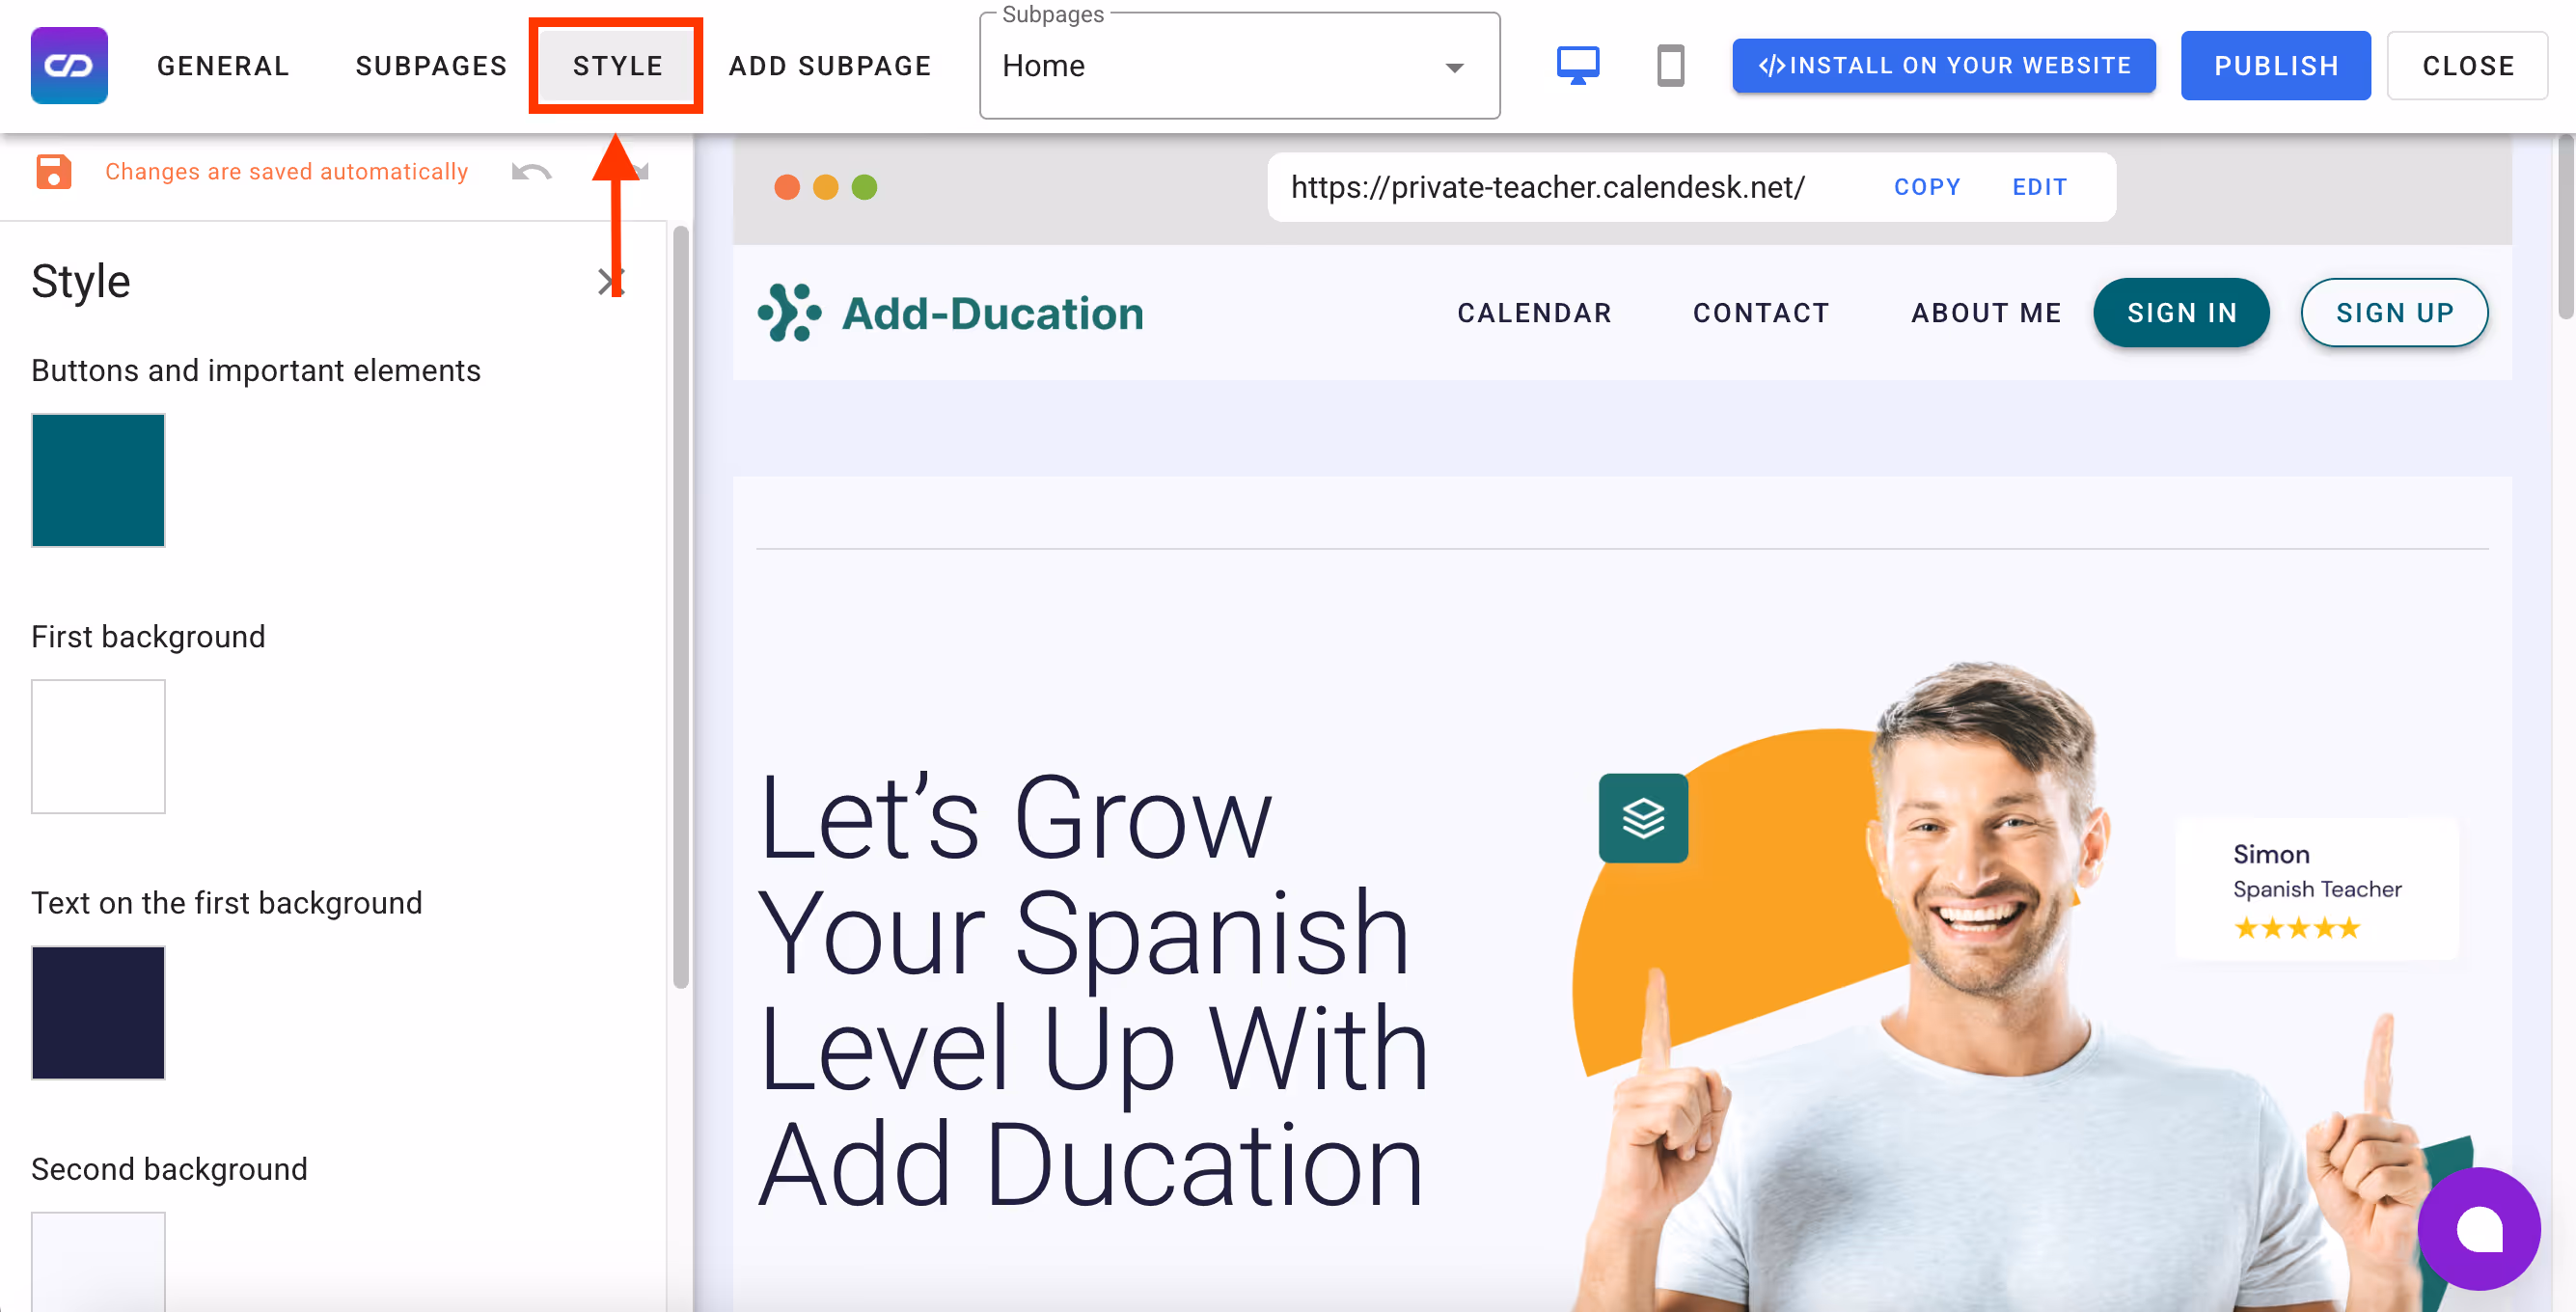
Style refer to the colour scheme of the elements that make up your website. Here, you can choose the colours for the elements listed on the left side of the editor:
- buttons and key website elements,
- primary section background,
- text on the primary background,
- secondary background,
- text on the secondary background.
The choice of images also plays a crucial role, as it enhances the colour scheme and defines the overall style of your website. Our system automatically selects images that match your industry, but you have the final say on which images appear on your site.
An important feature is the option to enable dark mode, which adjusts certain text colours to match the background.
Before:

After:
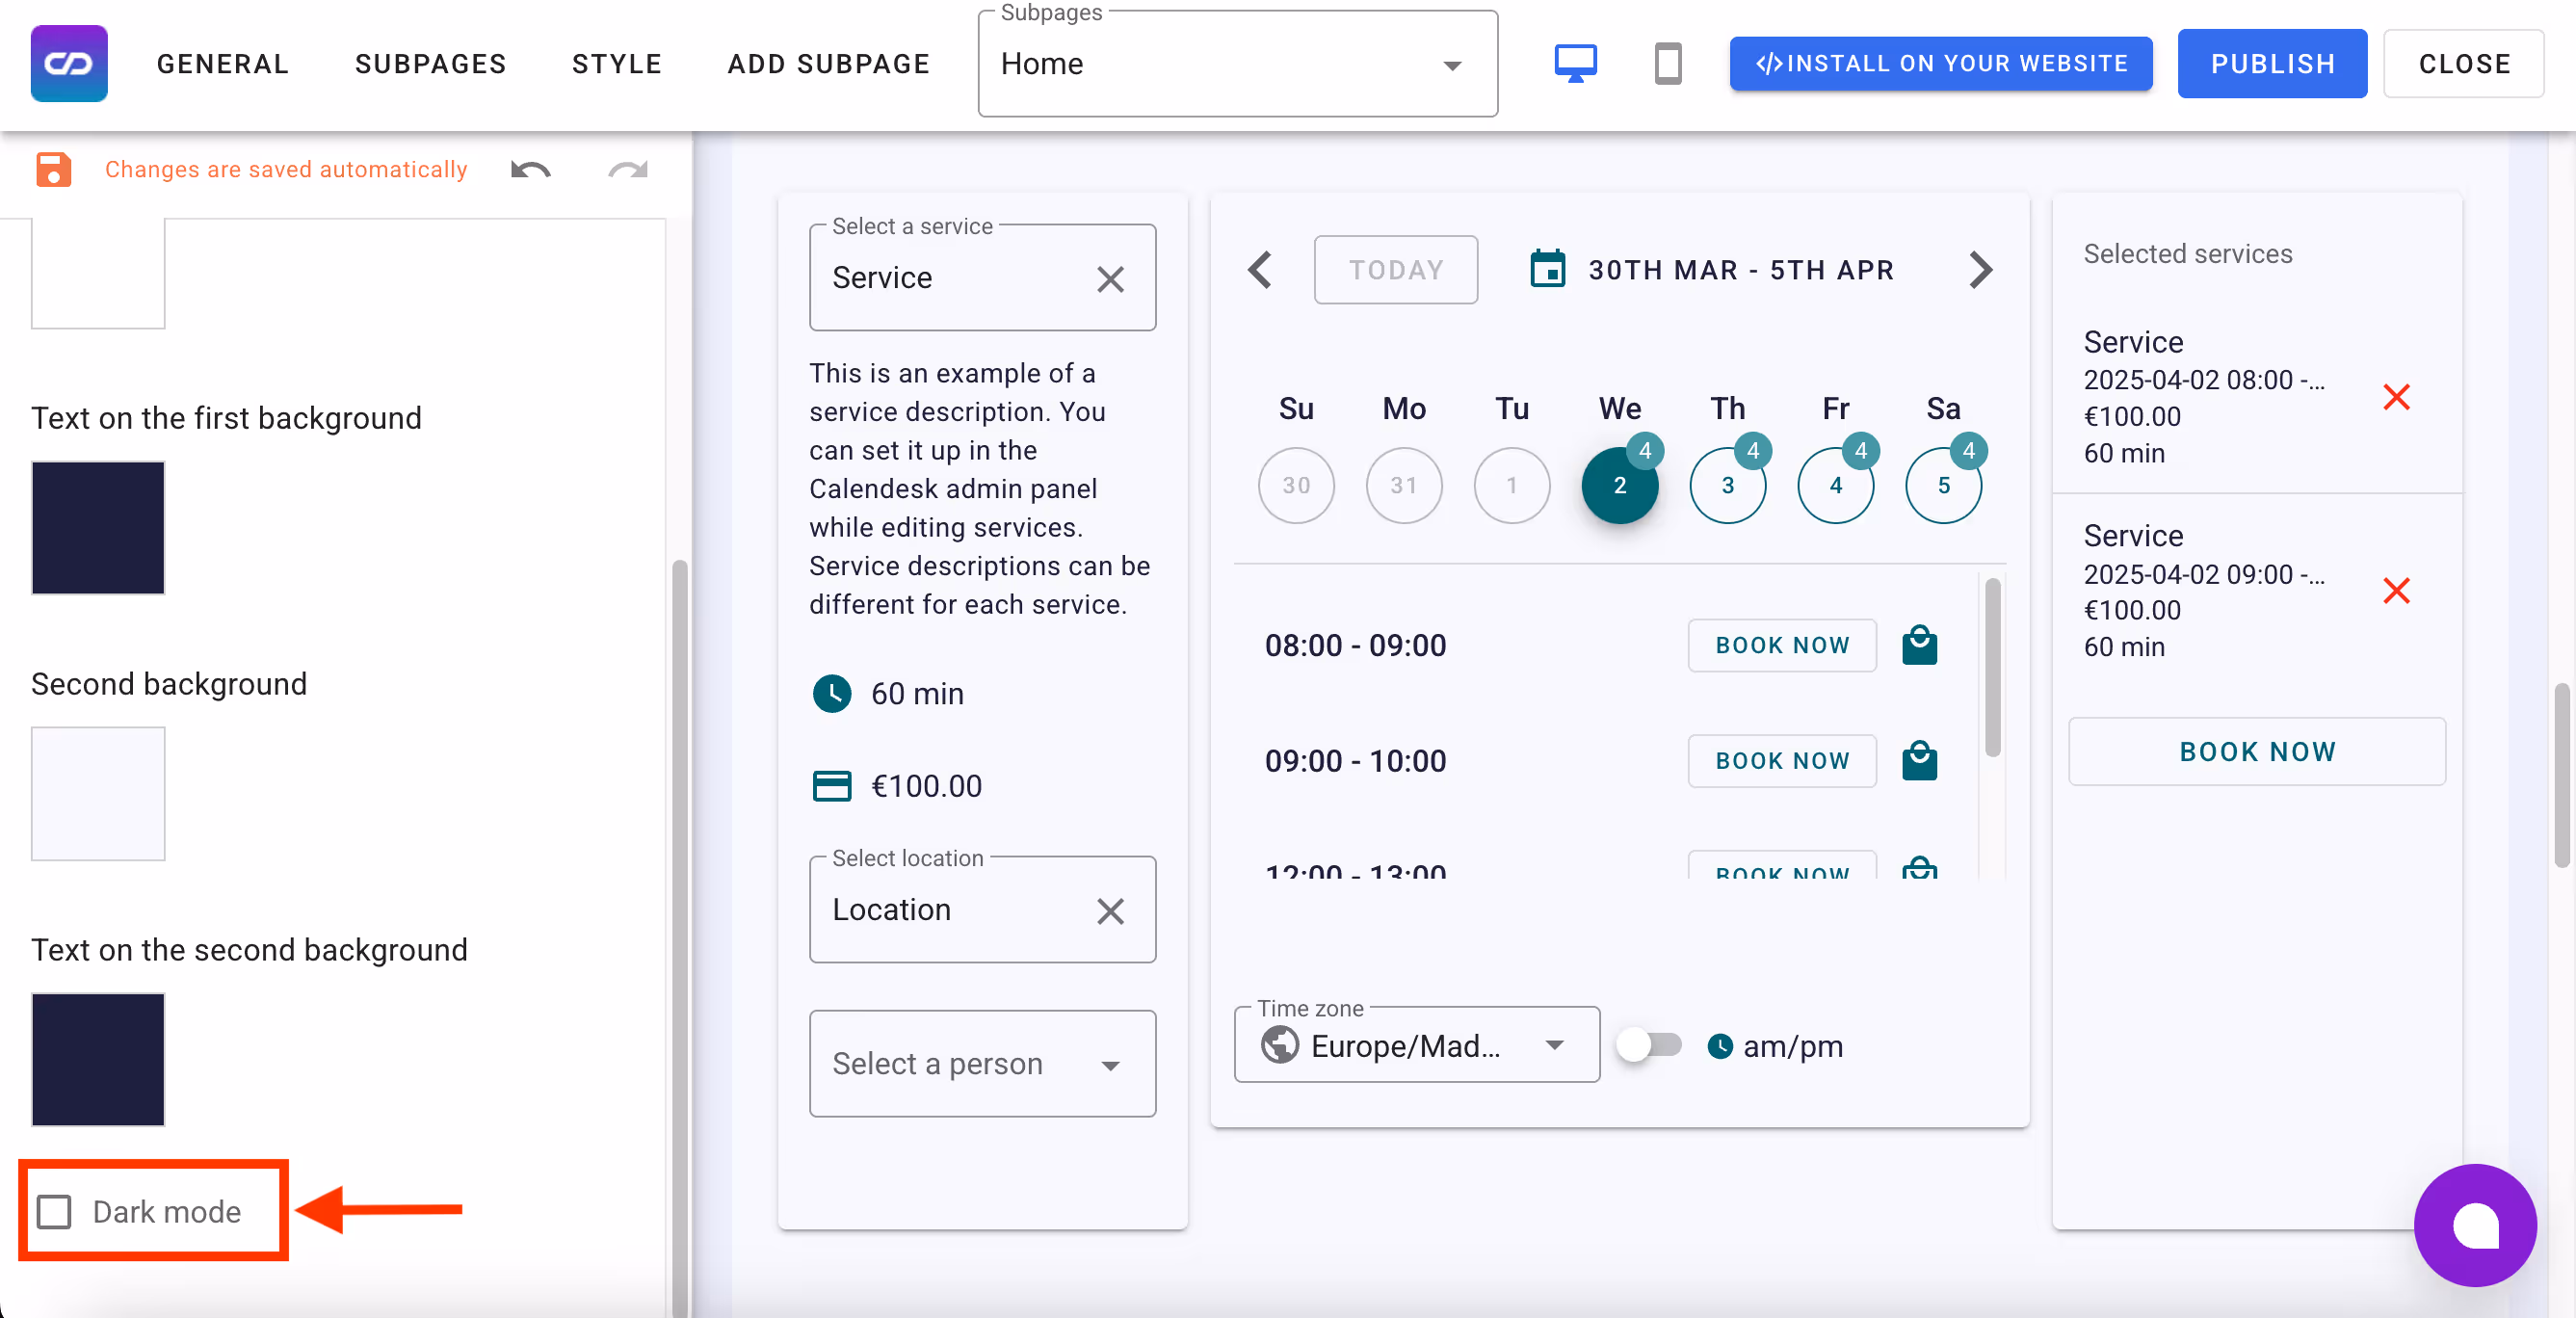
You can change the colours on your website by clicking on a selected tile on the left side of the editor. These tiles represent different elements of the site.
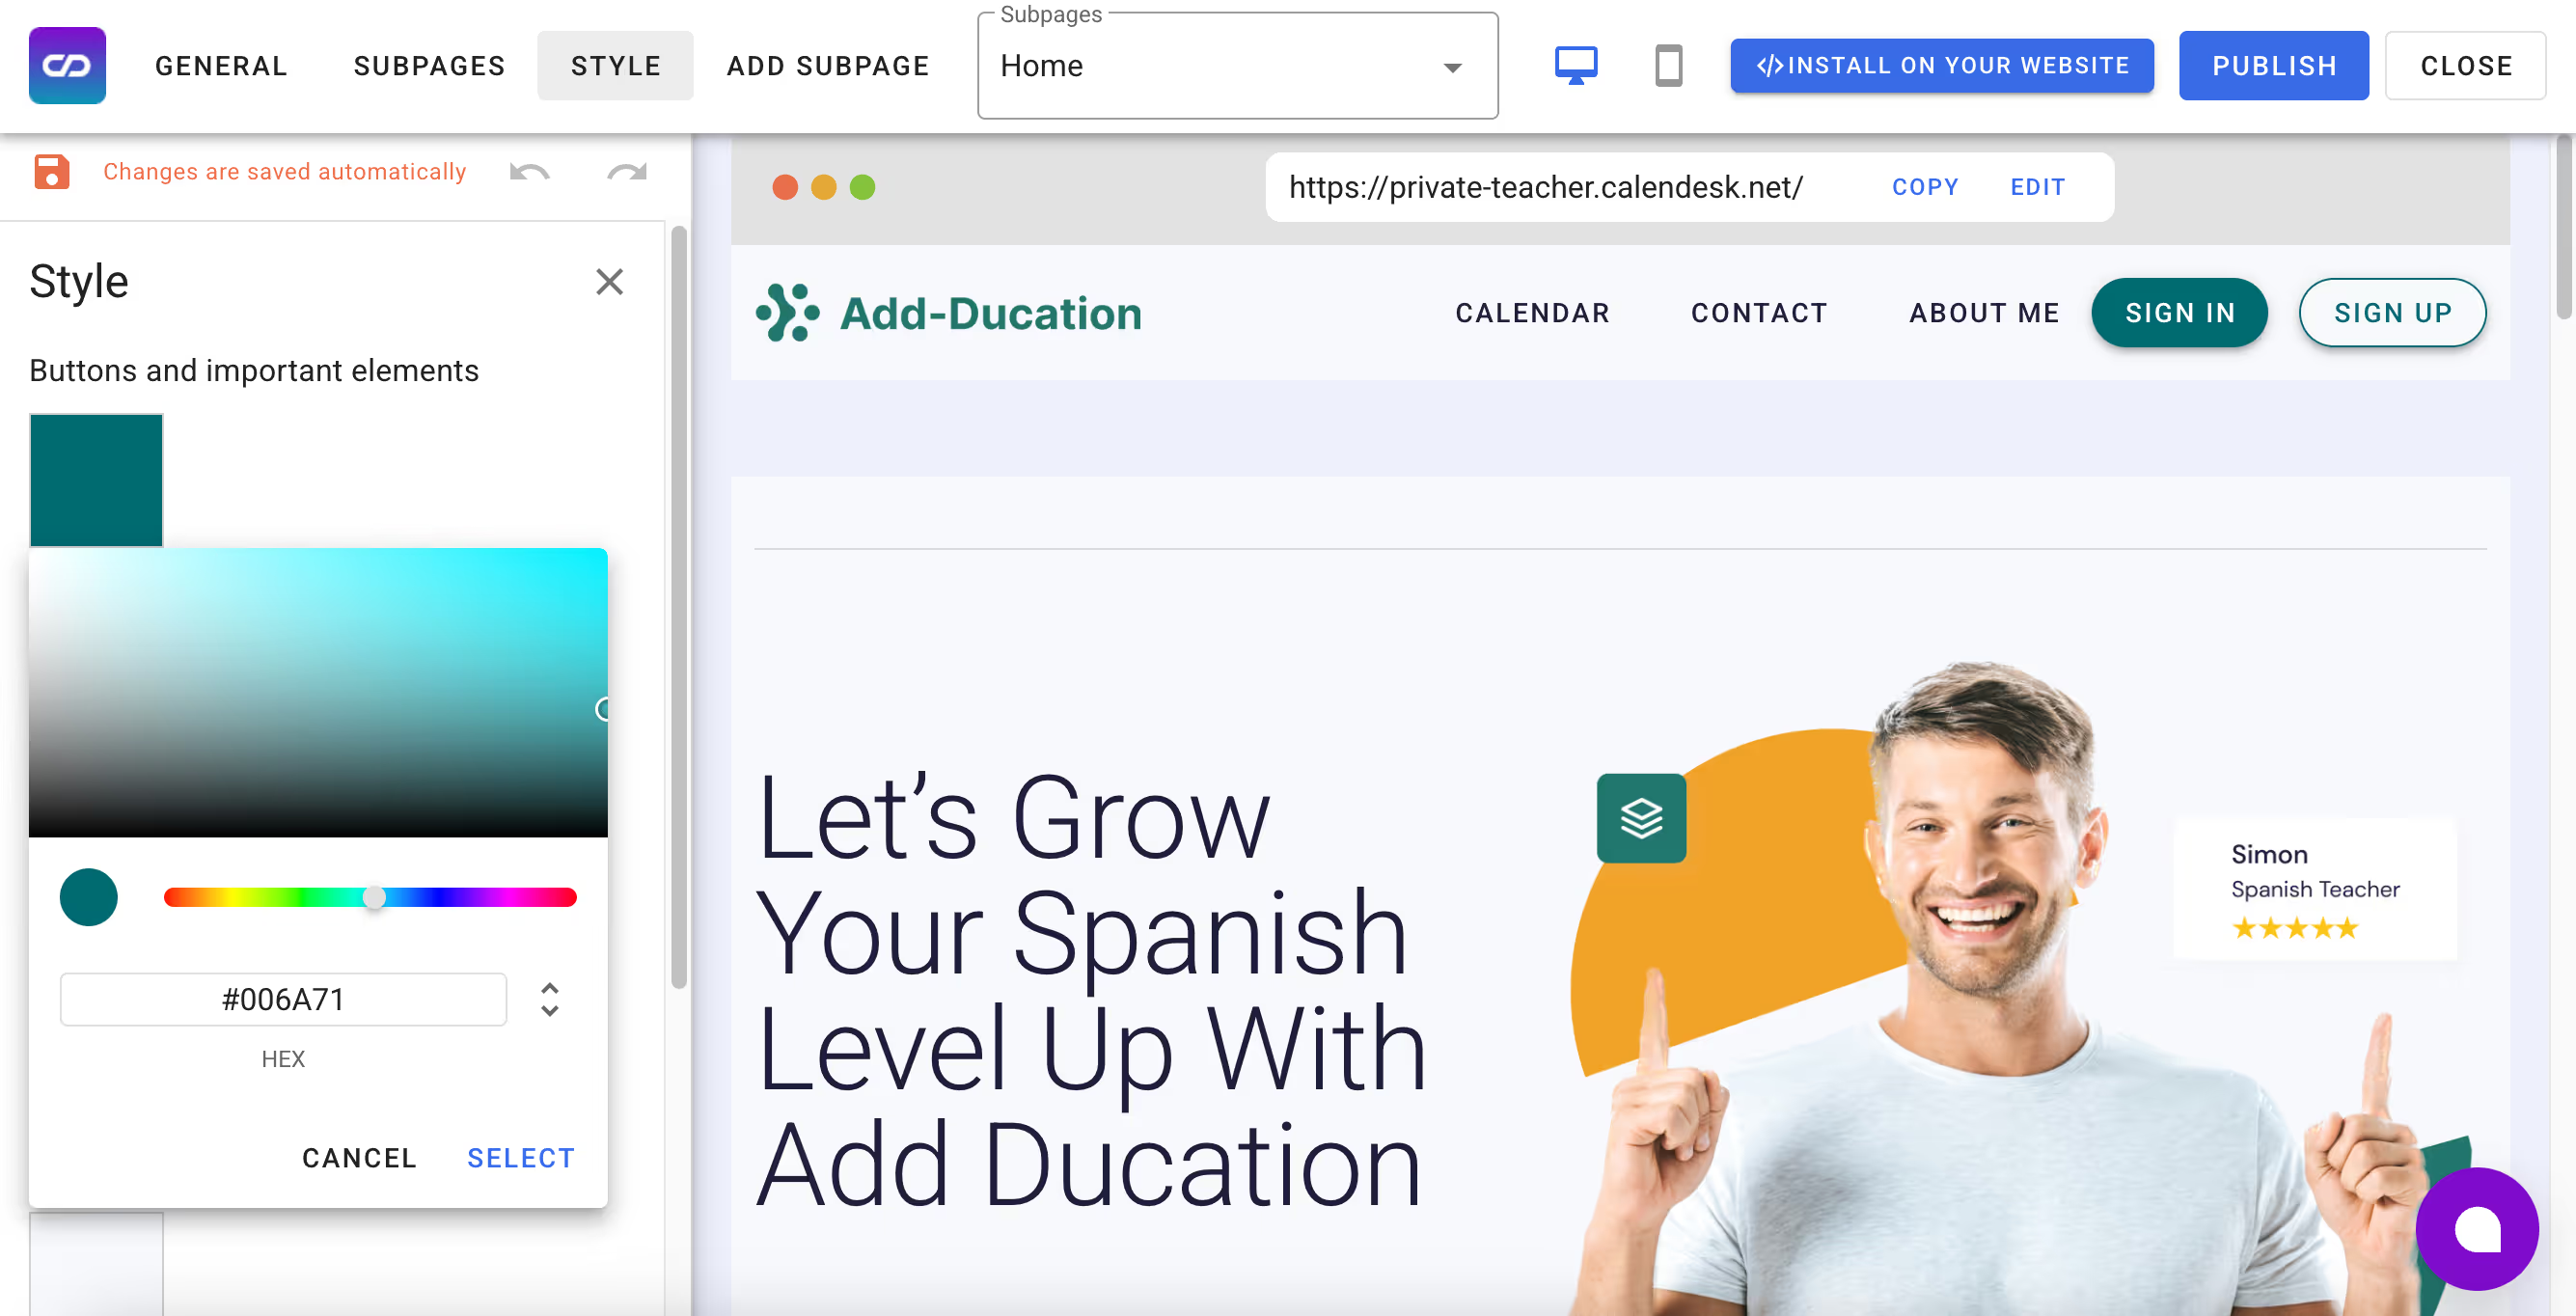
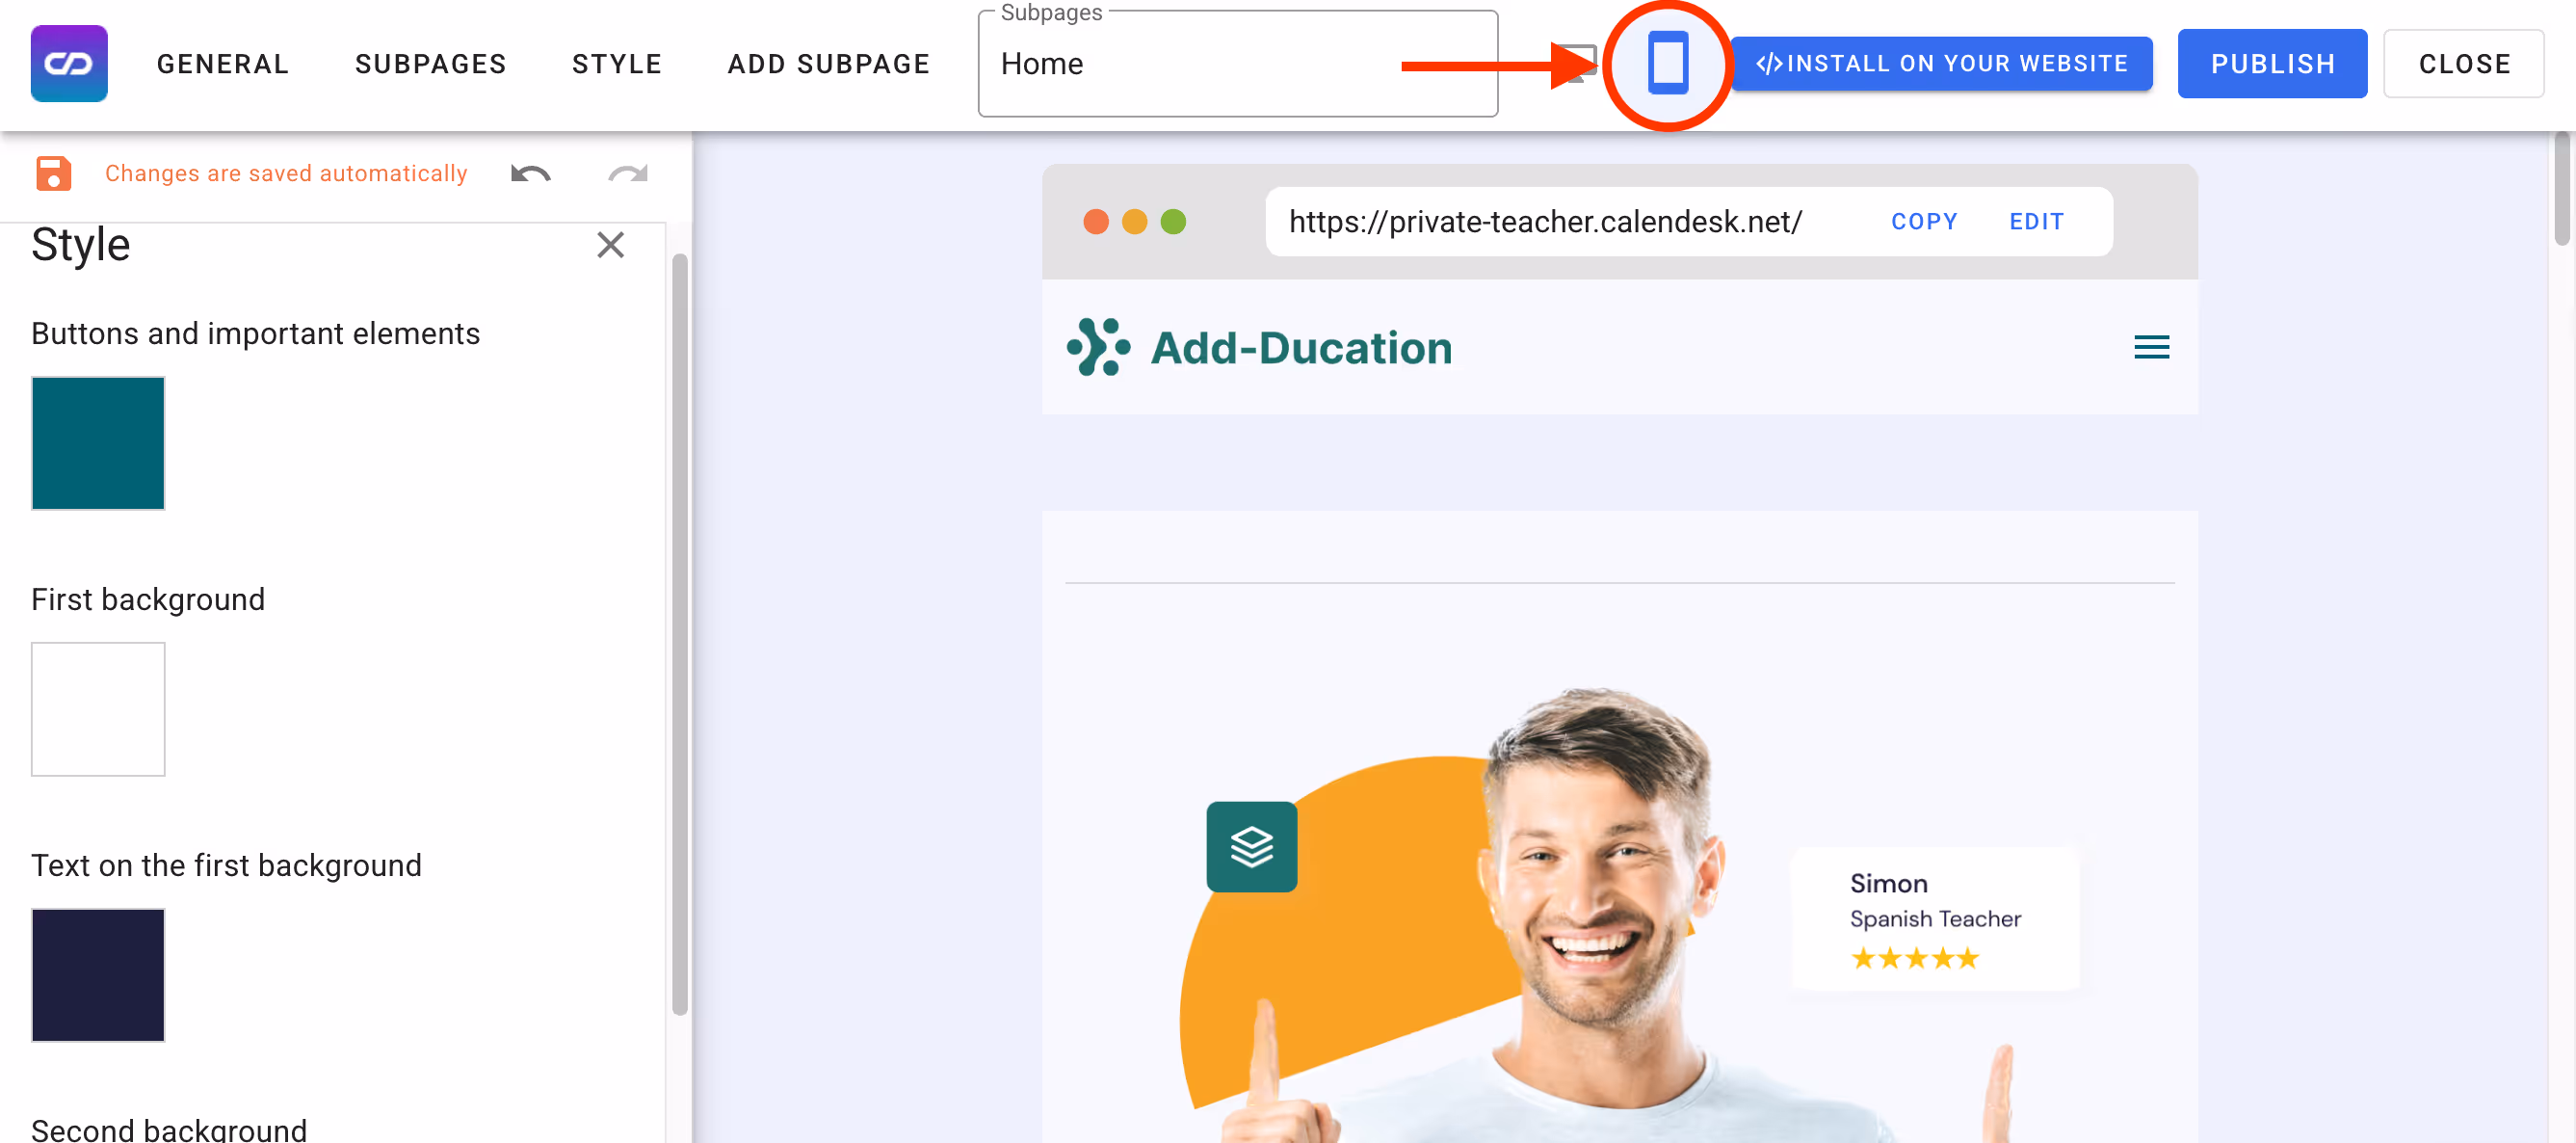
Remember to click the Select button after choosing a colour to save your selection. Here, you will also be able to preview how your website looks in the mobile version (mobile preview).
Subpages
Subpages are elements that allow navigation between tabs. You will find them at the top and bottom of your website.

You decide which subpages to display. If you wish, you can easily add new subpages using the Add Subpage button at the top of the Calendesk editor. After clicking the header section shown in the image above, you’ll see in the editor that you can not only adjust the number of subpages appearing in this section but also change their order, names, and group them. Here, you can also modify the header’s appearance.
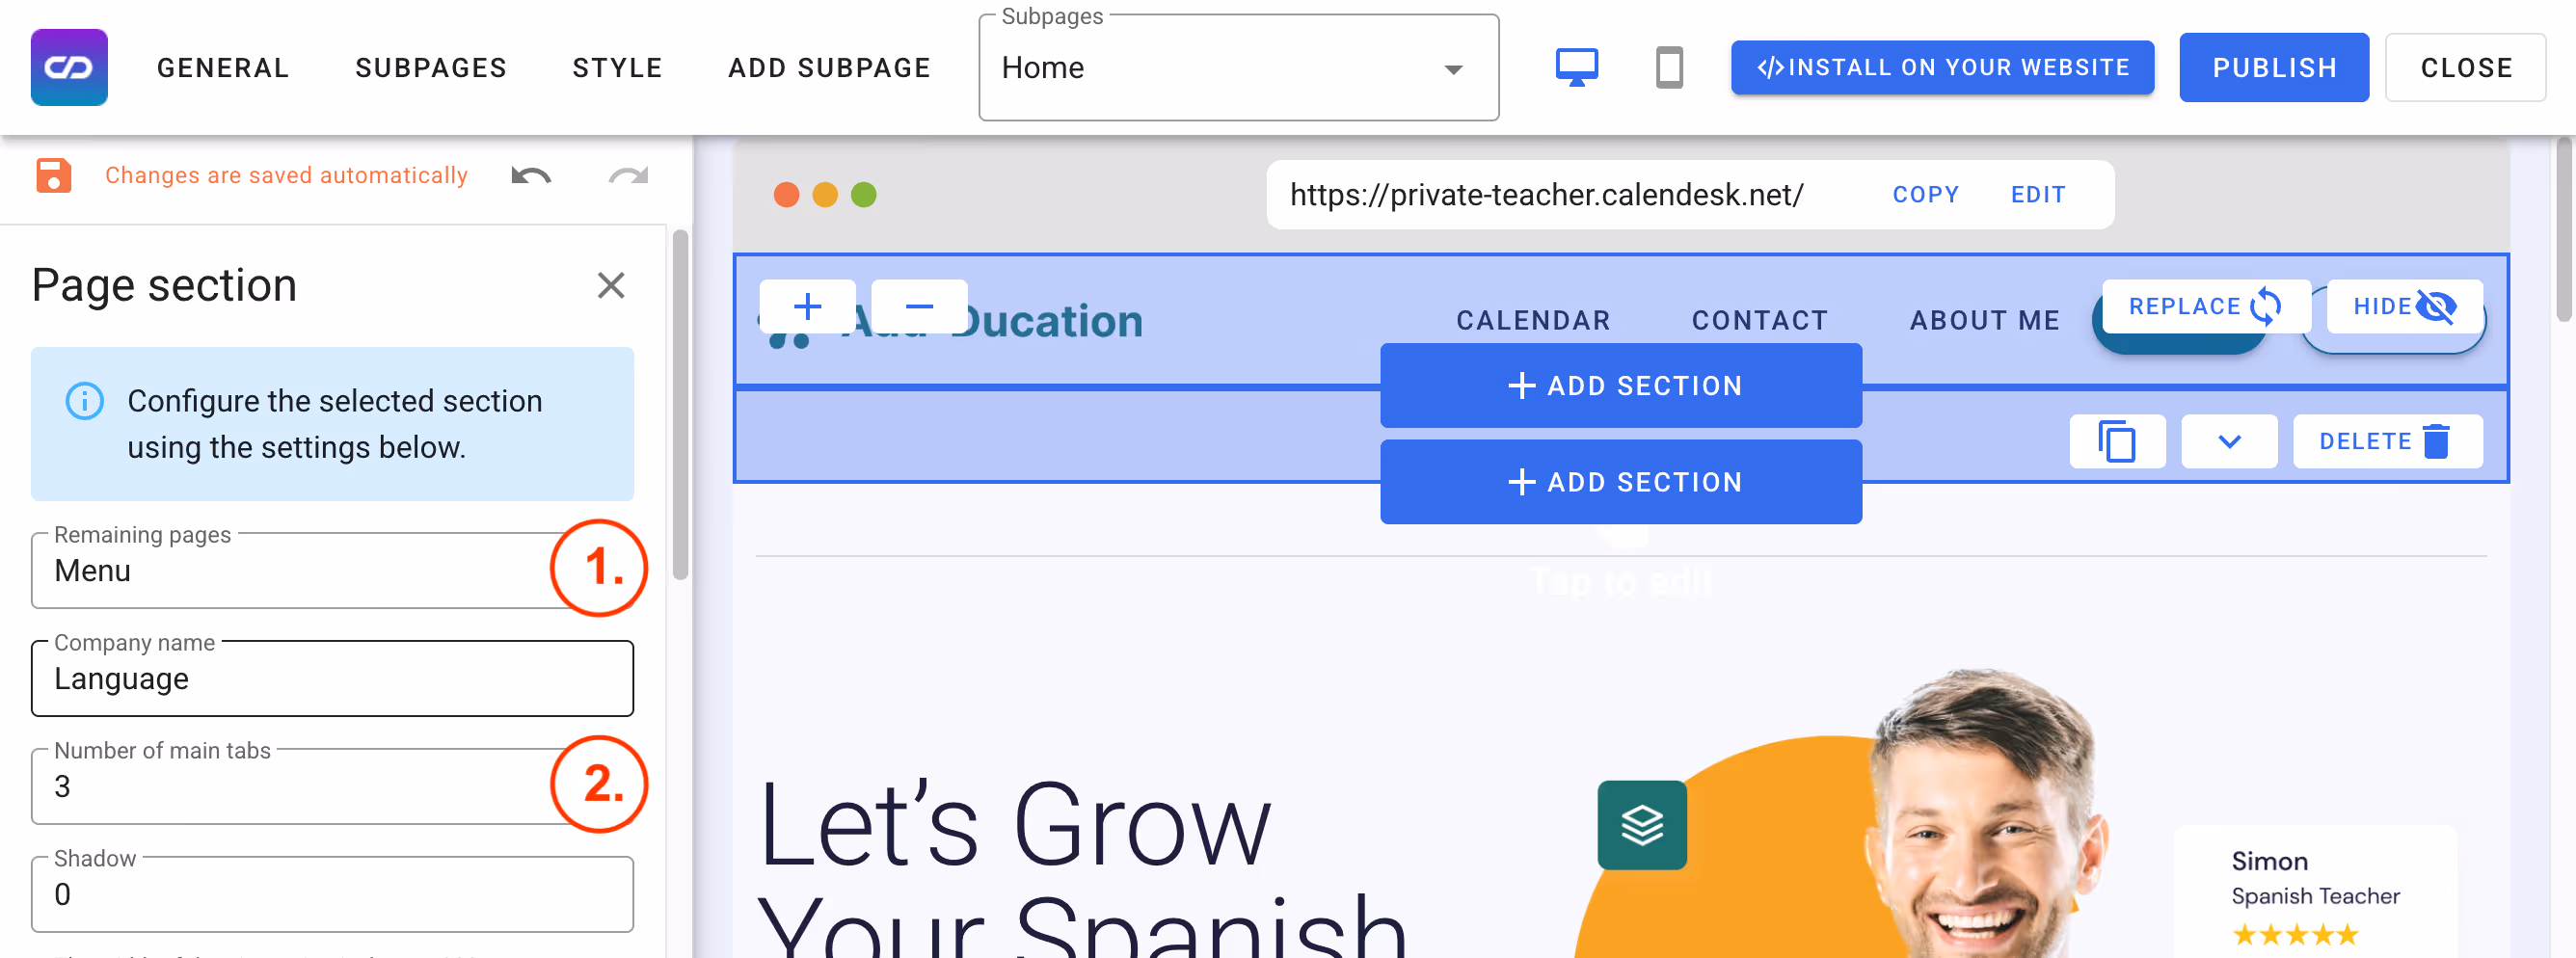
1. Remaining pages
The first element at the top is the Remaining Pages window. This is the name of the dropdown tab bar that will create a group if you limit the number of pages displayed. In this case, the name of the group is Menu, but you can change this name to something else.
2. Number of main tabs
An important element is the number of main tabs. This number determines how many main tabs will appear on the bar shown in the image above. If you enter a number, such as two, the remaining tabs (if there are more than two) will appear in a dropdown menu, for example, Menu.
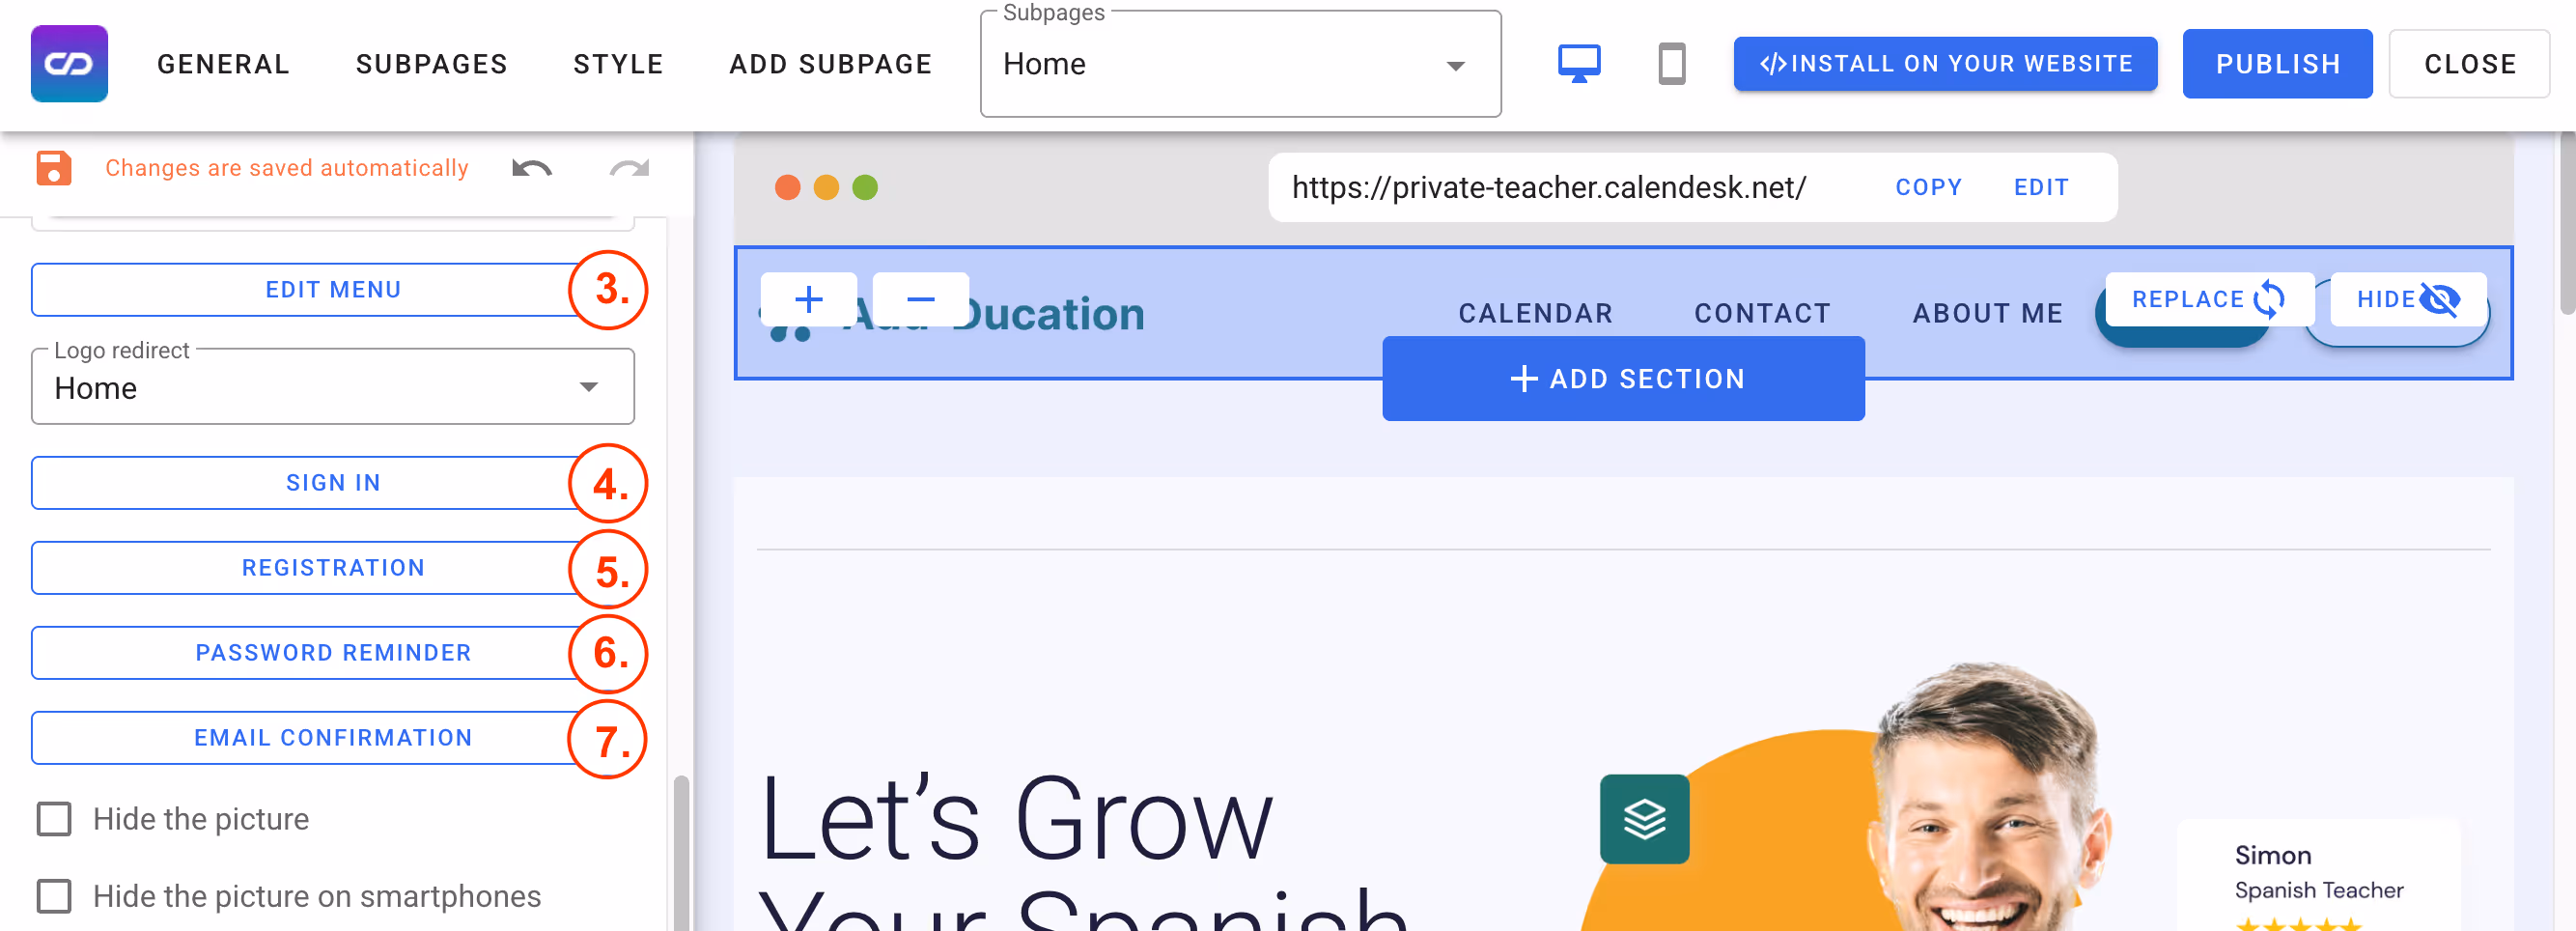
3. Menu editing
An important element is menu editing. Here, you can decide which of all the subpages you’ve created so far you want to display in the header.
4. Sign in
Below the Logo Redirection field, you’ll find the Login element. This allows you to set the message that appears for users who want to log in and click the Sign In button on your website. You can freely edit the content of this message.
5. Registration
The next element is where you can tick the checkbox if you want the client to see the information about accepting the terms and conditions. Additionally, in the same section, you specify which page you’ve created is the Terms and Conditions and which is the Privacy Policy.
6. Password reminder
Here, you enter the message that will appear to the client who has forgotten their password and clicked the Forgot your password? button.
7. Email sent confirmation
Here, you write the message informing the client who forgot their password that an email with instructions to reset the password has been sent. You can customise the content of this notification here.
Add Subpage
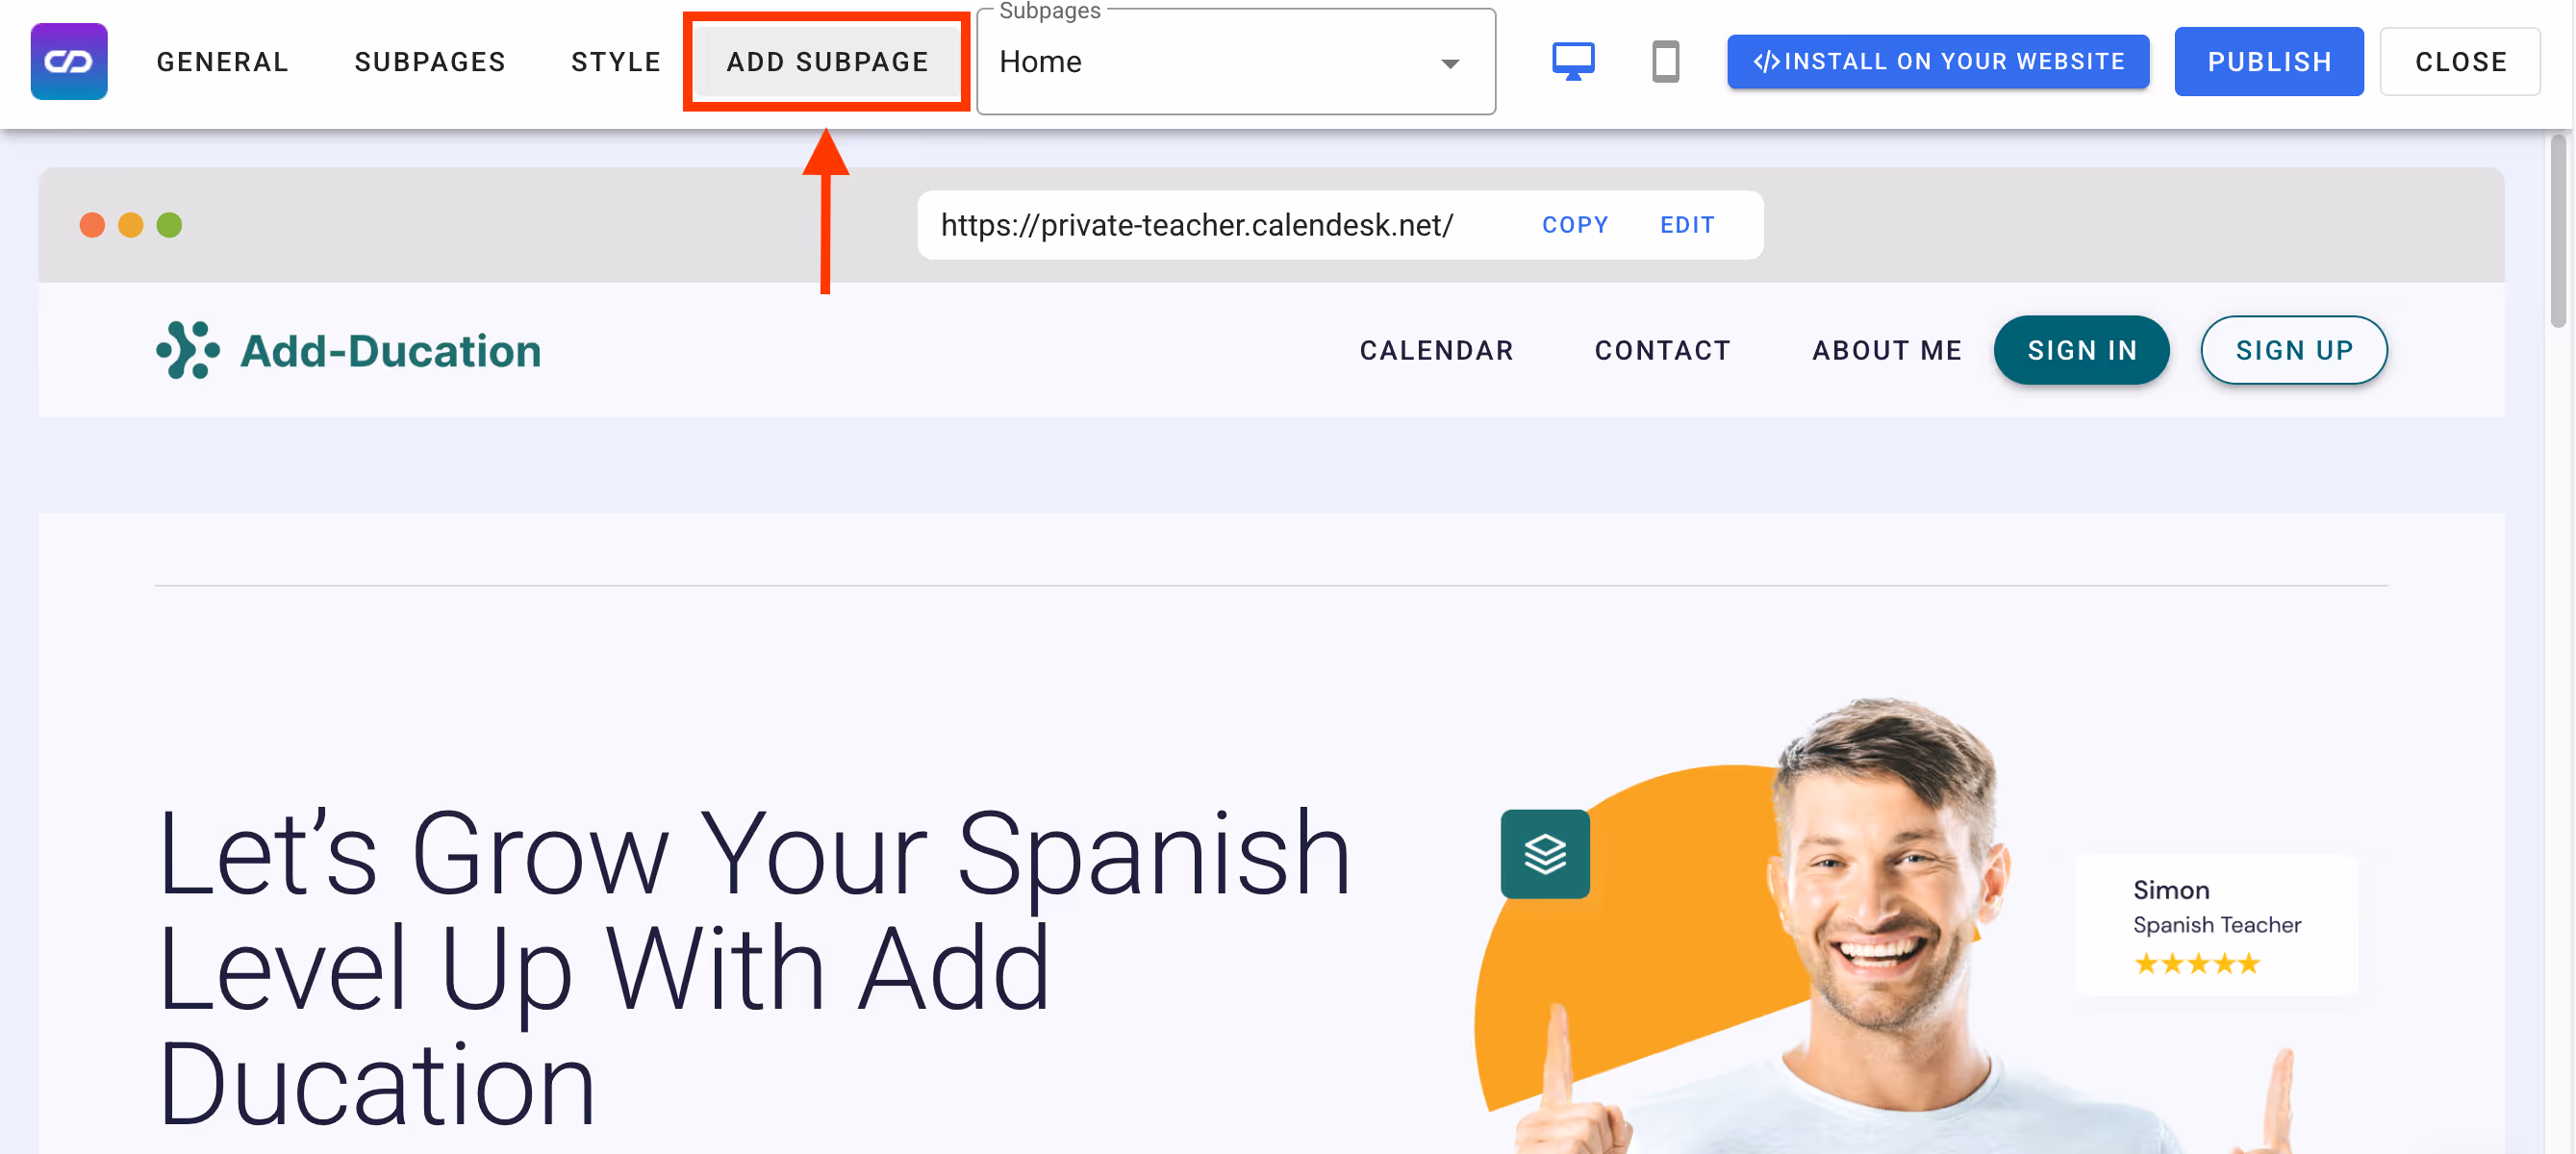
After selecting the Add Subpage button, you will see a window where you need to enter the name of the subpage you want to add and specify the address after the domain. Specifying the address after the domain means providing the URL path that should be used in the browser’s address bar to access the page you want to add.
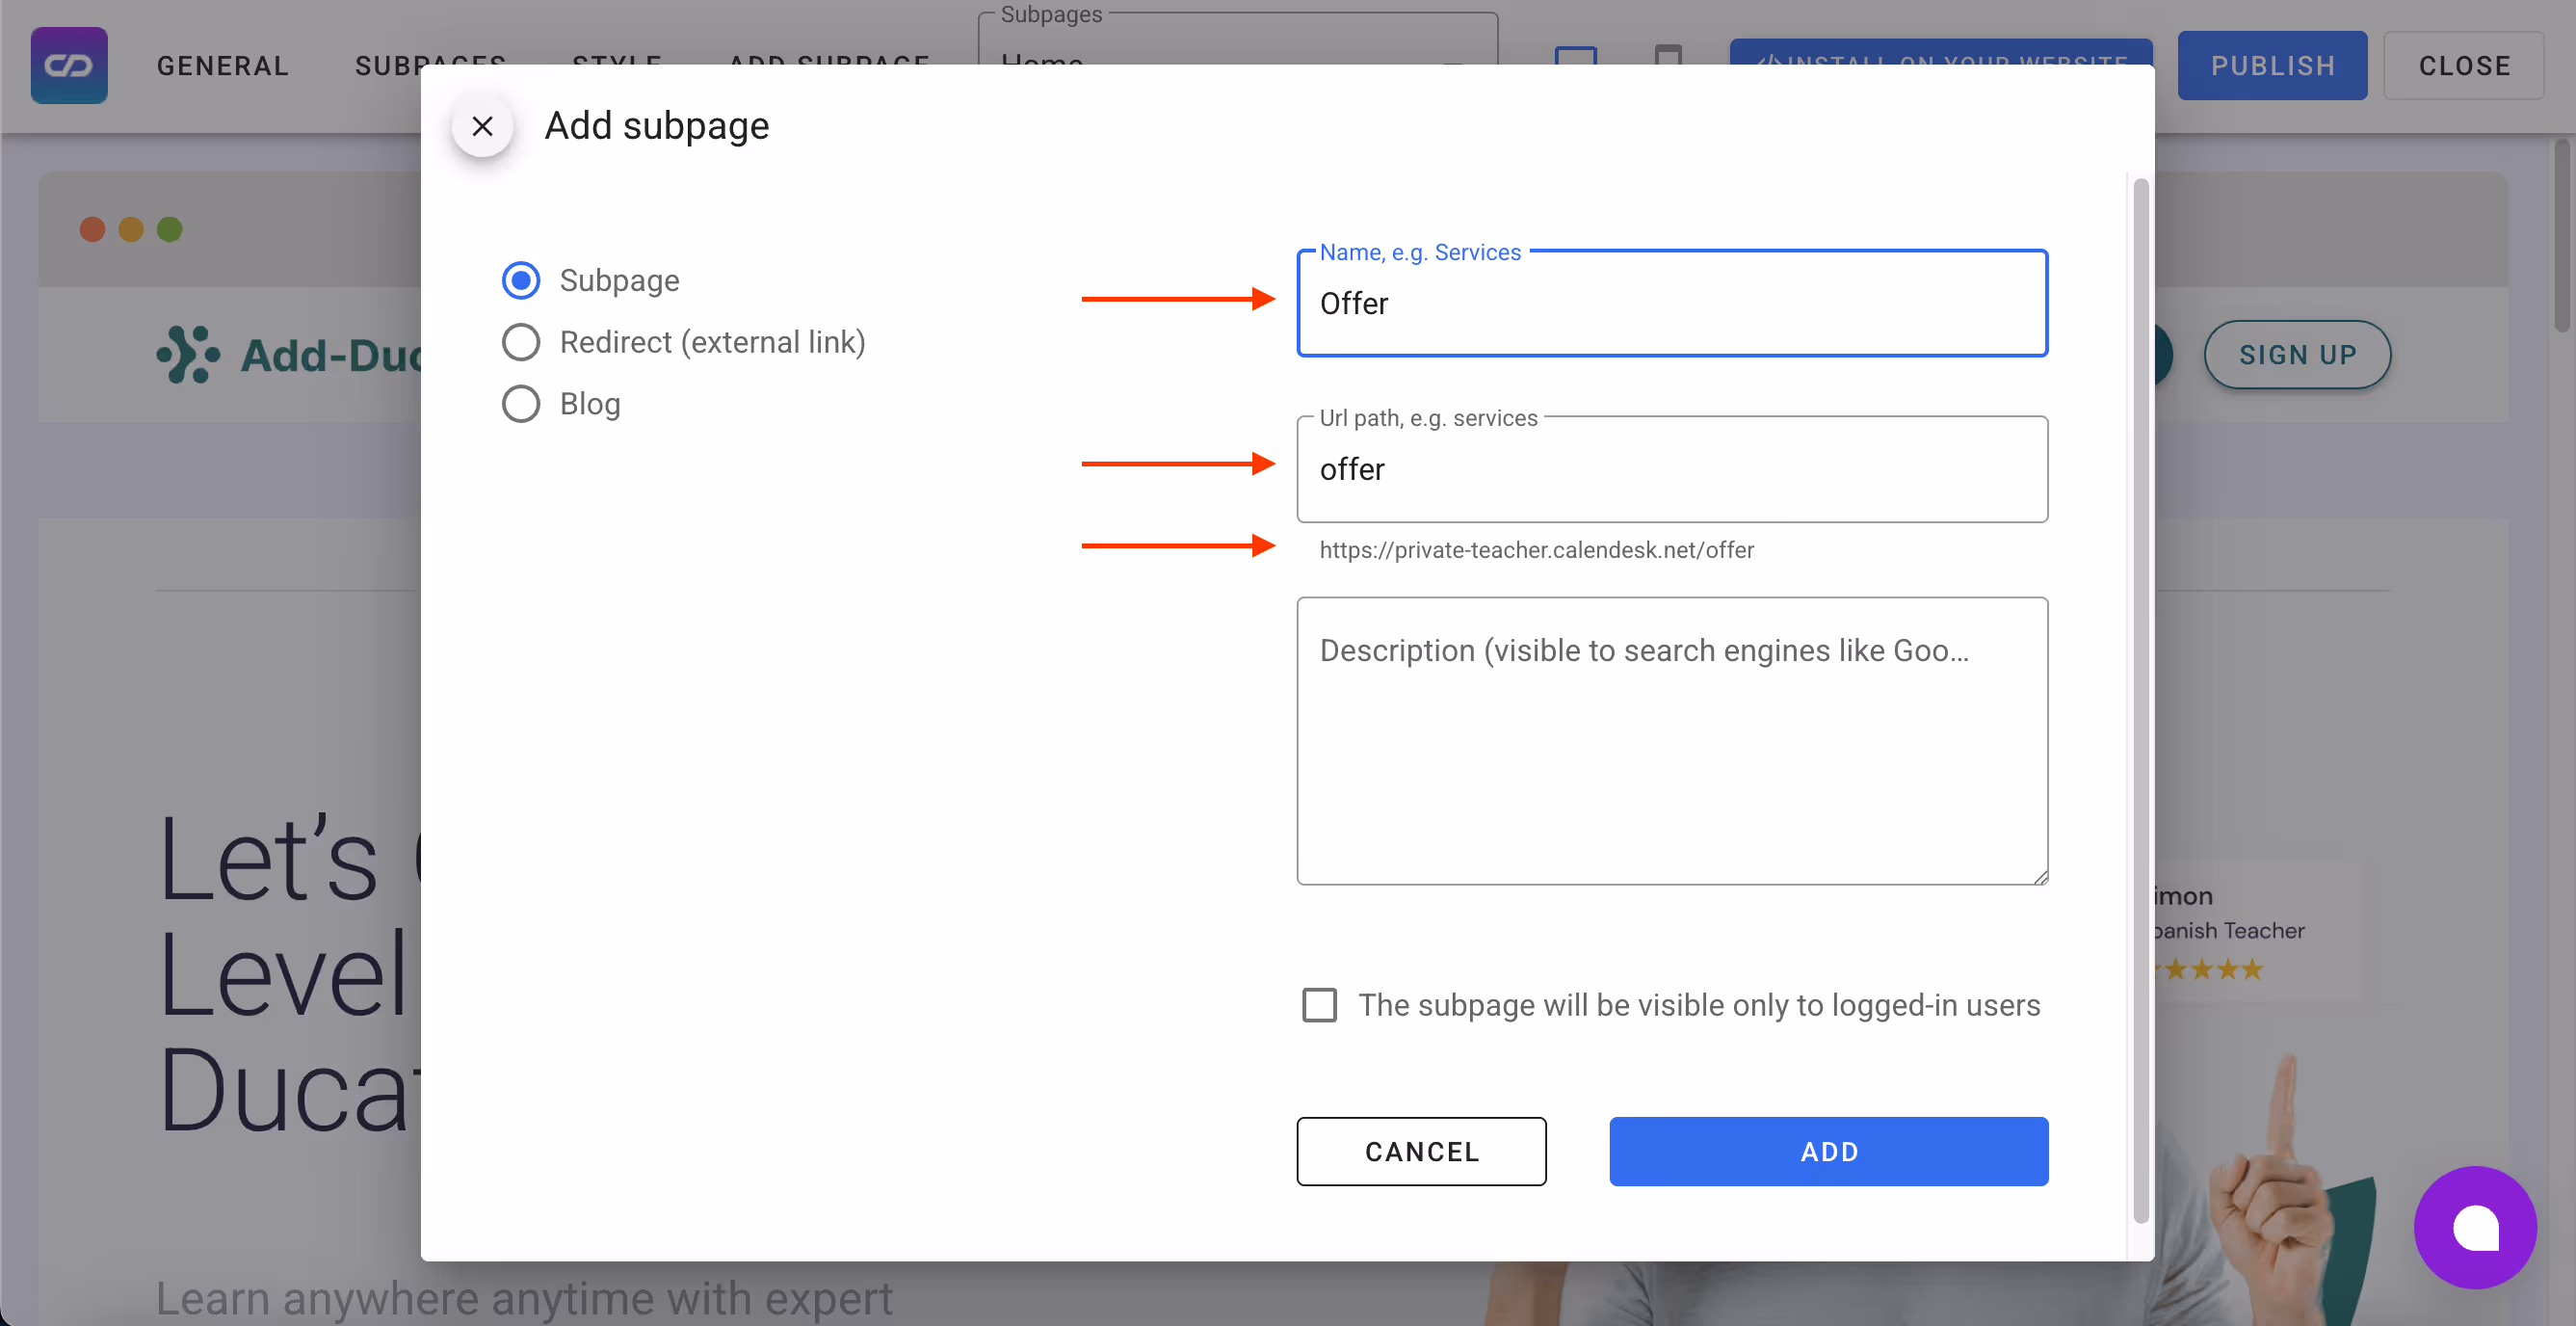
Remember, your domain address cannot contain special characters. If the service name (in the first window at the top) includes special characters, our system (in the second window) will remove them. For example, if you enter "Our team" it will be converted to "our-team." The service name appears on your website’s pages, while the domain address is the part of the URL that comes after the "/" symbol.
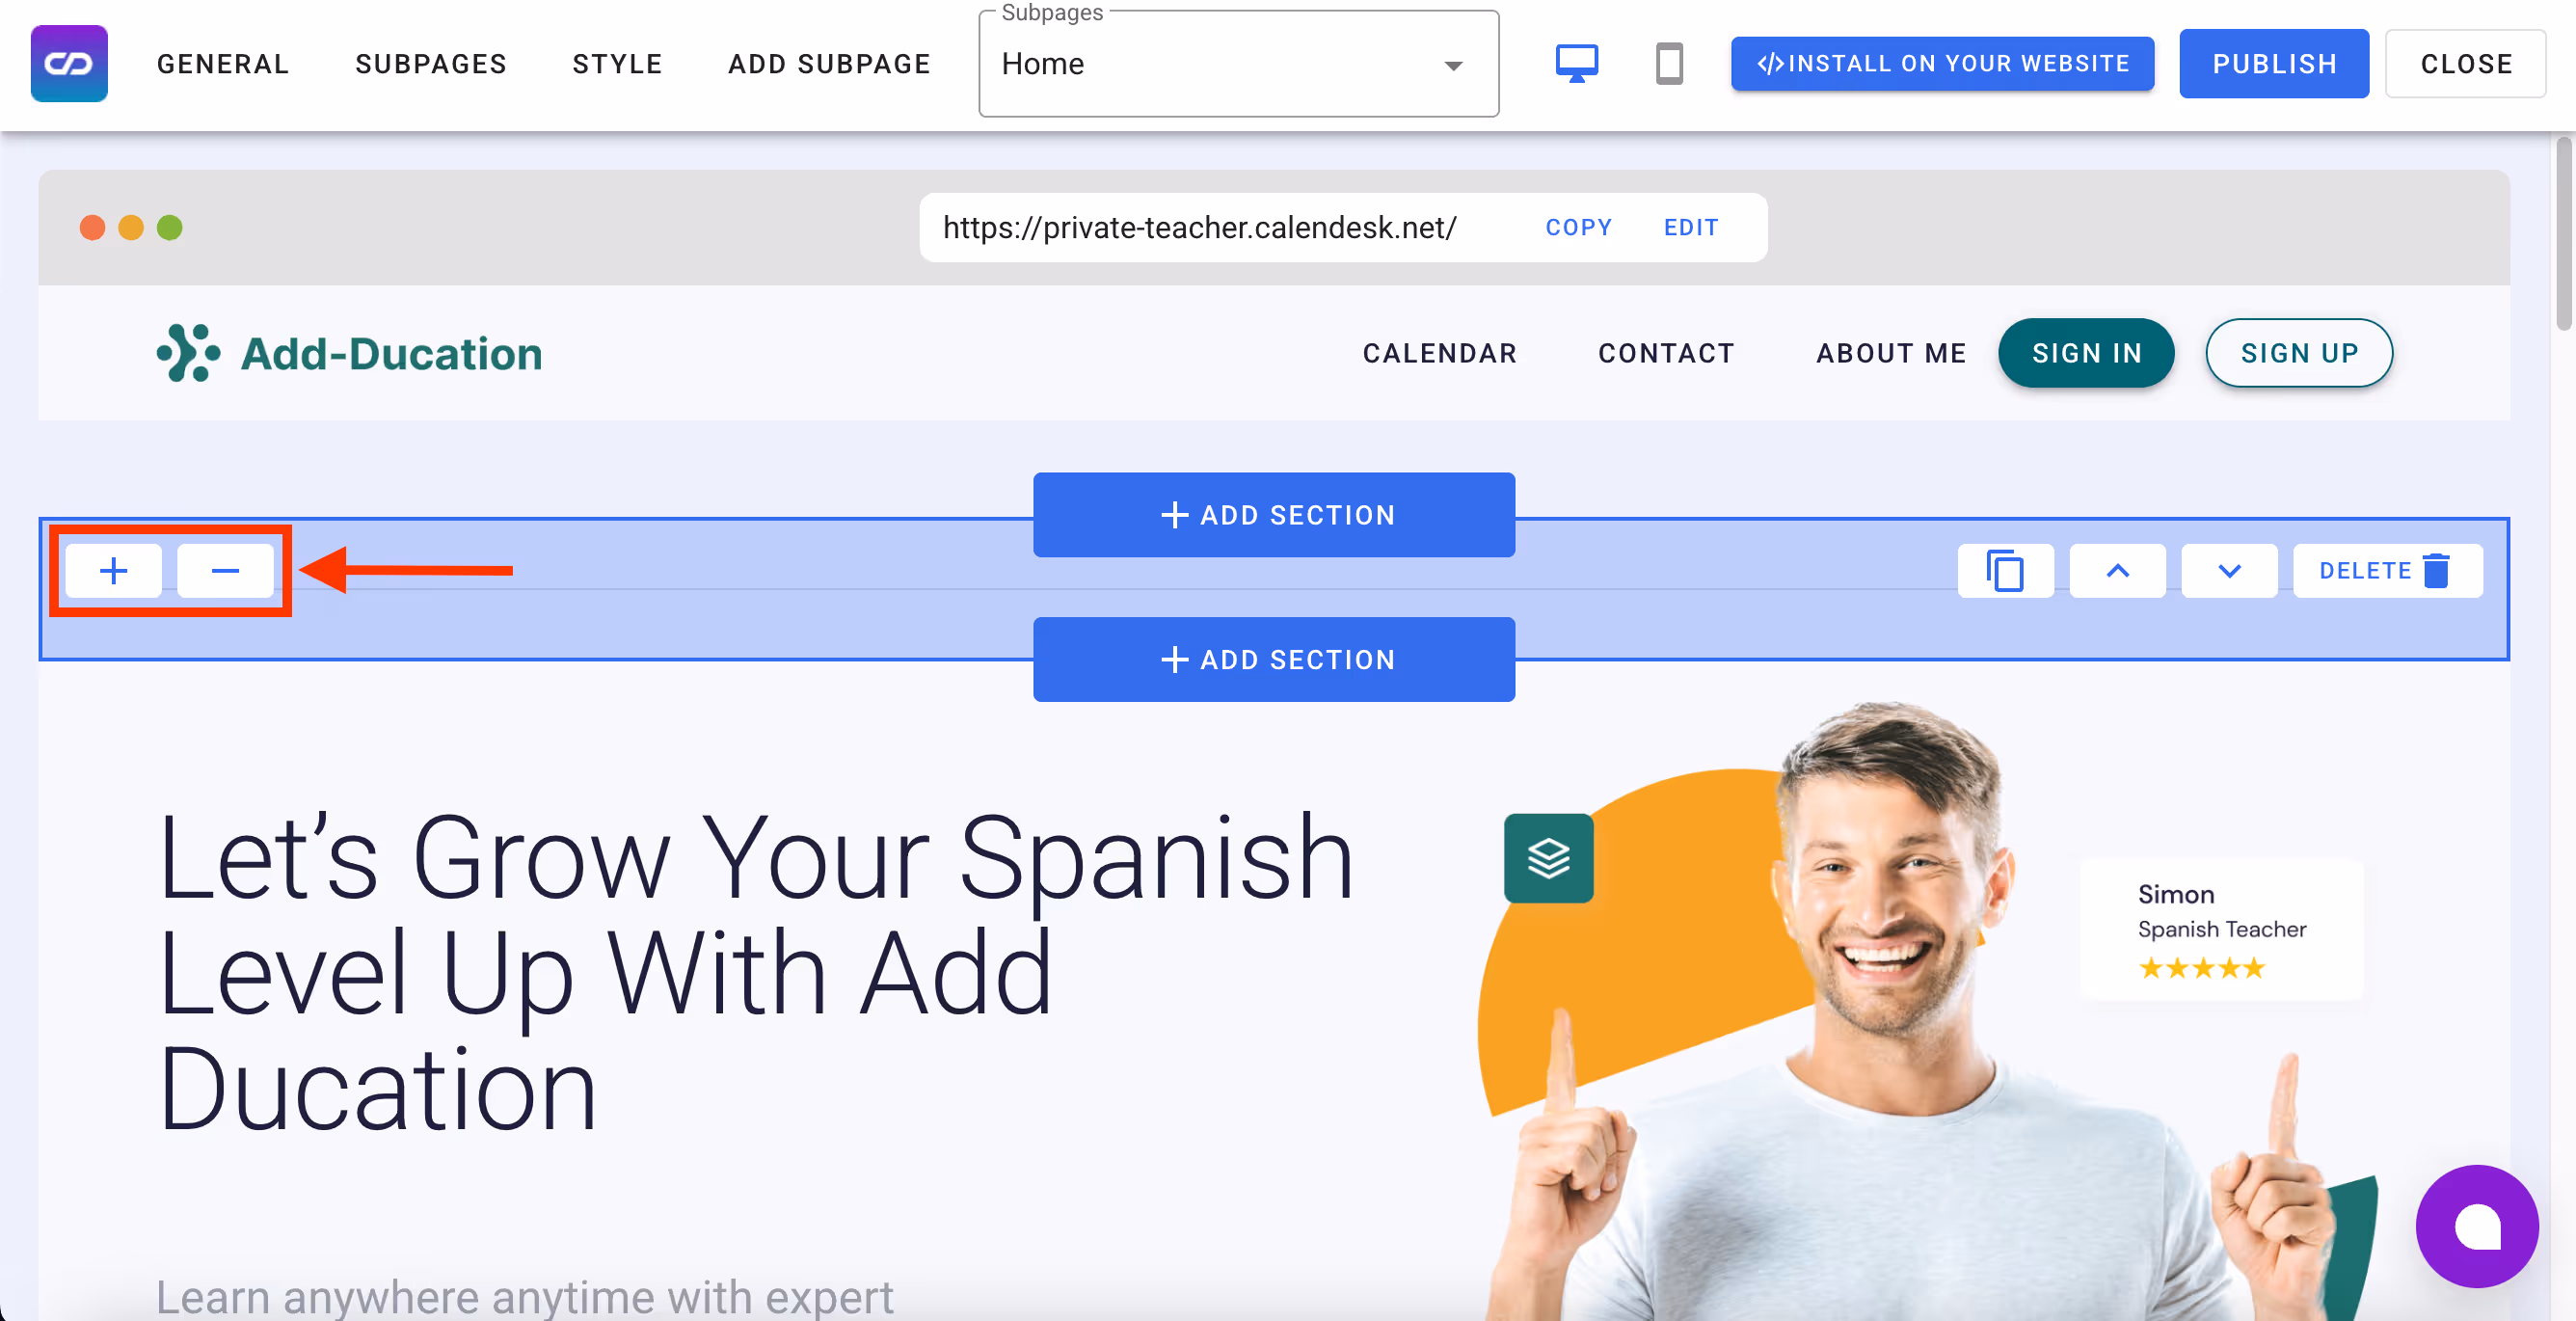
Sections
Our builder allows you to add and remove sections from your website. To add a section, go to your website template and click the blue button marked with the "+" symbol, Add Section. If you want to remove an existing section, click the Delete button.
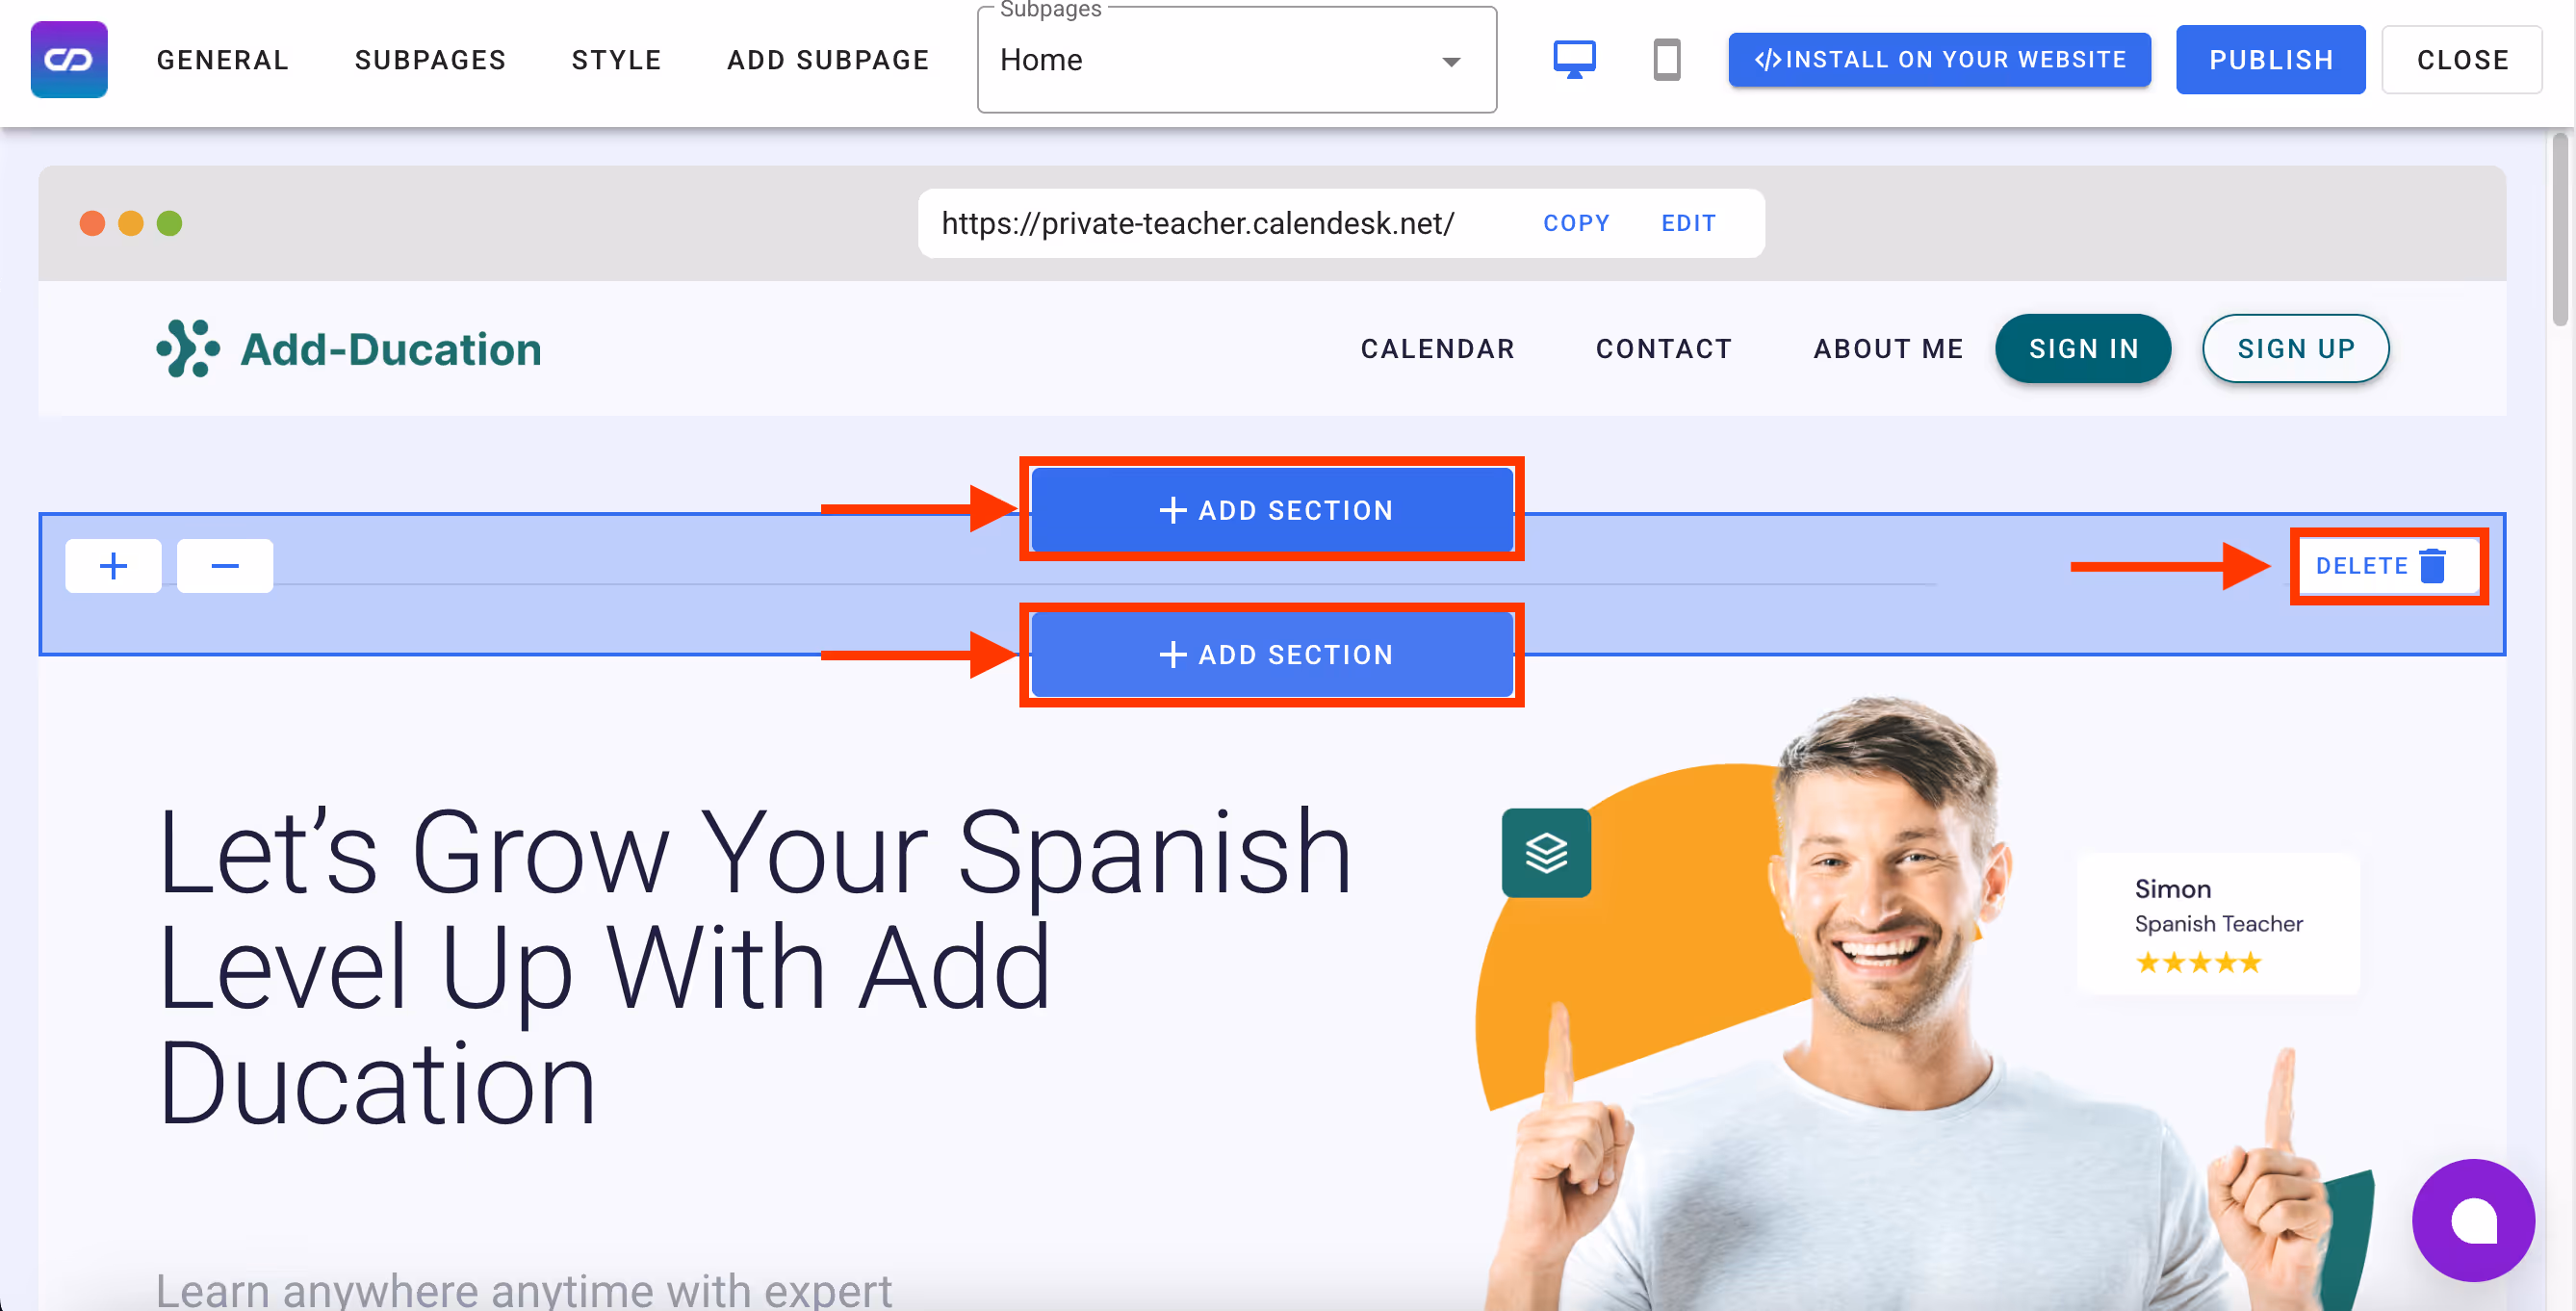
After adding a section, you can change its position relative to others using the arrows in the top right corner of the section. If any section seems too large or too small, you can adjust its size using the + and – buttons.
Replace
The Replace option is only active for two sections: the footer, located at the bottom of the page, and the header, visible at the opposite end.
You can find more information about editing your website in the articles: How to Change the Logo on Your Website? and How to set your custom domain for your website?