How to integrate Stripe payments?

In this article, we will explain what the Stripe payment system is, how to connect it to the Calendesk calendar, and how to secure your data within the Stripe payment system.
Stripe
Stripe is a payment system that allows you to accept payments, issue invoices, process refunds, and create subscriptions and service packages. Registration takes very little time, and we will outline the entire process below.
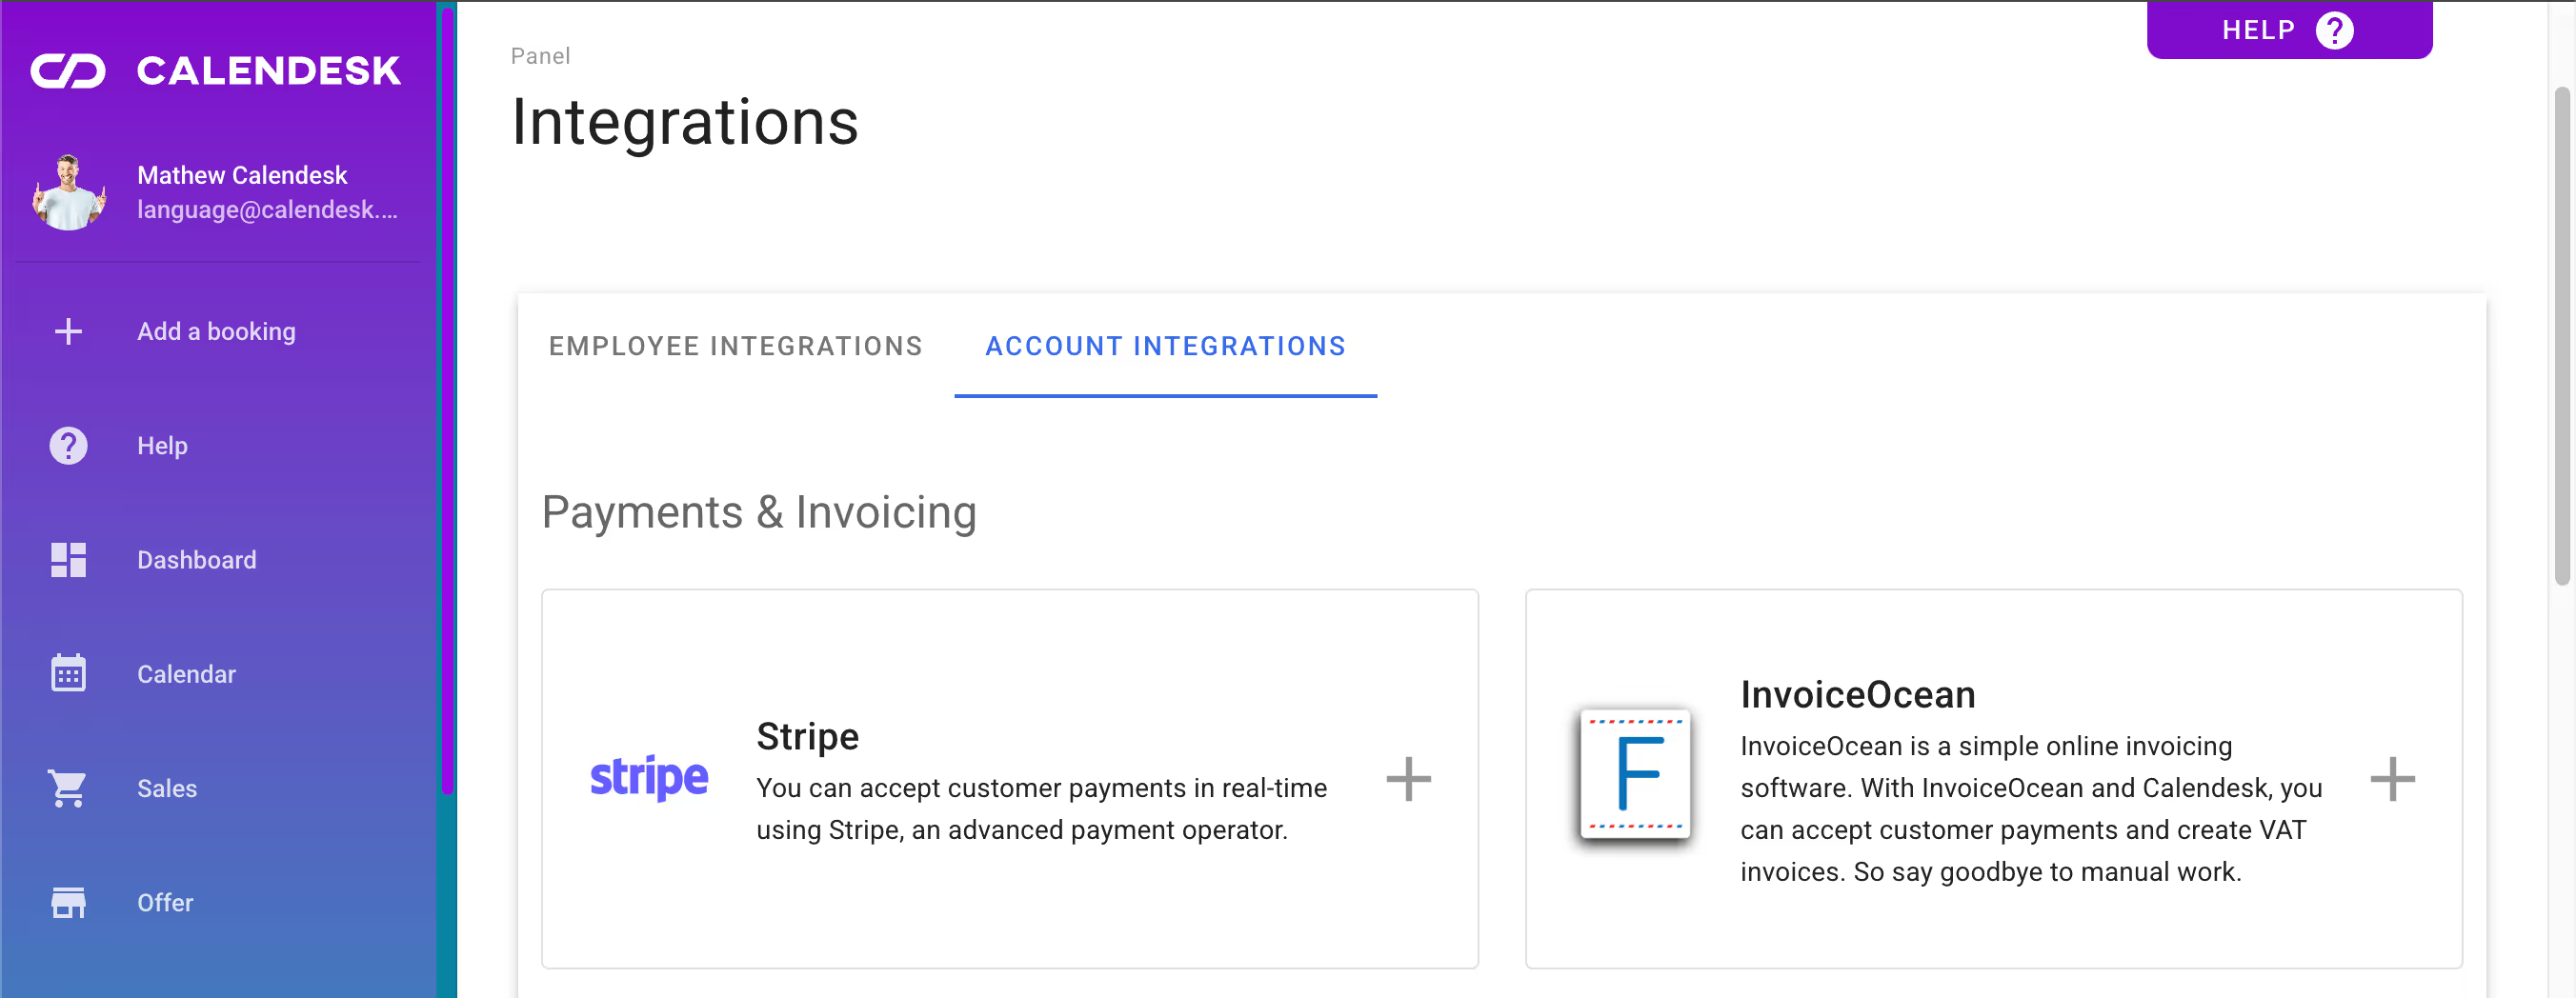
To connect your Stripe account with the Calendesk platform, go to the Integrations and then Account Integrations tab.
Platform Configuration
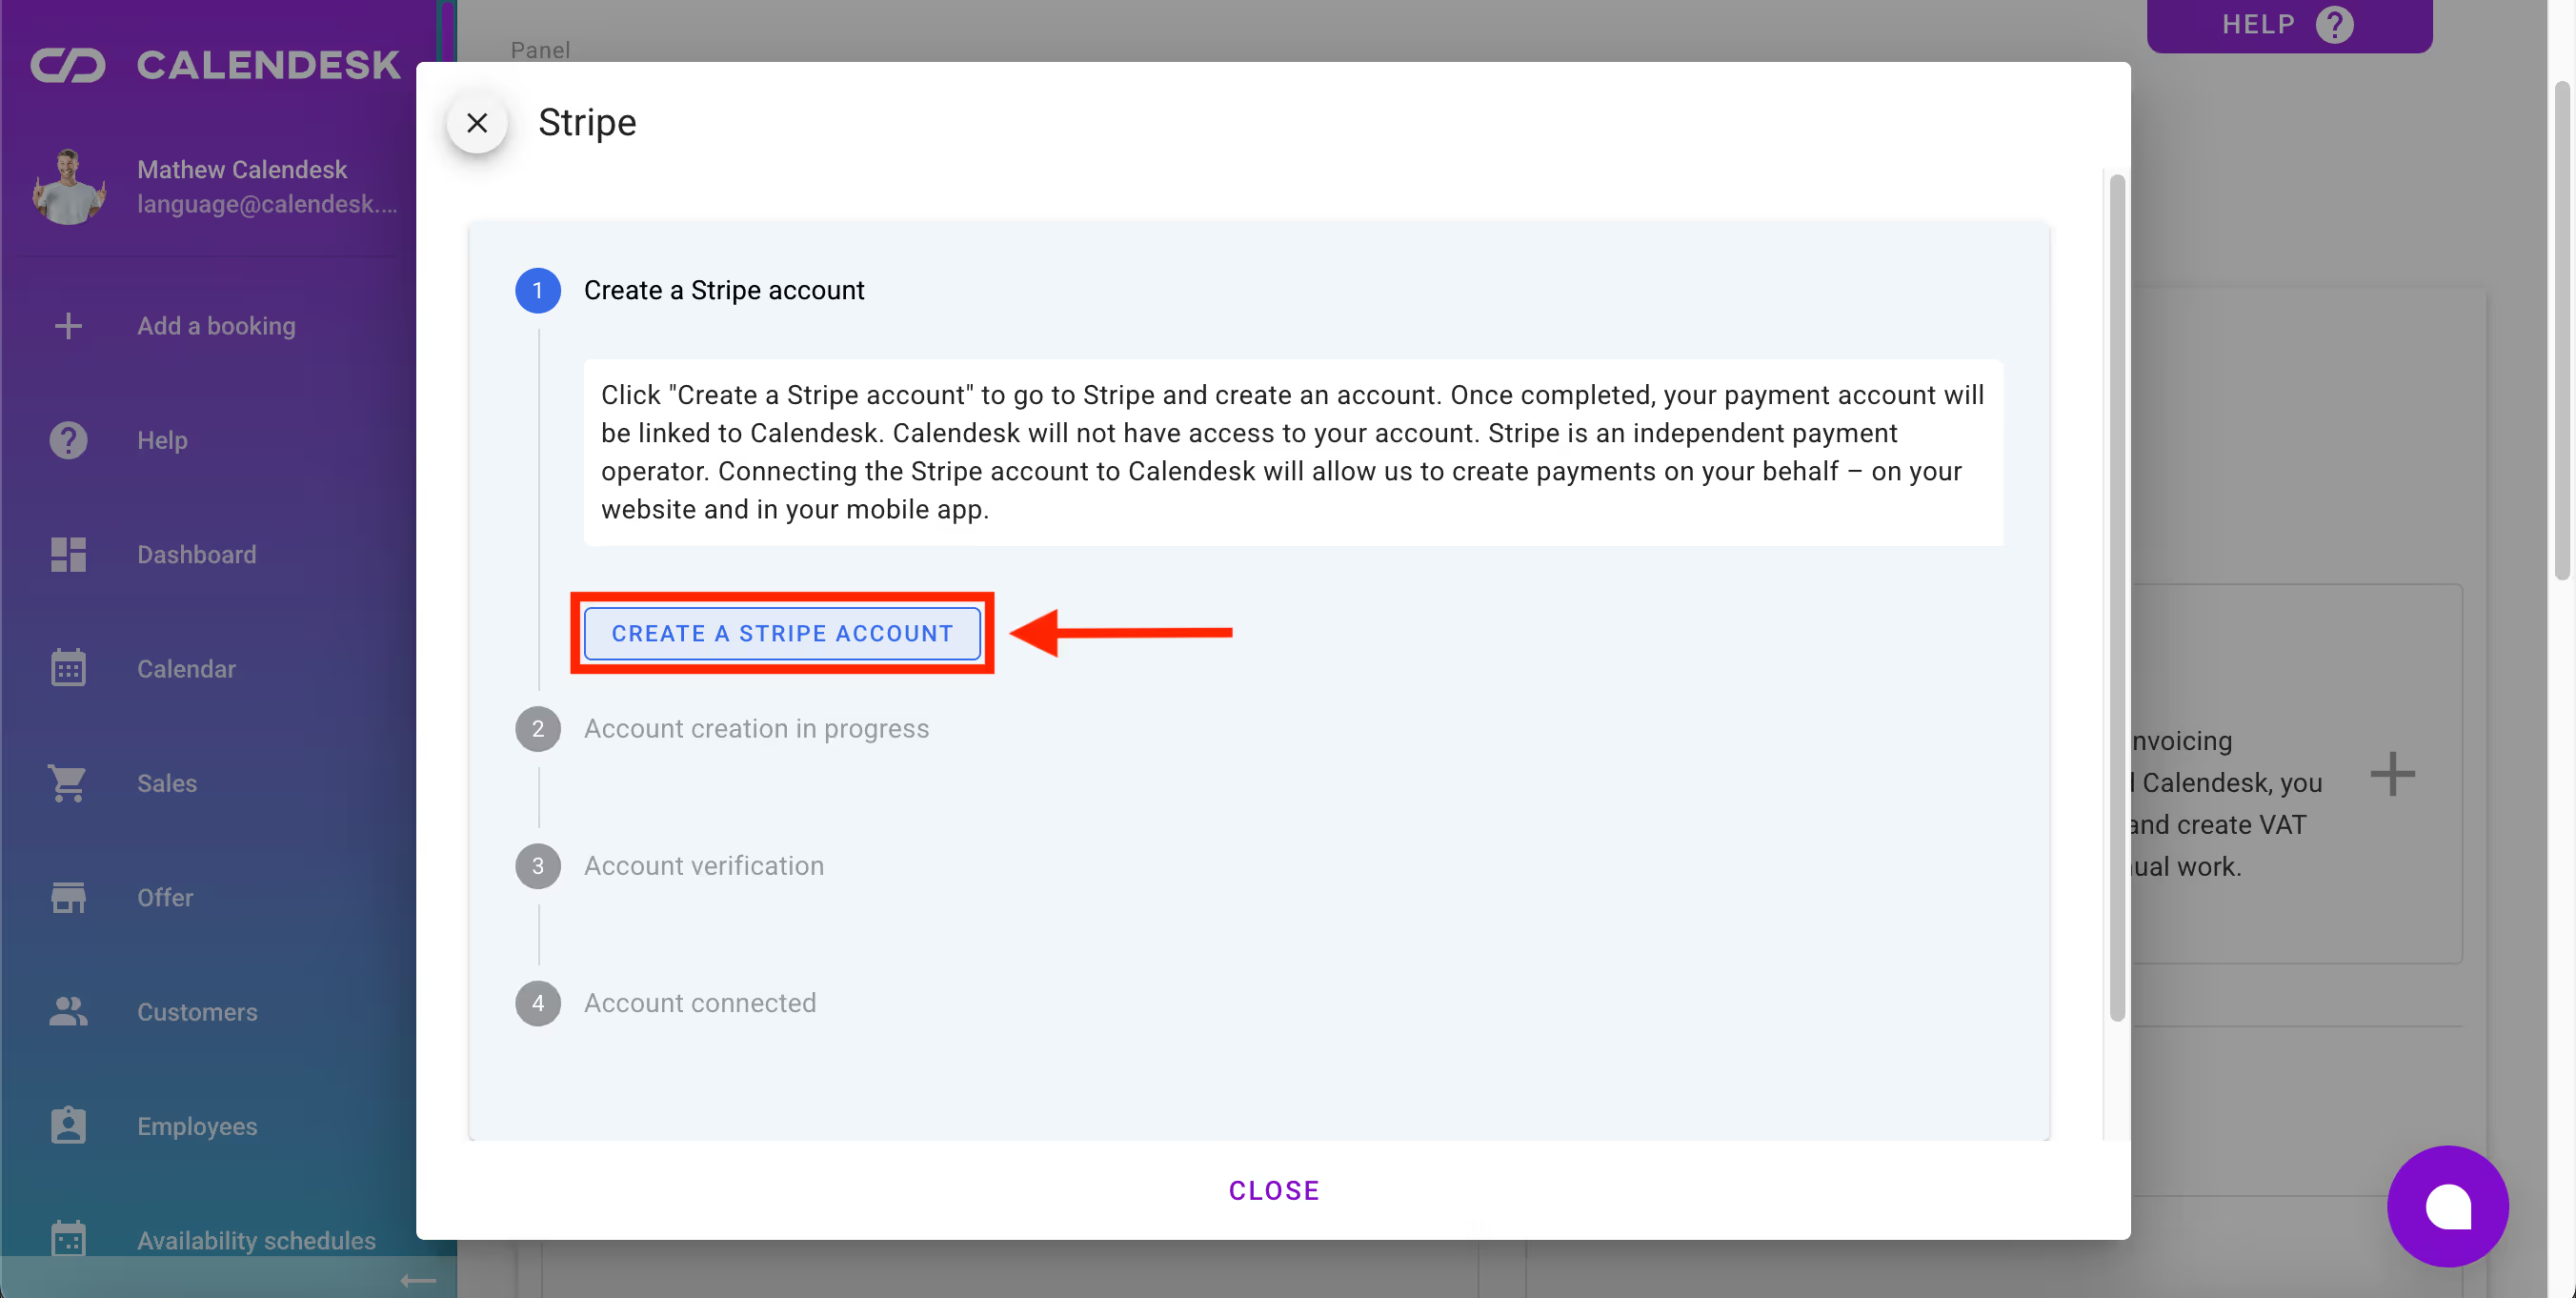
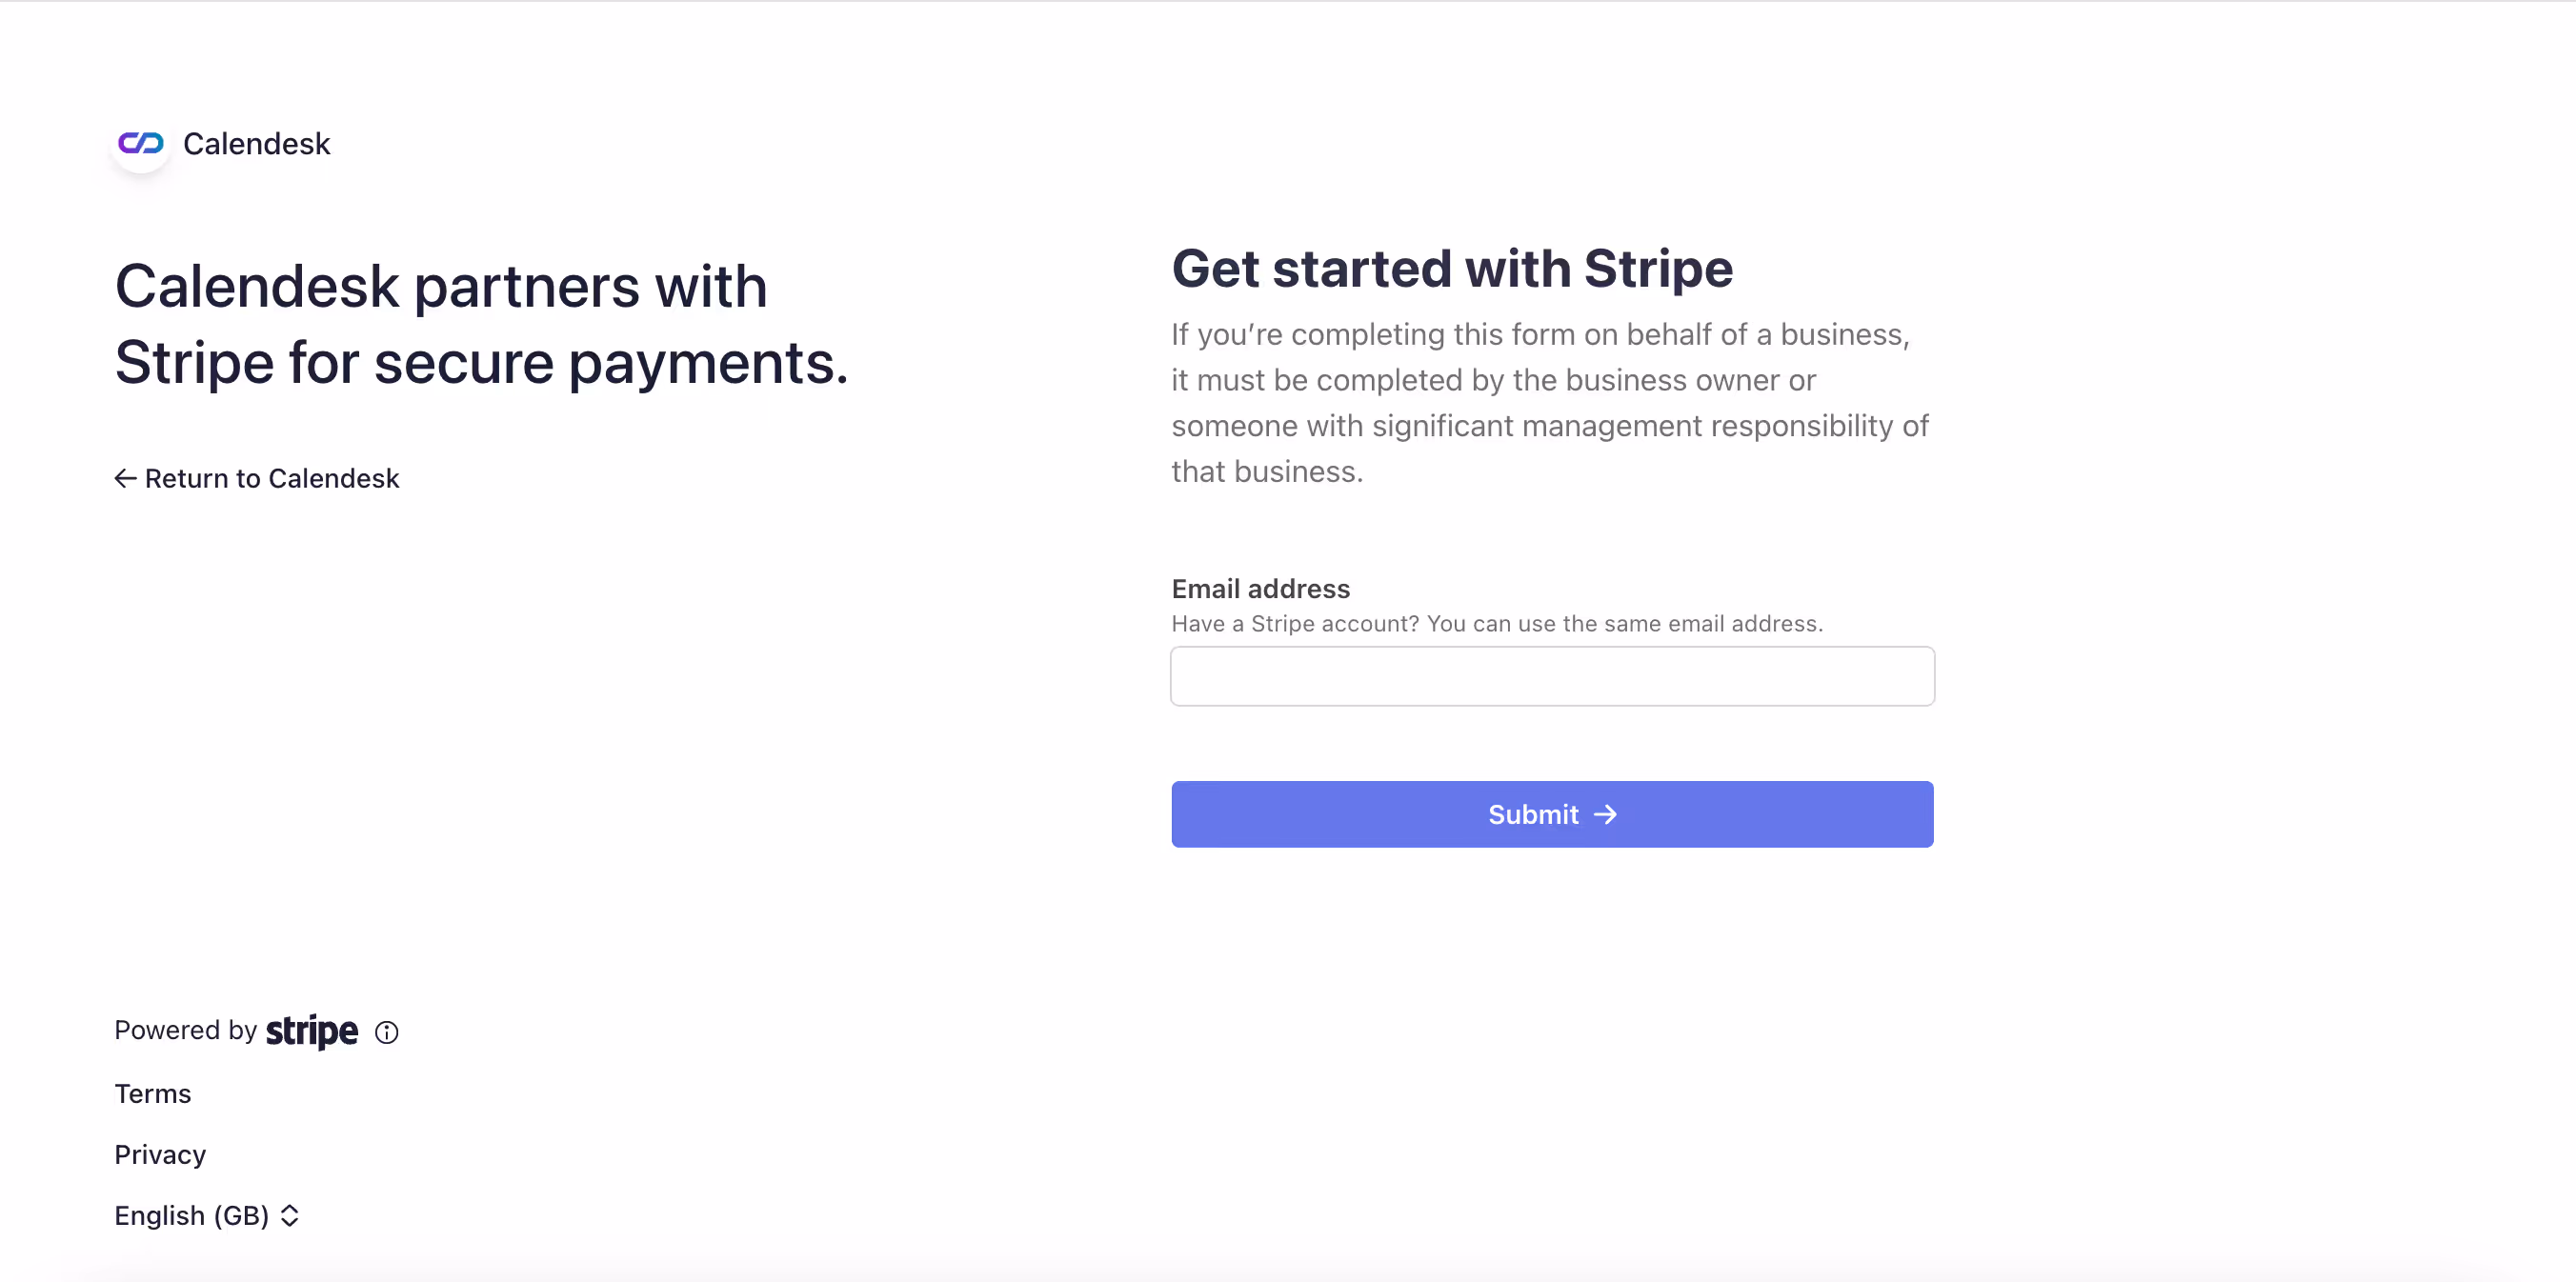
After clicking the Create a Stripe Account button, you will be taken to the next screen, where you need to enter an email address to create an account on the Stripe platform.
It is crucial to create your Stripe account using the button Create a Stripe Account, marked in the image above. This is the only way to ensure that your Stripe account is linked to your Calendesk account.
If you already have a Stripe account, you will still need to go through the process of creating a new account.
After clicking the button marked above, log in to your existing Stripe account. This will create a Stripe sub-account, which will be used to handle transactions between your customers and Calendesk.
It is not possible to connect a Stripe account that was created directly on the Stripe website without being redirected from the Calendesk system.
Security
Next, enter a strong password (remember that a strong password enhances the security of your portal, which you use to manage your customers' funds).
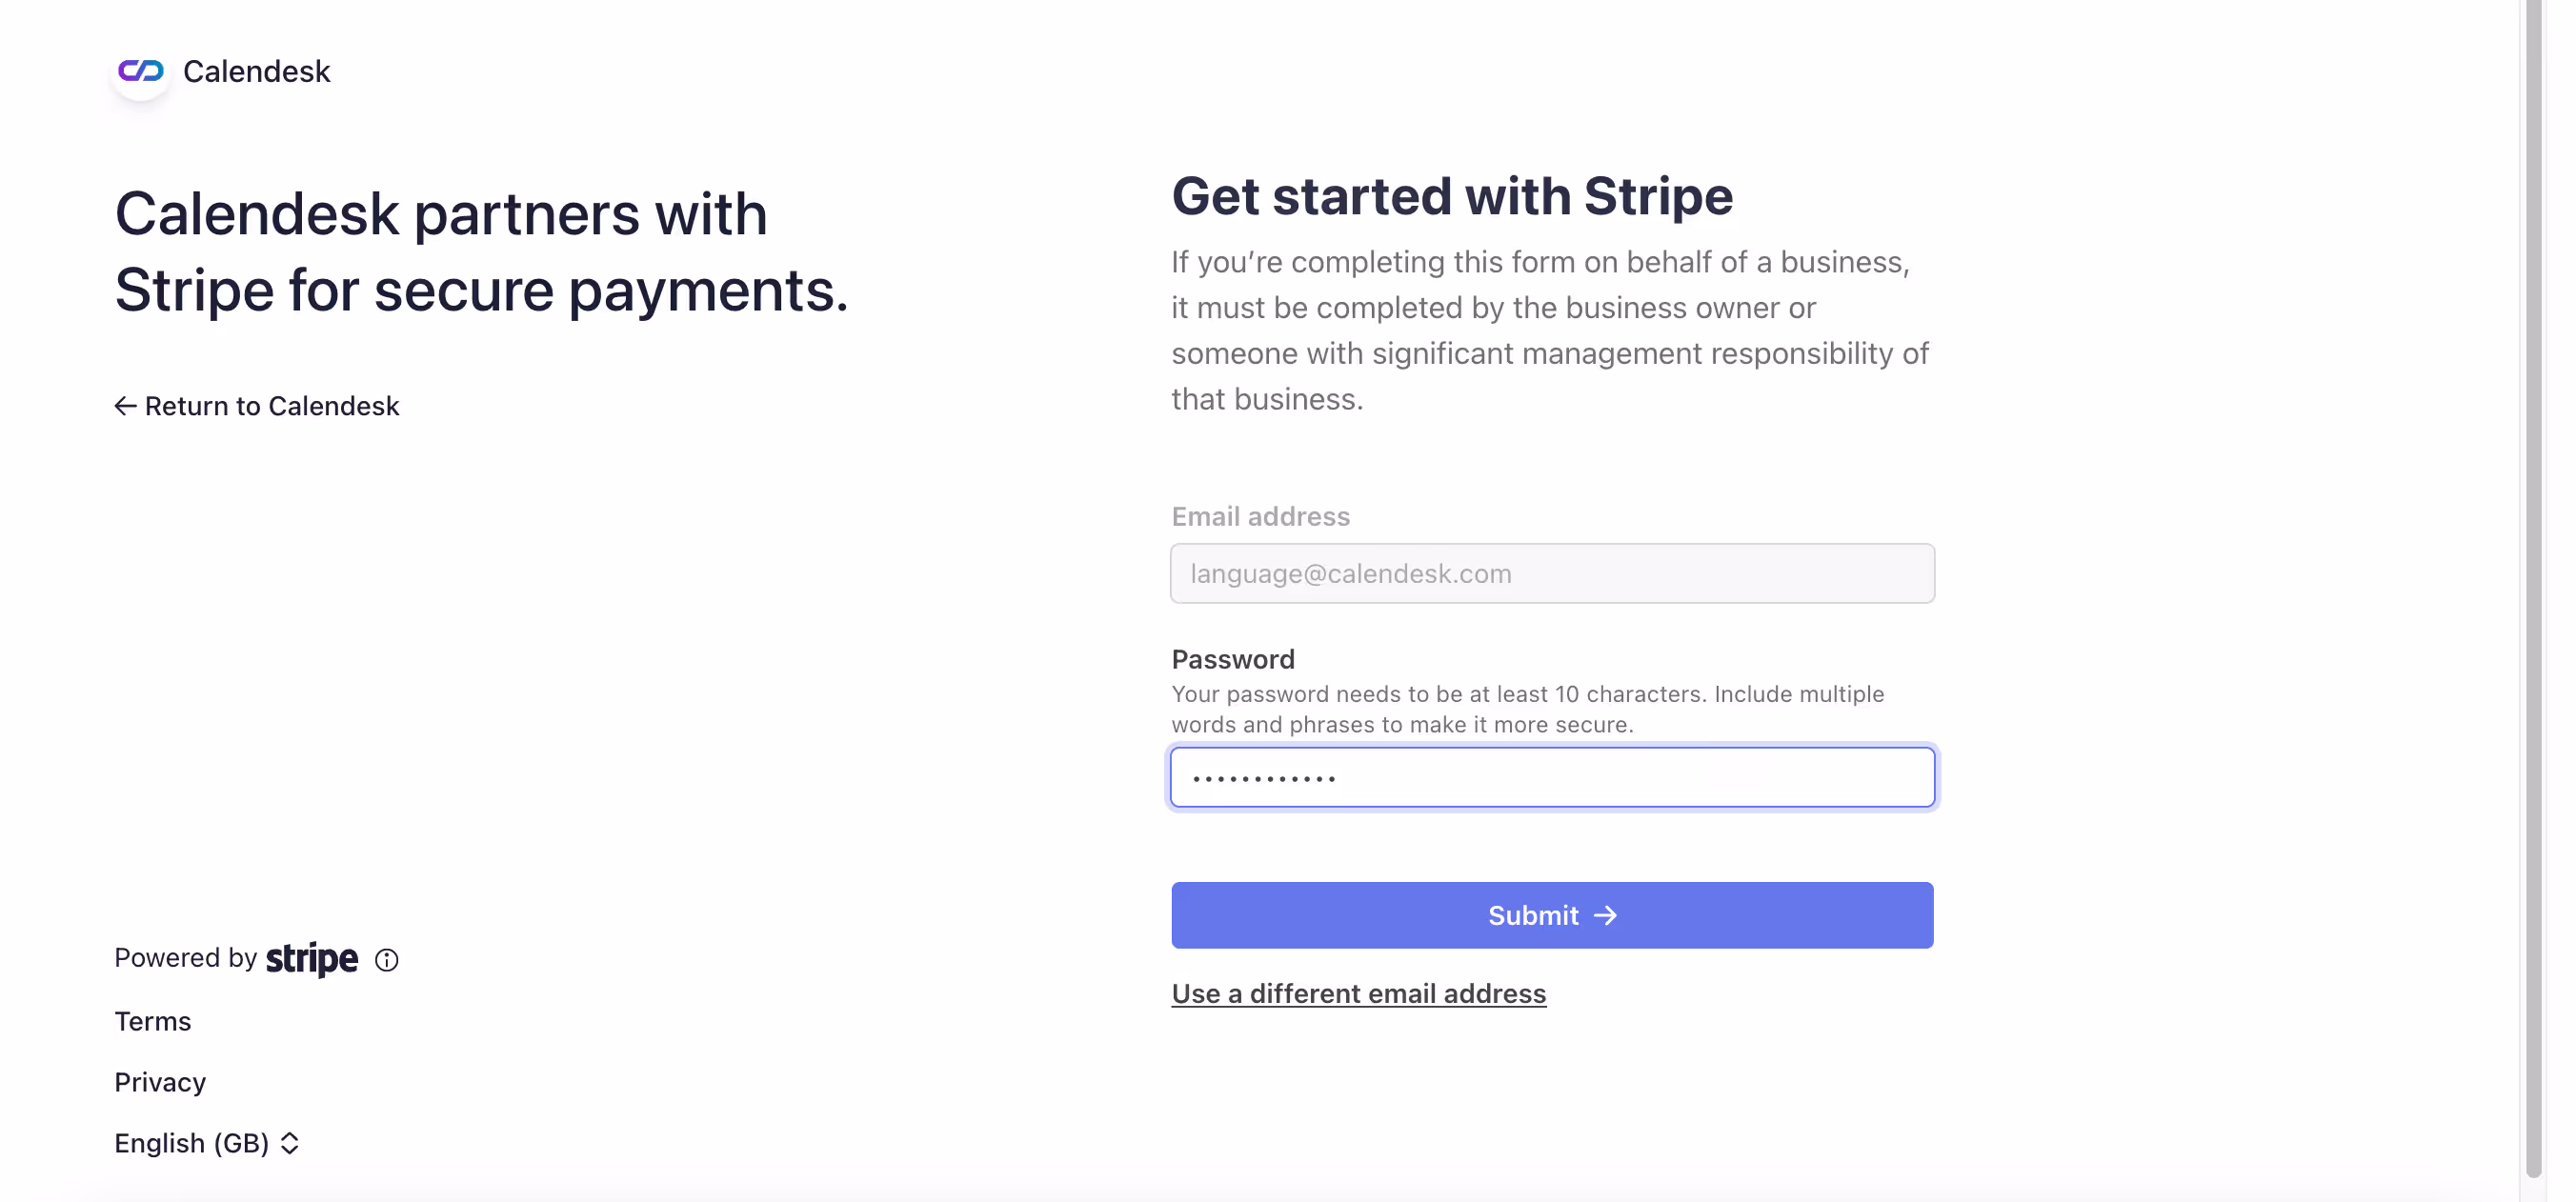
Once you confirm your password by clicking the Submit button, you will receive an email with a link to verify your email address.
In the next step, Stripe will ask you to set up an additional security measure in the form of two-factor authentication using the Google Authenticator app.
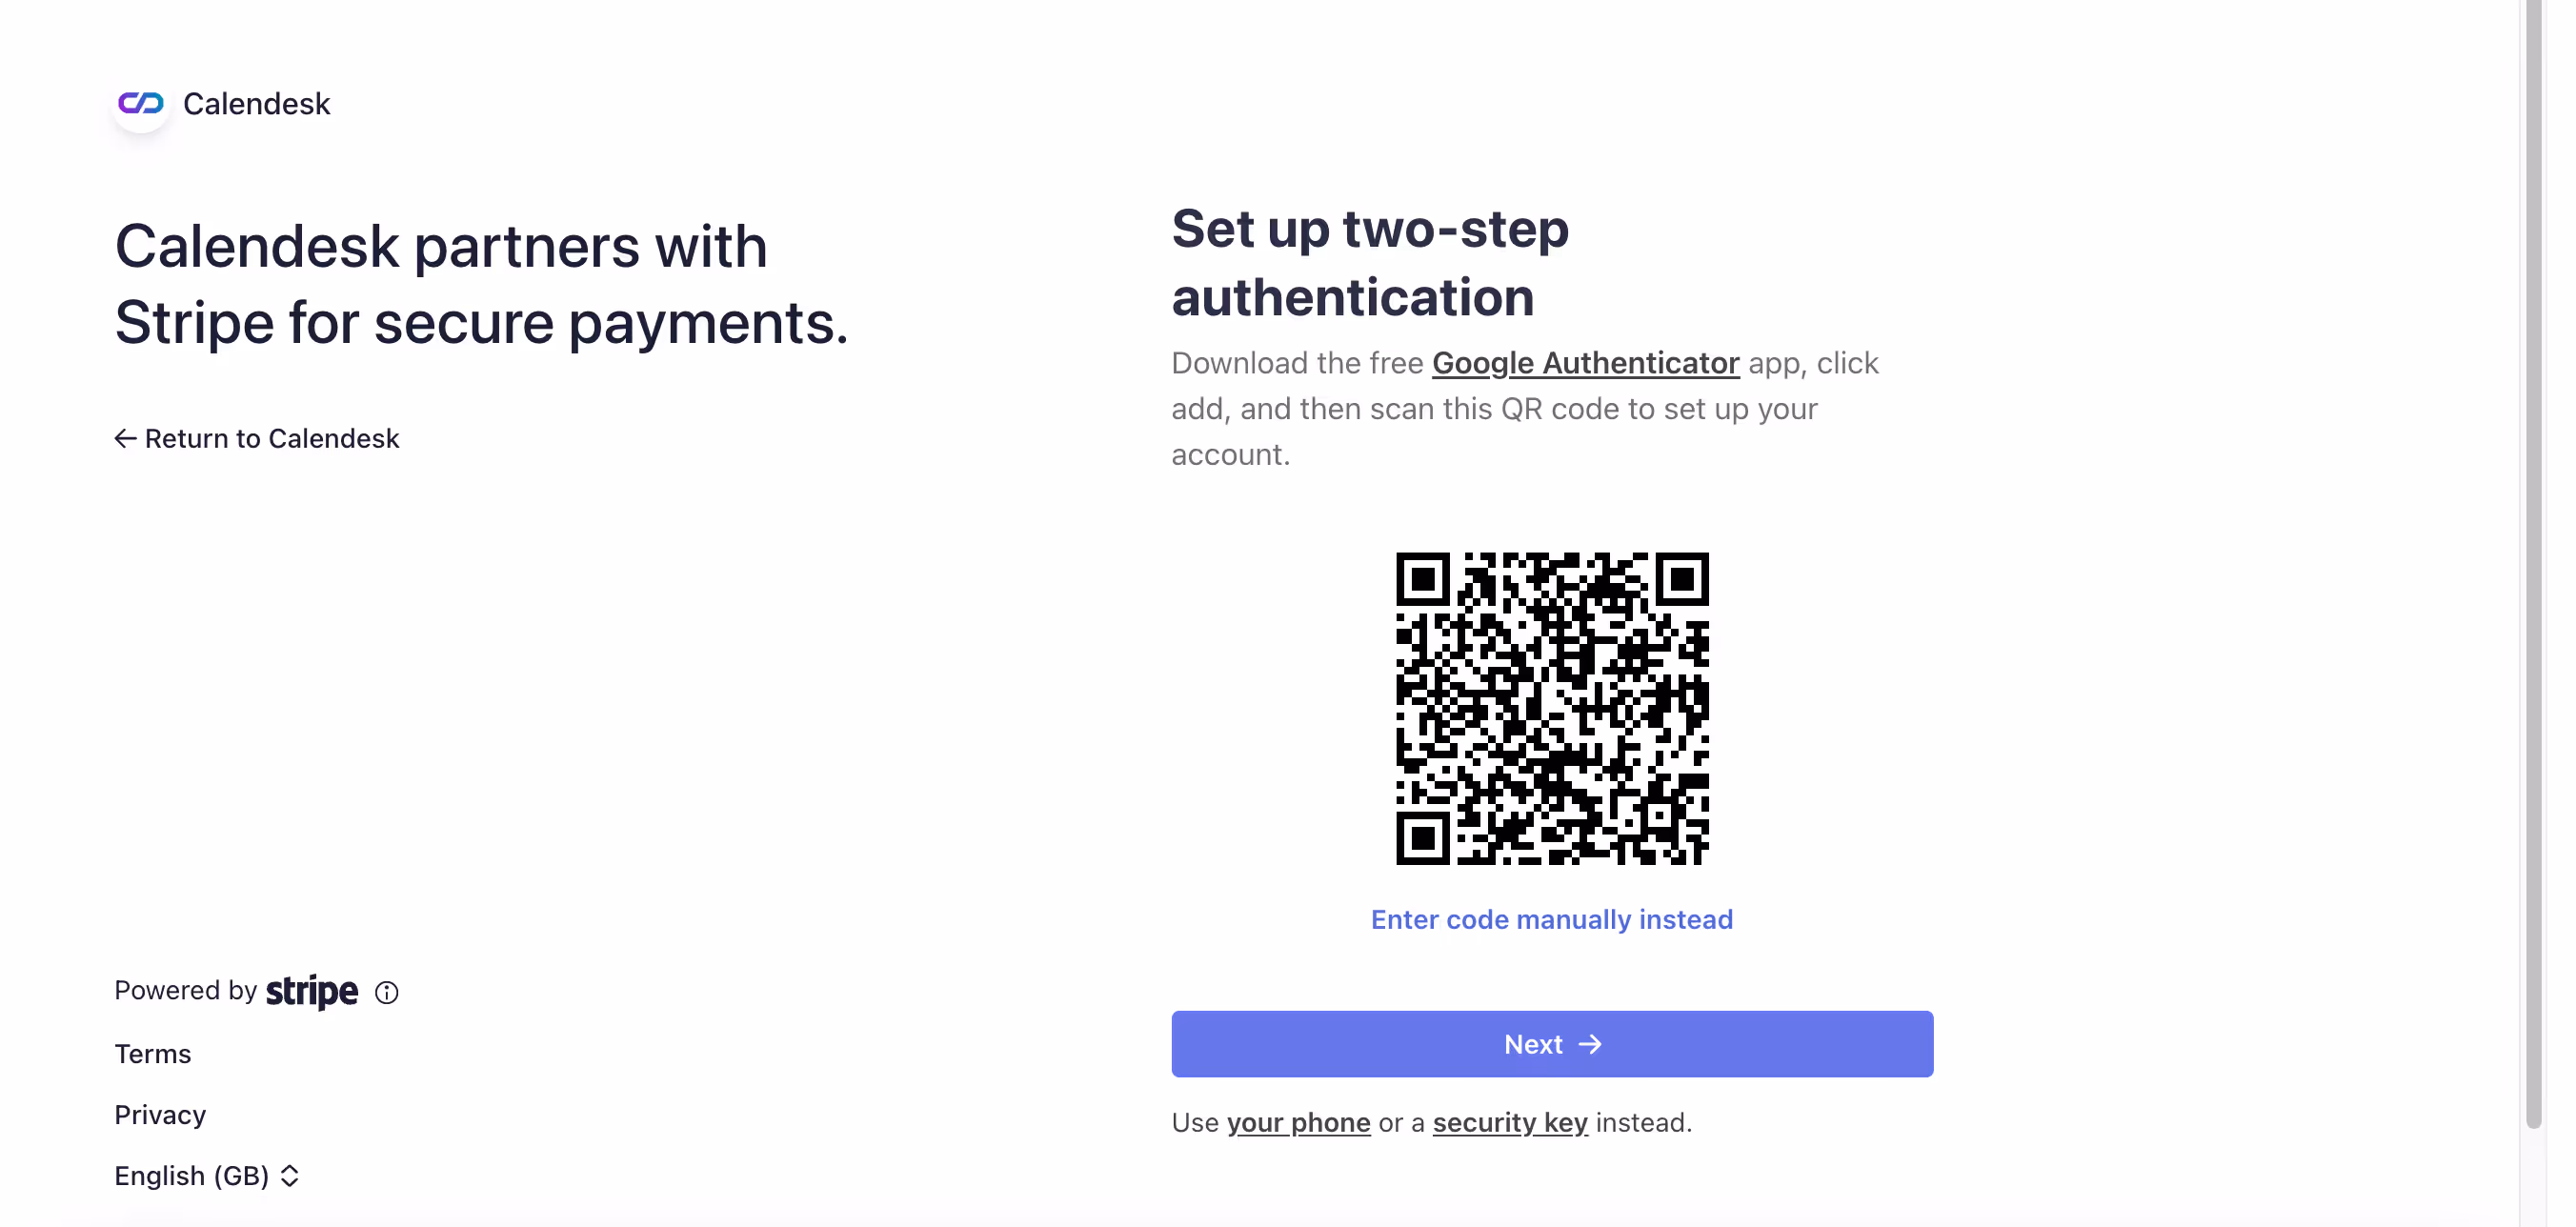
You need to open the Google Authenticator app and tap the + button in the bottom right corner to add a new platform. You can either scan the QR code with your camera or manually enter the code.
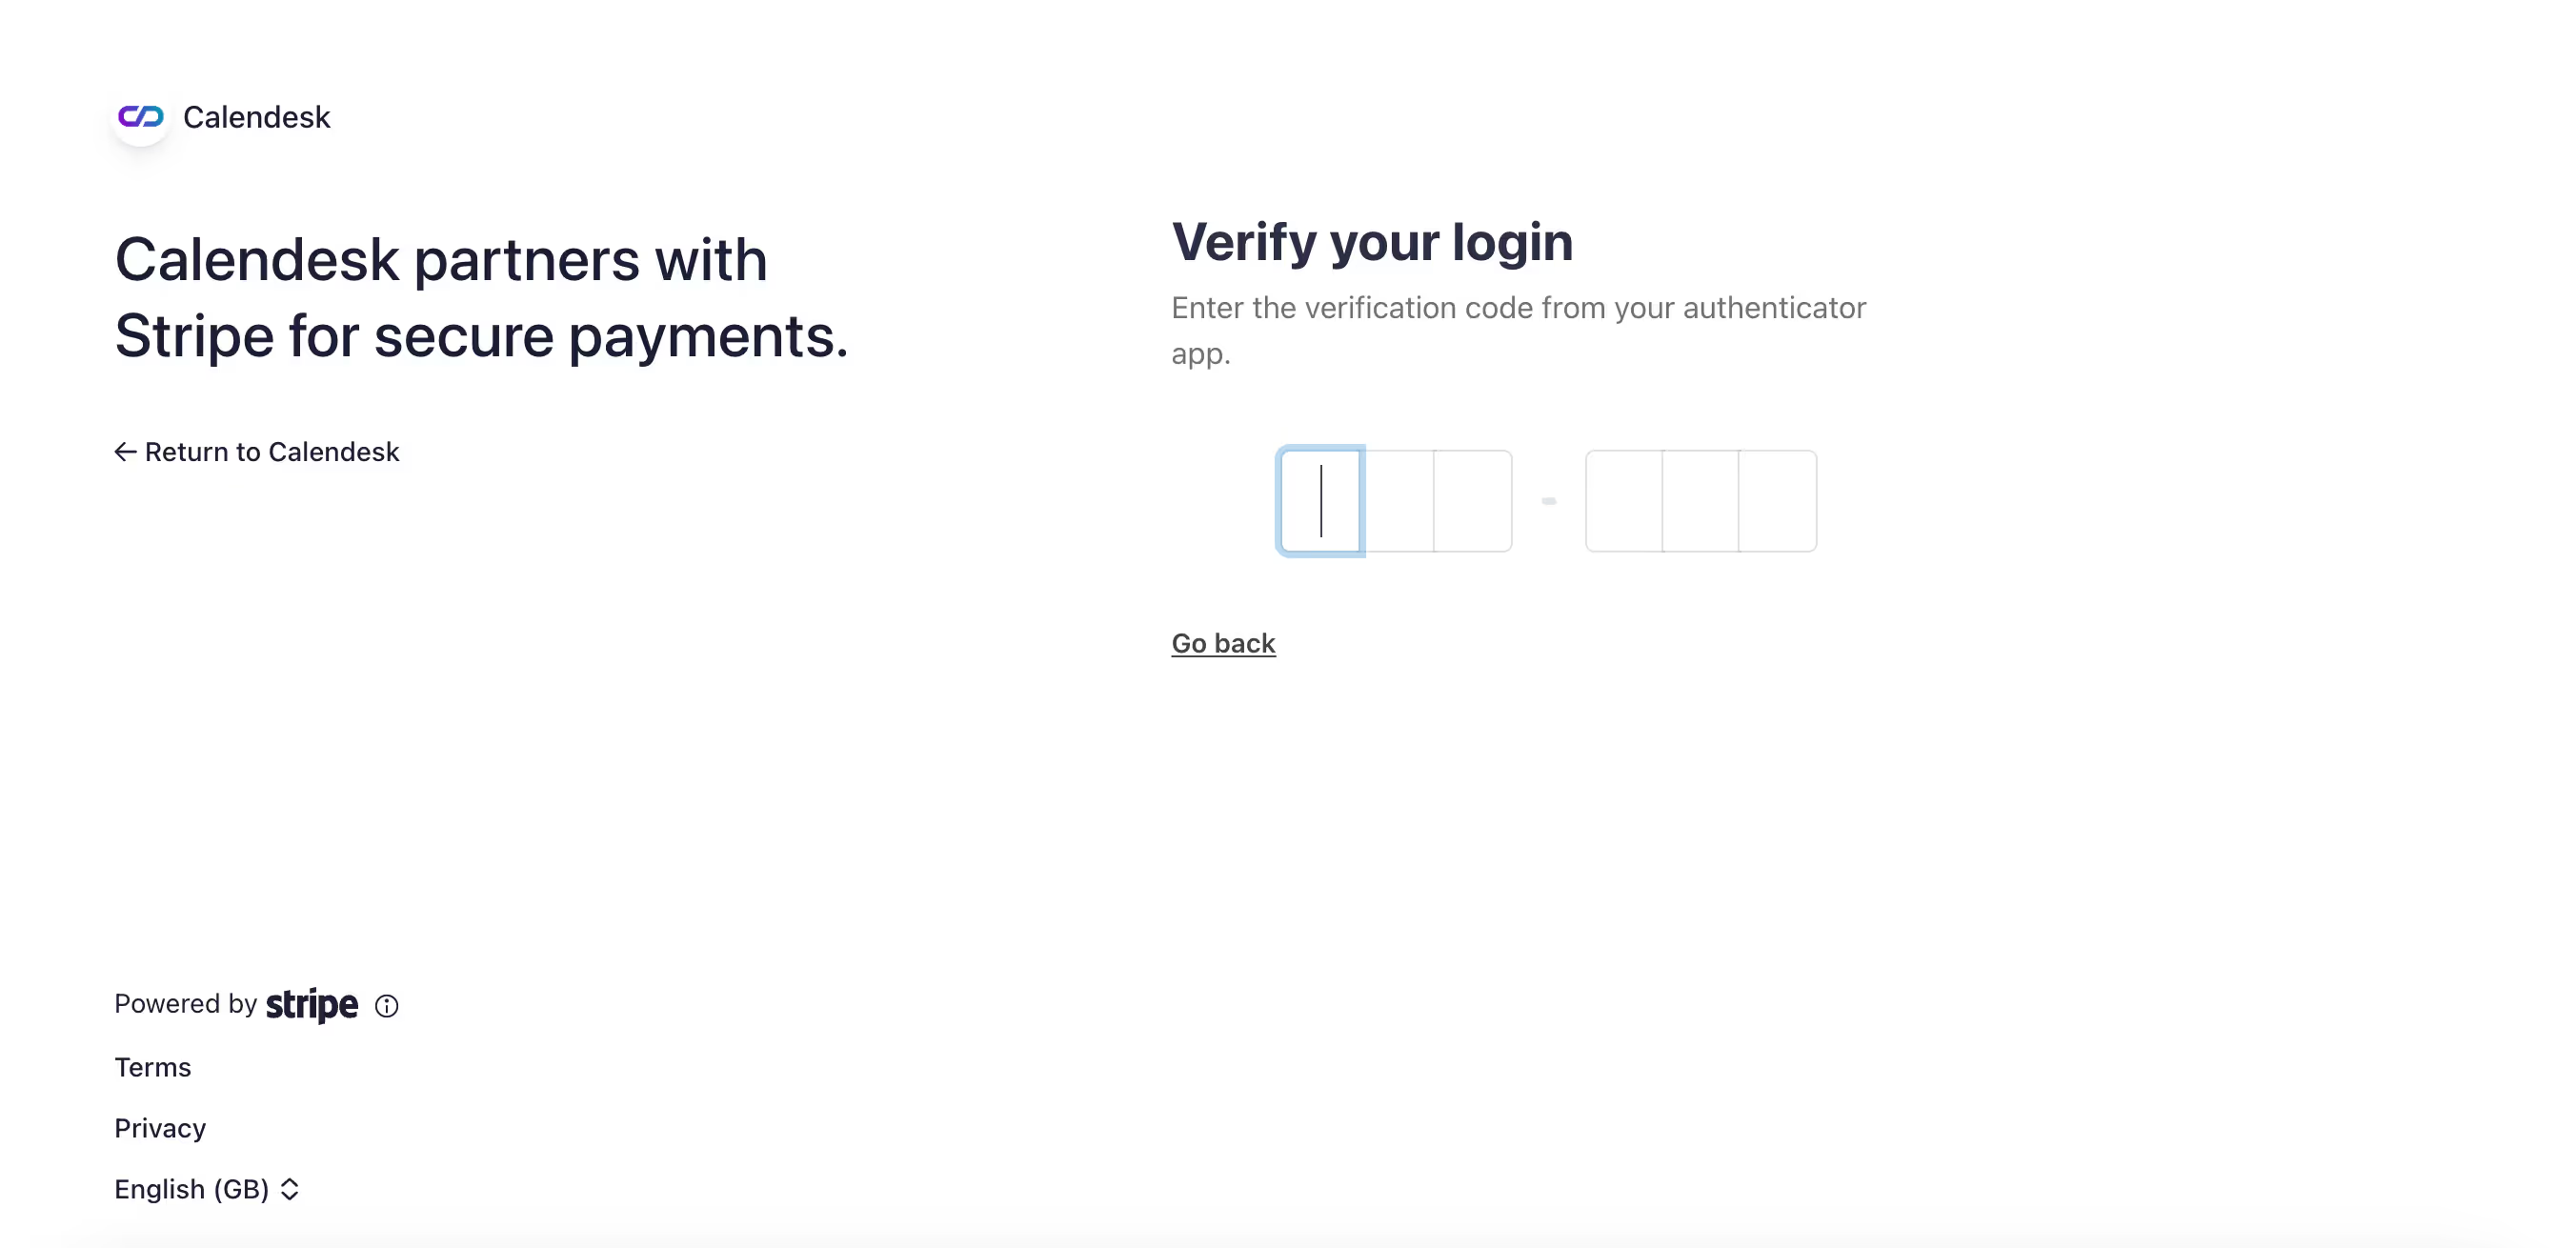
In the next step, you will need to enter the unique verification code that will be generated in the Google Authenticator app.
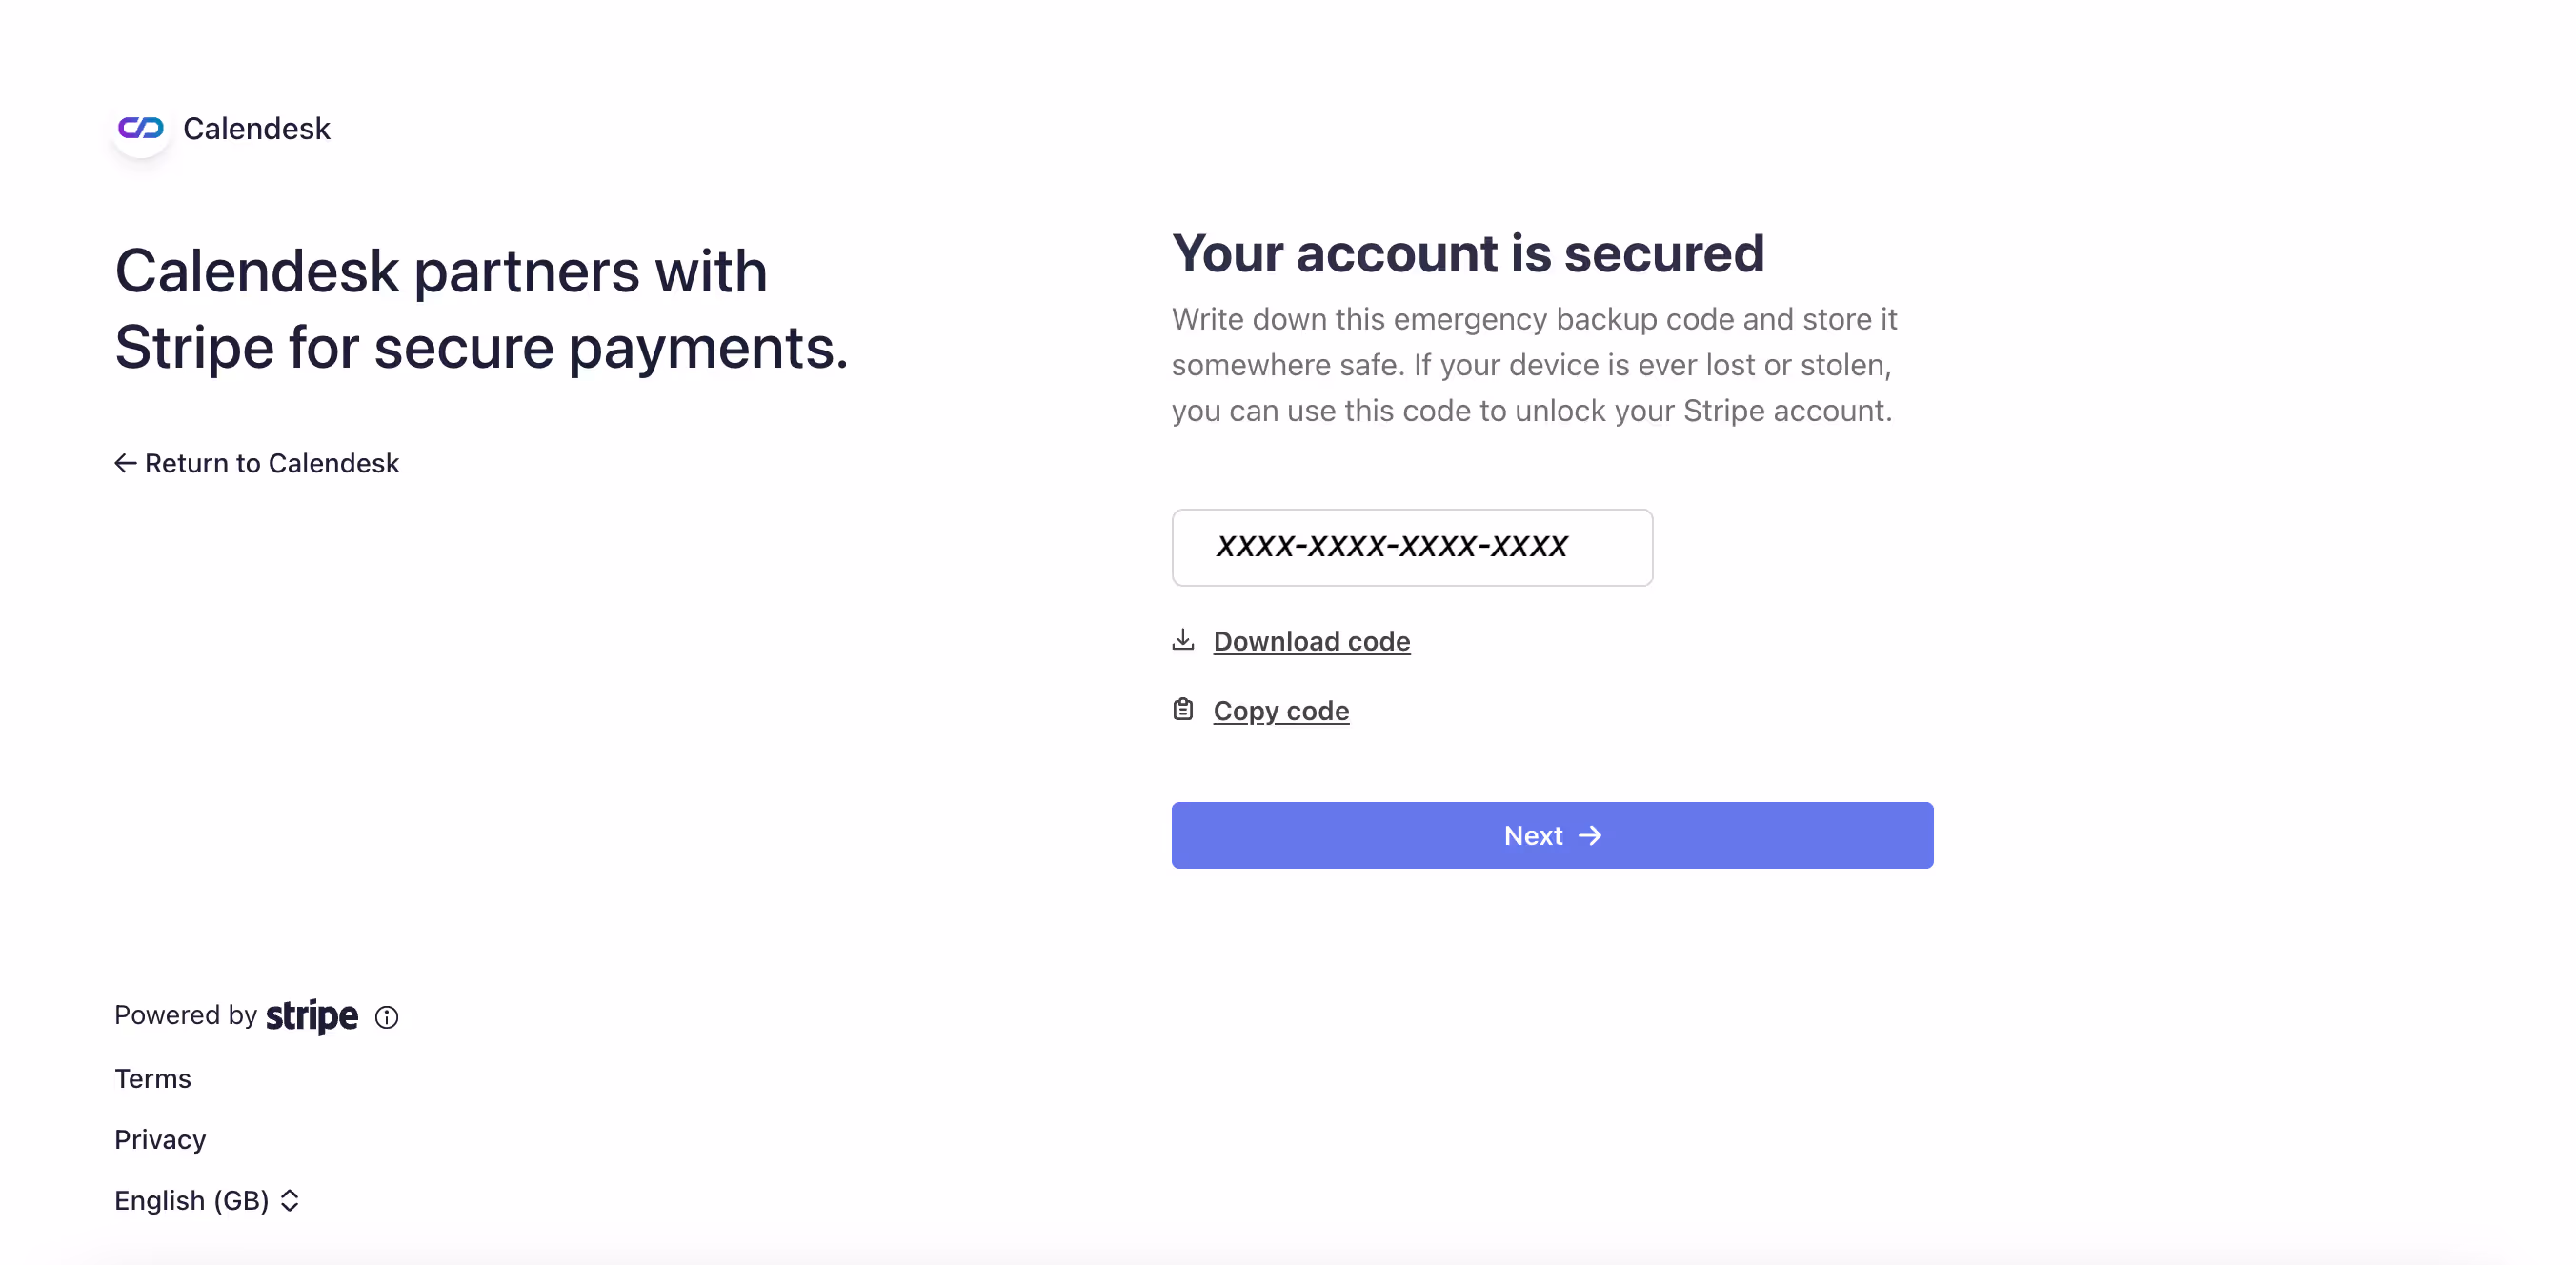
After entering the verification code, you will see an emergency backup code, which will allow you to log into your Stripe account if your device is lost or stolen. You can use this code to unlock your Stripe account.
Make sure to store this code in a safe place so that you do not lose access to your Stripe account in case of such an emergency.
Stripe Account Details
The next step is to provide your company details. At this stage, you will need to enter information such as:
- address where your company is registered,
- type of business activity,
- business structure,
- legal company name,
- Tax number (optional),
- operational company name (brand name, if different from the one listed in, e.g., KRS),
- company contact number,
- industry name,
- company website address,
- short description of the product.
After entering the details and confirming them with the button, the system will verify the correctness of the data format.
Next, provide the details of an owner or someone who significantly oversees the control and management of your company. Remember that when submitting an identity document, it should include the residence address that matches the one you have entered in other sections.
If you are not the sole owner of the company, you will be asked to provide the details of your business partners.
After entering the details of your business partners, confirm your intent to proceed to the next page by clicking the Done, Continue button.
The next step is to specify the currency and the bank account number to which payments from your customers will be transferred.
Summary
After entering your bank account number, a summary of the information you’ve provided so far will appear. This allows you to verify whether all the details are correct. If necessary, you can easily edit any incorrect information by using the Edit button located at the top right corner of each section.
Once you confirm that all the details in the summary are correct, you can accept them by clicking the Agree and Submit button.
If your business is owned by more than one person and only partial information was provided at an earlier stage, you should now complete the missing details to proceed in Stripe. Once all the required information is entered, you will be able to continue by clicking the Agree and Submit button.
WARNING!!!
Correctly completed data is a guarantee of a successful Stripe account verification. The verification of your Stripe profile is a process that cannot be skipped. Pay special attention to the details you enter in the following sections:
- Account details:
Enter your business details here. - Public details:
Enter the contact details for your company here. It is especially important to add links in the following sections:- Business website – the address of the website where you add the booking calendar.
- Support website – the address of the tab with contact details, tax number, and contact form.
- Privacy Policy – the address of the tab with the Privacy Policy.
- Terms of service – the address of the tab with the Terms and Conditions.
- Each of these links must lead to a subpage on the website you use for selling services.
- Business details:
In the final step, make sure that the information provided is accurate and reflects the actual situation in your business. Any errors may result in the blocking of your ability to accept payments.