How can I add a customer?
Adding Customers
The Add Customer section is used to add new customers to the Calendesk platform. You may often have customers who make reservations over the phone or walk in directly from the street. This section allows you to enter the details of those who have not made an online booking.
In the Add Customer section, you can enter information such as:
- Customer's first name
- Customer's last name
- Customer's email address
- Customer's contact number
- Customer's date of birth
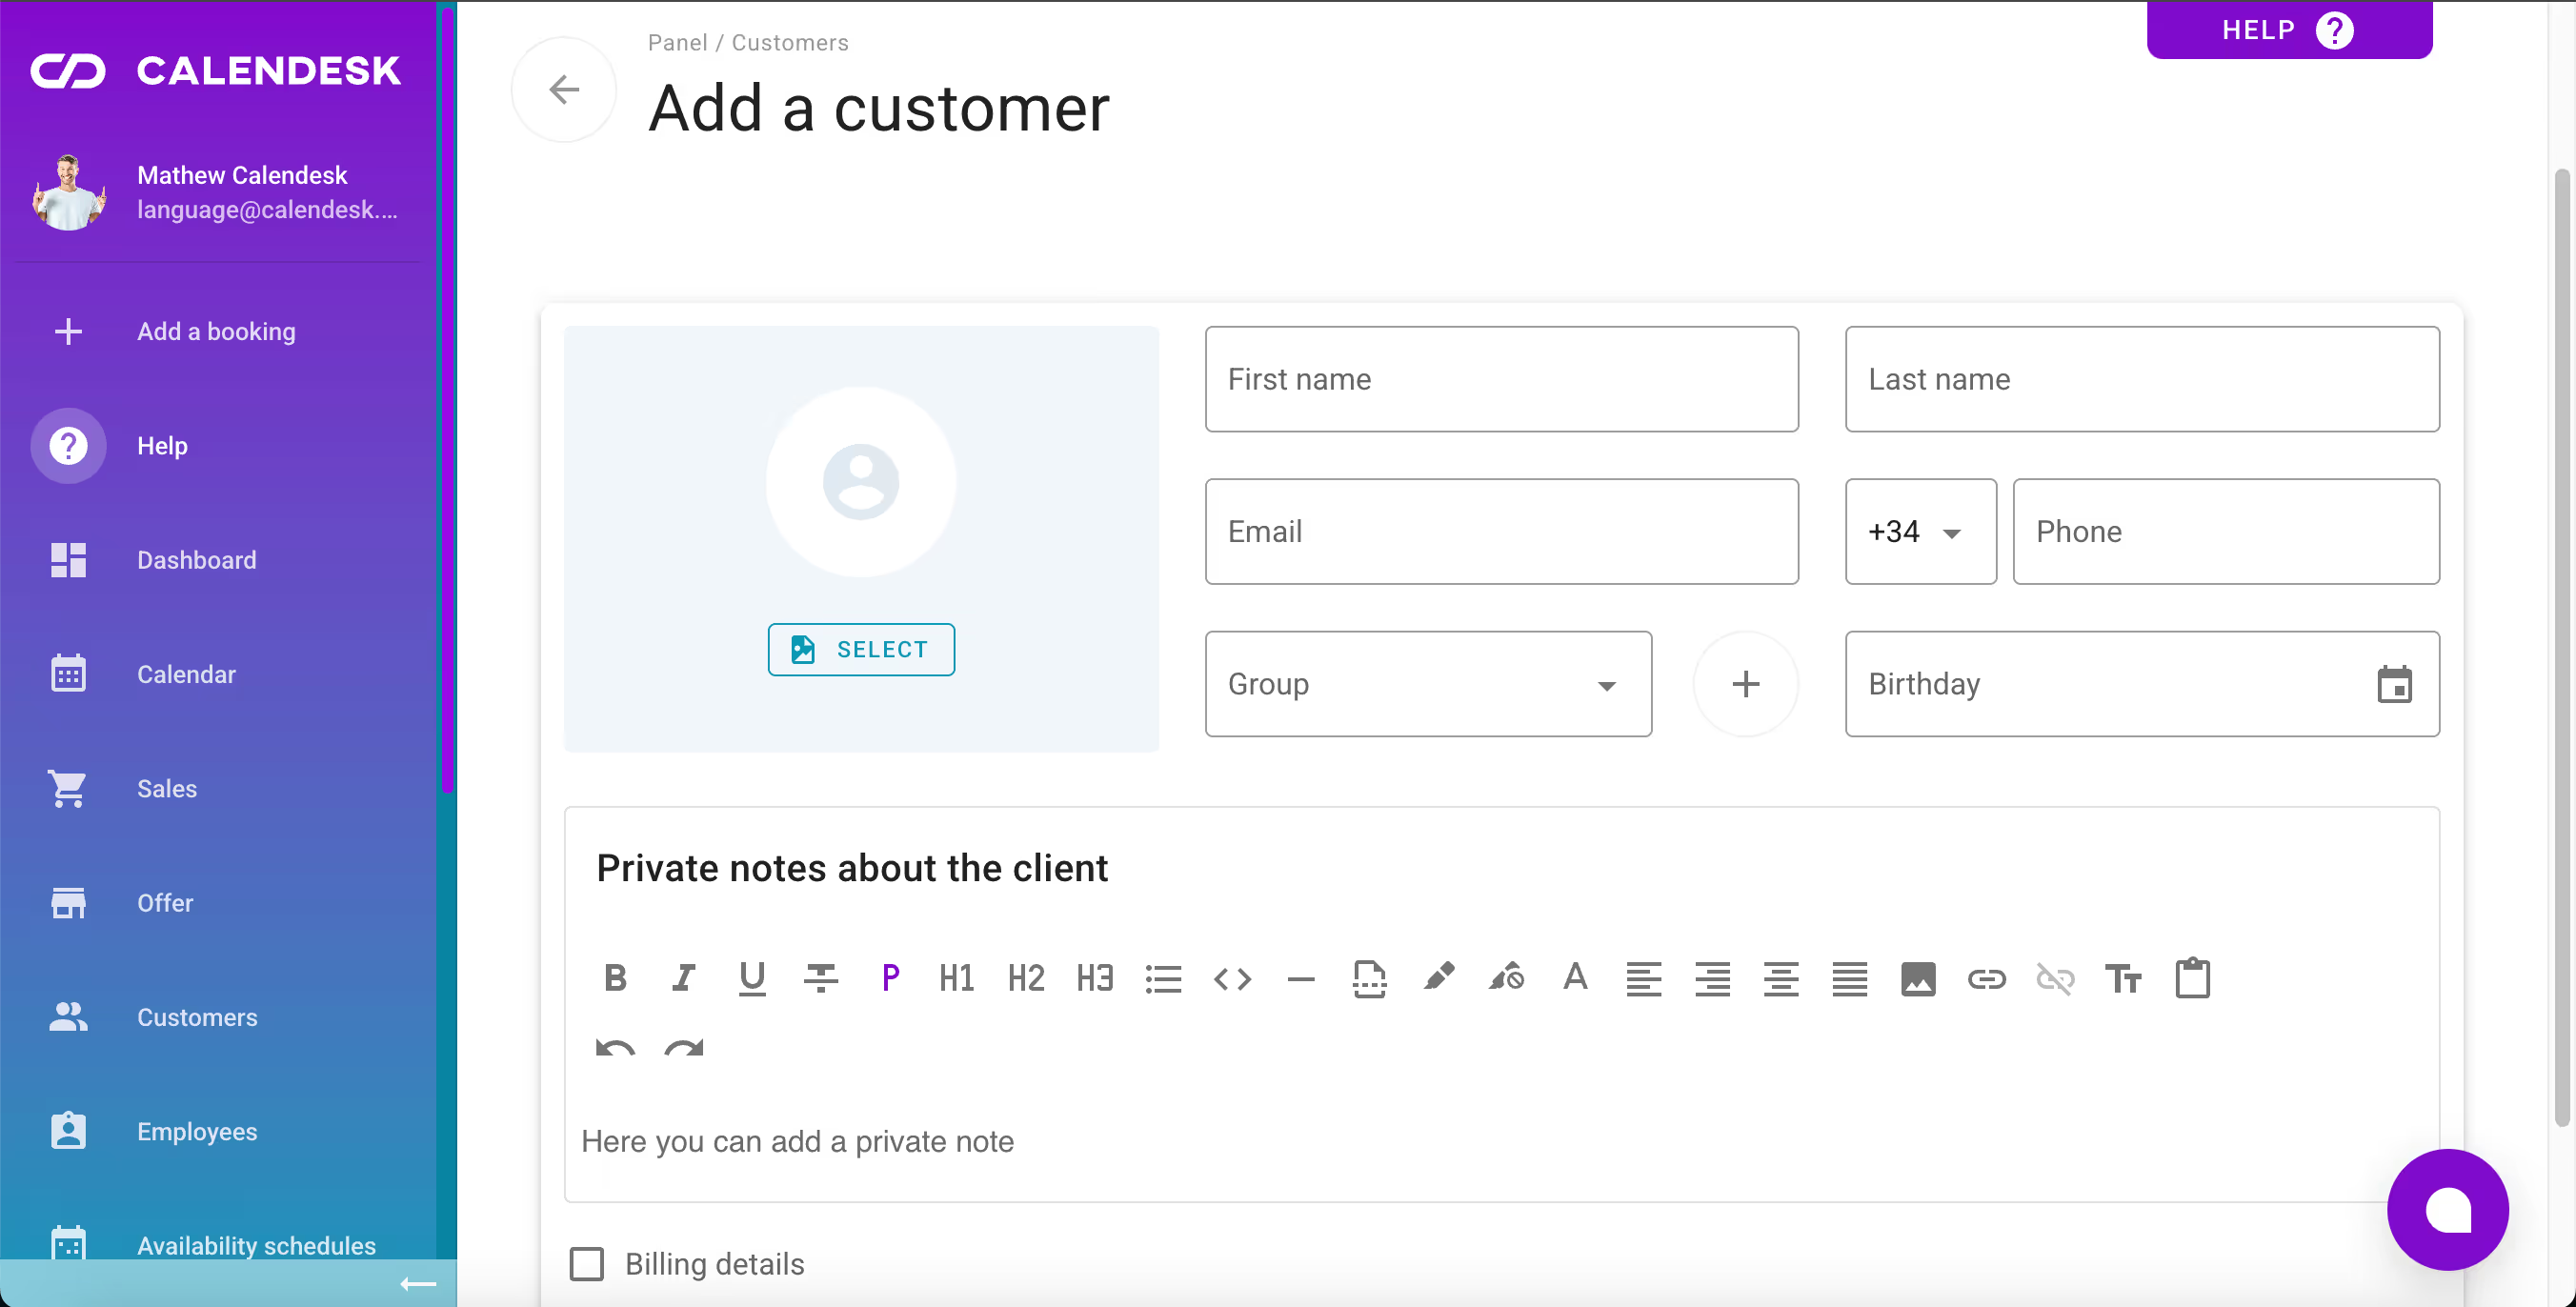
In this section, you can add an additional description to help provide a higher level of customer service. Notes entered here allow you to store information about customer preferences or issues. These details will only be visible to your staff.
If you want your staff to have a complete picture of who the customer is, you can add their profile photo. However, you should be very careful with this step. The customer will see the photo added by the staff member to their profile. This photo will be visible on their customer account and on your website created using the Calendesk website builder.
In this section, you can assign the customer to a selected group. This will make it easier for you to find the customer later and communicate with them.
Billing details
Tick the Billing details checkbox. This action will expand a form that needs to be filled in with the customer's relevant information. For individuals, it is important to provide their full name and home address. For businesses, the company name must be entered, and a Tax number ID (with a prefix if required) is mandatory. These steps are essential for automating the invoicing process when integrating with the InvoiceOcean system.
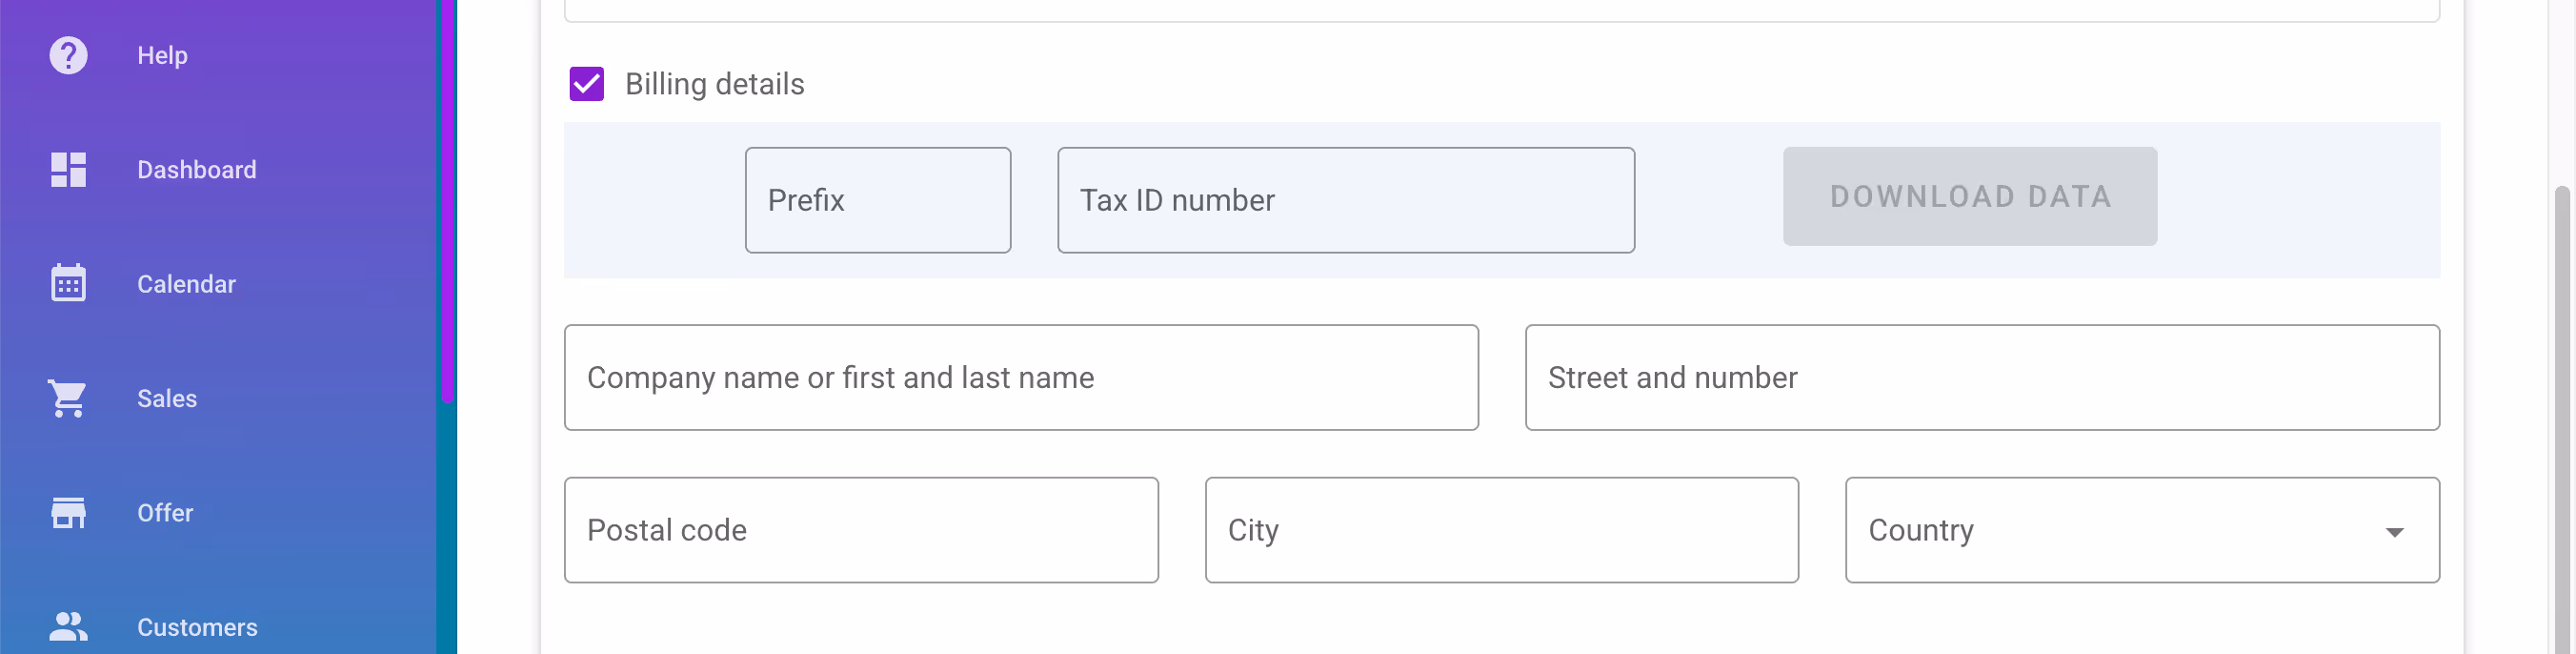
If you prefer not to enter all the details manually—whether to avoid mistakes or to prevent the client from slowly dictating their business information—simply fill in the following two fields:
- Prefix – the letter designation directly before the VAT number,
- NIP – the number assigned by the Tax Office or its European equivalent.
and then click the Download Data button. This action will retrieve your client's business details associated with their tax number from:
- GUS (Główny Urząd Statystyczny) – For businesses with a Polish VAT number,
- VIES – (VAT Information and Exchange System) – For businesses with a European VAT number.

Data processing
From the moment you add a customer to your database, you become the administrator of their personal data. The customer must give their consent for the processing of their data. This consent can only be granted when the customer provides their details/business details via the booking form during the booking/activation of a package/subscription or purchasing a product on the website. It is not possible to systemically make the customer accept these consents if the booking is manually added through the Calendesk panel. When you manually add a customer's details via the Calendesk panel, you must obtain the customer's consent outside the Calendesk system on your own.