How to effectively manage a newsletter? From collecting email addresses to sending messages.

Newsletter
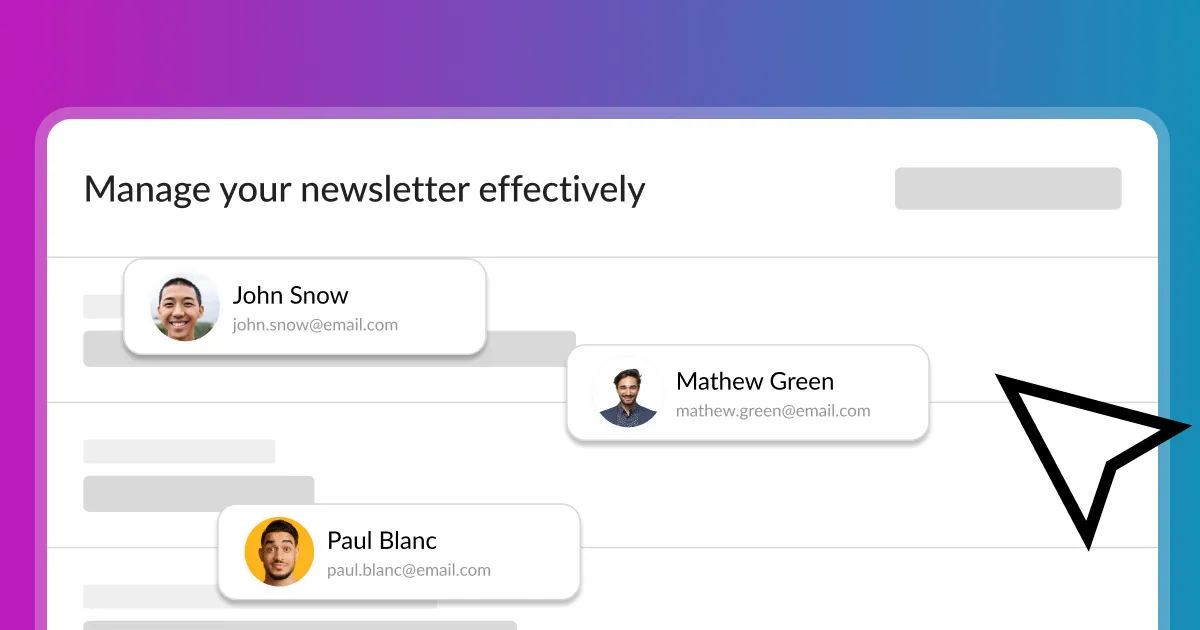
In this section, you will learn how to collect the email addresses of your subscribers and send email notifications to them. With this feature, you can quickly inform newsletter subscribers of any news or changes regarding your business. It is a convenient and helpful way to maintain good relations between you and your subscribers. Introducing a newsletter, you can build a database of subscribers interested in your business to inform them of changes and updates related to your company.
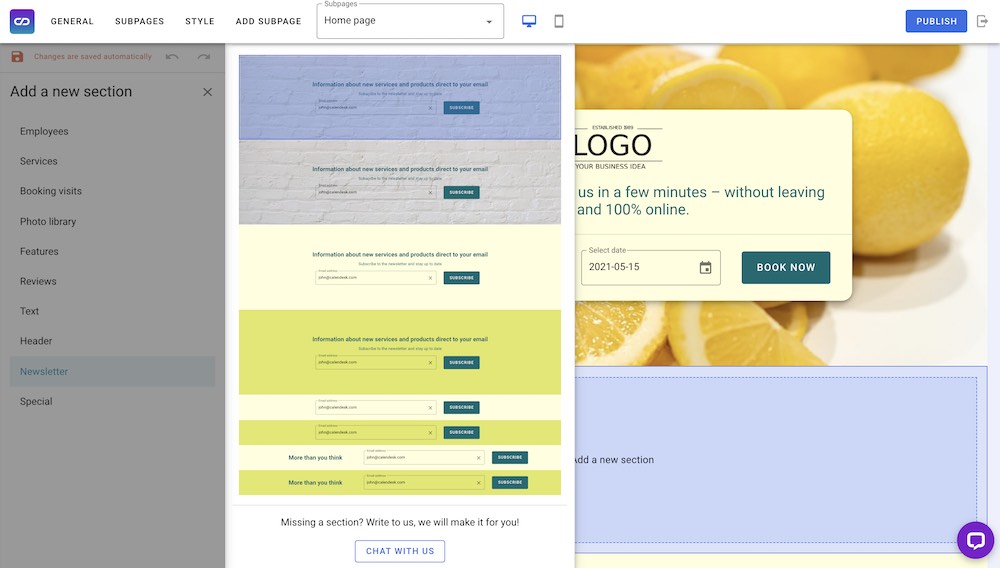
Add a new section to your website using Calendesk Website Builder
To add a newsletter to your website, go to the website builder and select a new section from the Newsletter category. For more information about adding sections, see the article: How can I personalize a website?.
Subscribers database
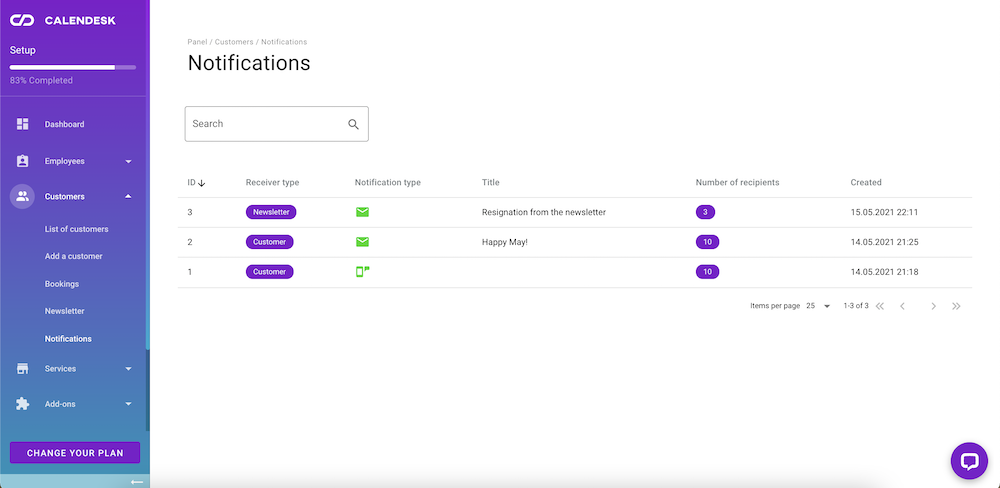
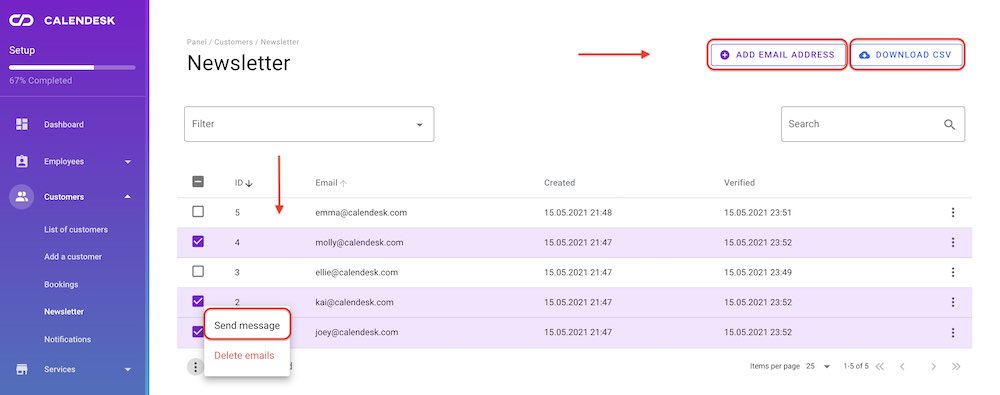
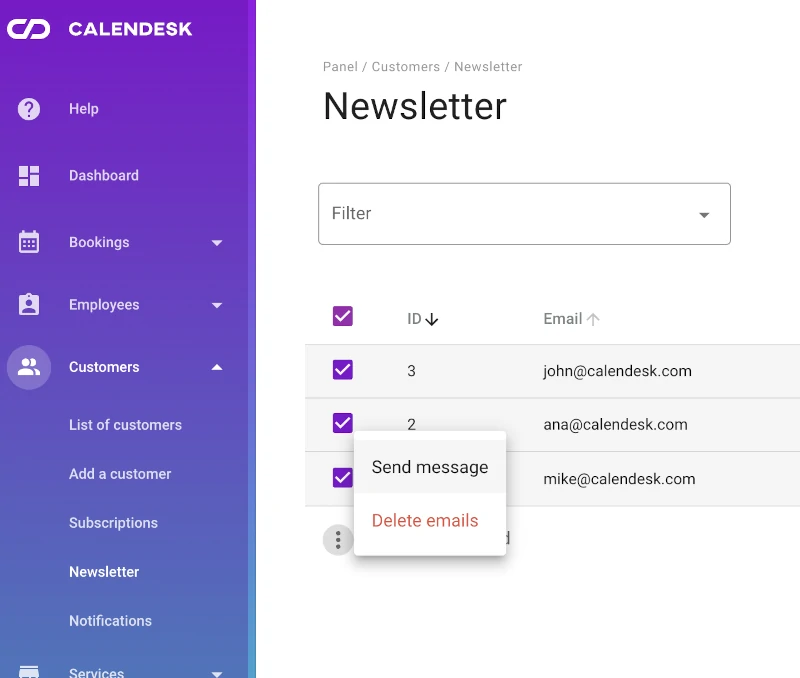
You can display all subscribers in the Notifications / Newsletter tab. Use the “Filter” and “Search” inputs to find a specific user or group of users. The “Created” column shows the subscription date and the “Verified” column informs if the user has confirmed its email address.
You can also download the list of your subscribers using the “Download CSV” button. Calendesk will export a CSV file with all information. You can import the file to your marketing tool or use Zapier to open multiple ways for using your database.
Confirmation of the email address
Subscribers need to confirm that they own the email address to subscribe to the newsletter successfully. Calendesk sends an email with a verification link. You can customize the content of the email in the Notifications / Templates tab.
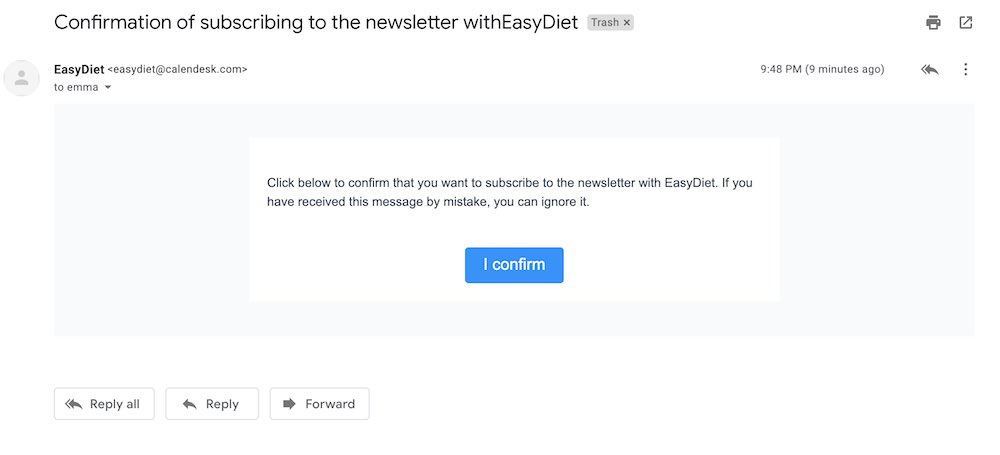
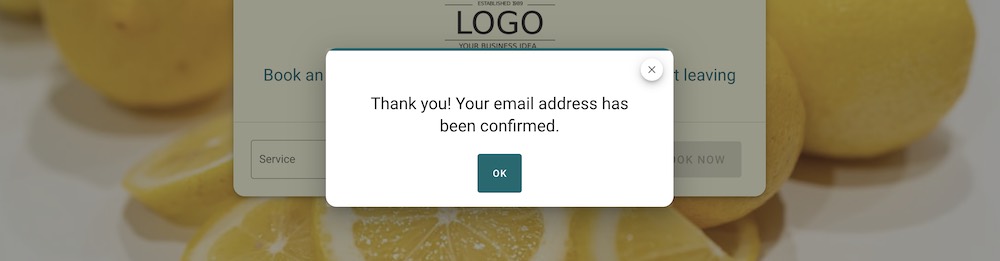
The confirmation link will redirect subscribers to your website, where they will see a confirmation message.
Sending messages
If you want to contact your subscribers, select some records from the subscribers’ list, and click “three dots” at the bottom of the table. Next, please use the Send message option. It will open a popup where you can create a message and send it.
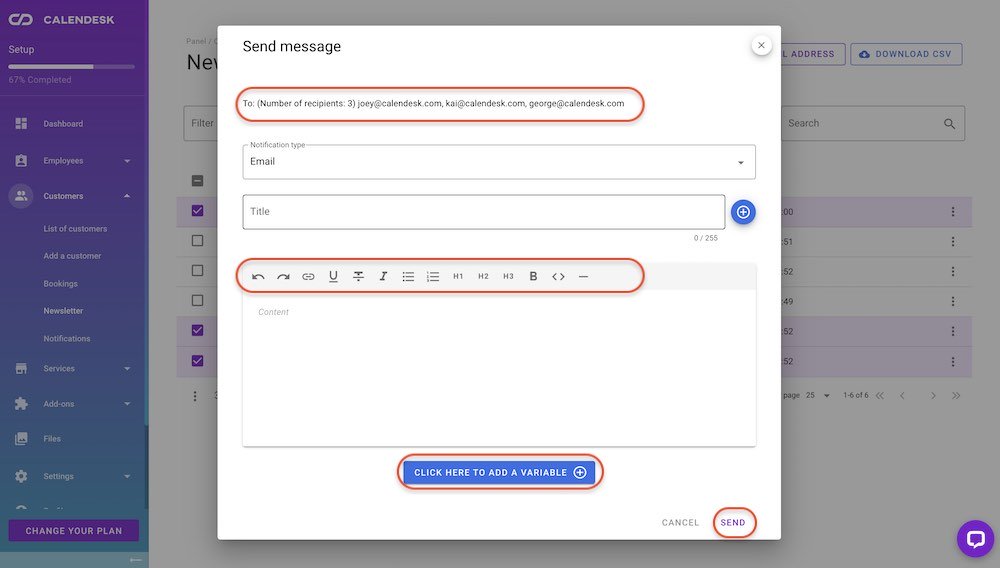
In the popup, you will see the email addresses you have selected. Next, enter a title and content for the message. Both may contain variables.
Variables are places where Calendesk can replace the text with some dynamic data. For example, Calendesk replaces a “[COMPANY ADDRESS]” variable with the full address of your company used in the “Your Company” tab.
How to unsubscribe?
If a subscriber wants to unsubscribe from the newsletter, you can add a variable to the messages [UNSUBSCRIBE URL]. Calendesk replaces the variable with a valid URL address right before sending your messages.
If you want to create a friendly link to unsubscribe from the newsletter, paste the variable [UNSUBSCRIBE URL] in the text as a link. For example: “Click here to unsubscribe from the newsletter”, where “here” will be a link to the [UNSUBSCRIBE URL].

After clicking the link, the user will see a confirmation message:
