How to integrate Zoom?

Calendesk – Online Booking System integration with Zoom
In this article, you will learn how to connect Calendesk and Zoom. Zoom is one of the most popular video communication channels in the world. Thanks to it, you can quickly establish contact and maintain good relations between your employees and customers.
How to install Calendesk – Online Booking System?
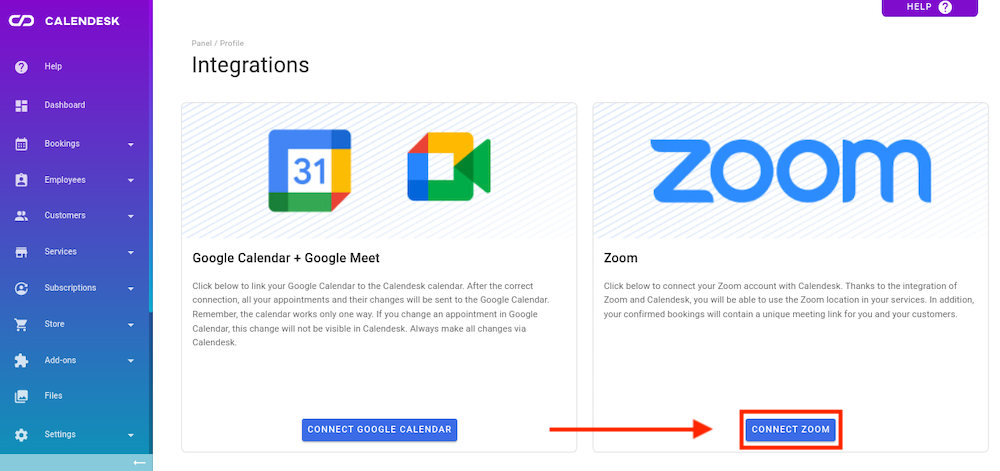
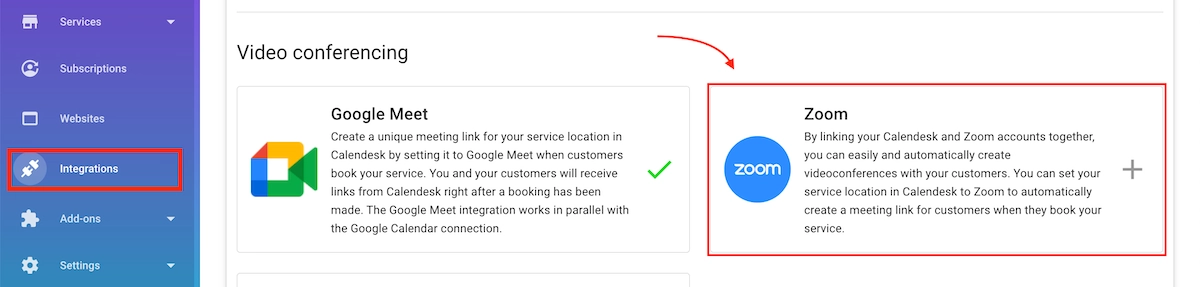
To connect Calendesk with Zoom, login to your Calendesk account, then go to the “Integrations” tab, and select “Zoom”.
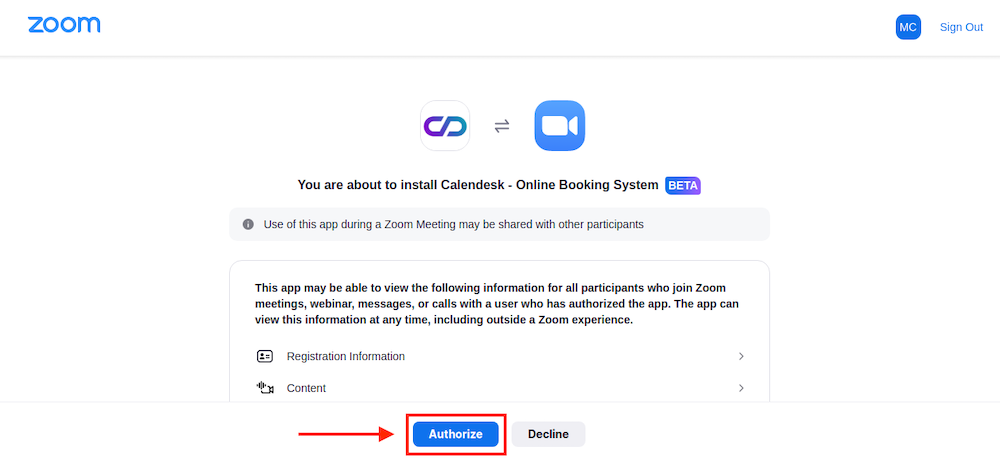
You will be redirected to Zoom, you will need to log in first to your Zoom account, and then Zoom will ask you if you agree to install Calendesk – Online Booking System. Read all the information on the page, and if you agree with it, please click the “Authorize” button. After that, Zoom will redirect you back to Calendesk. The app Calendesk – Online Booking System will connect with your Calendesk account in a few seconds.
How to use the app?
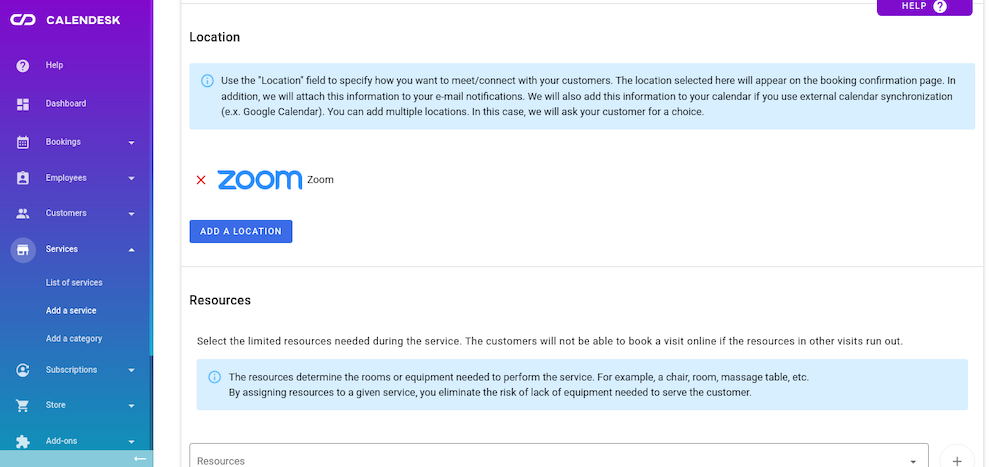
After successful authorization, you will be able to use the Zoom App – Calendesk – Online Booking System as one of the available locations for your services. You can have many locations for your services. For example, if you meet your customers in person – you can set an address. Or, if you meet customers online, here comes the Zoom integration, allowing you to generate a dynamic conferencing link.
In the “Services” tab, select an “Edit” button or create a new one. While editing, you can add locations for your service. For example, under the “Location” section, click “Add a location,” where you can choose Zoom as a communication channel with a client.
A customer who makes a booking, indicating Zoom as the location for the service, will receive an email confirming the reservation. In this email, he will find a link to the Zoom meeting. When you click on this link, Zoom will allow your customer to connect with you. It’s so simple!
Where to find the Zoom Link after the booking is complete?
Here is an example where you can test your configuration and how to access the Zoom Link after the booking is complete:
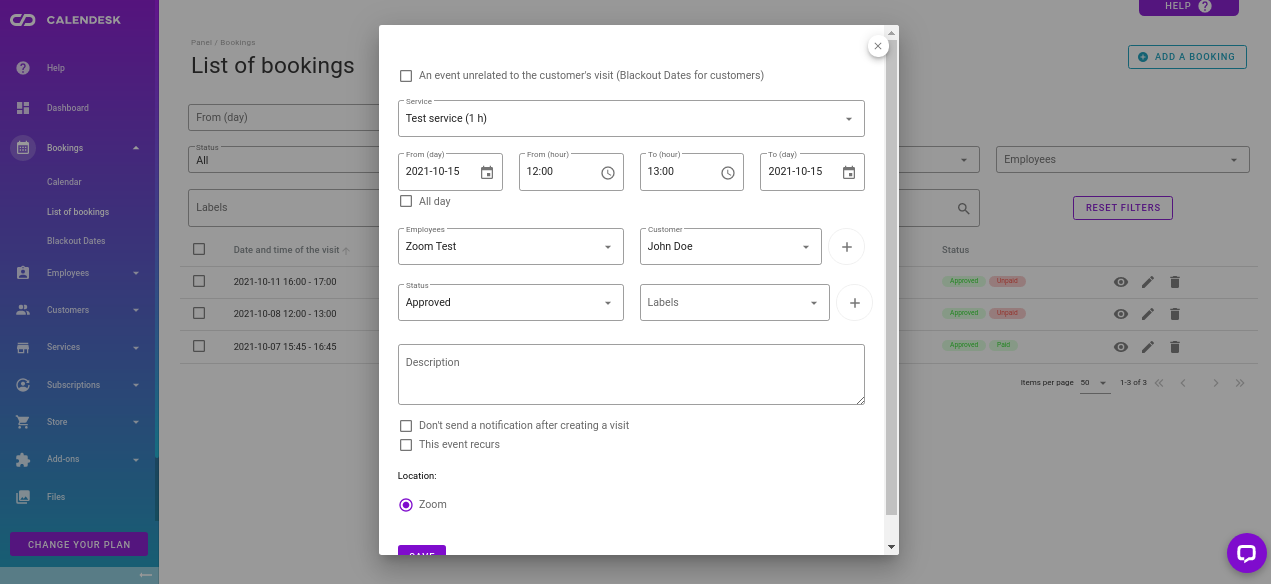
- Go to Bookings and select the Add a booking button in the top right corner. Enter the booking details with the future dates – it’s important to create a booking in the future. Otherwise, the link won’t be created. Make sure your service has a Zoom location selected.
- Create a booking and wait a few seconds (the link is created on the server within a few seconds).
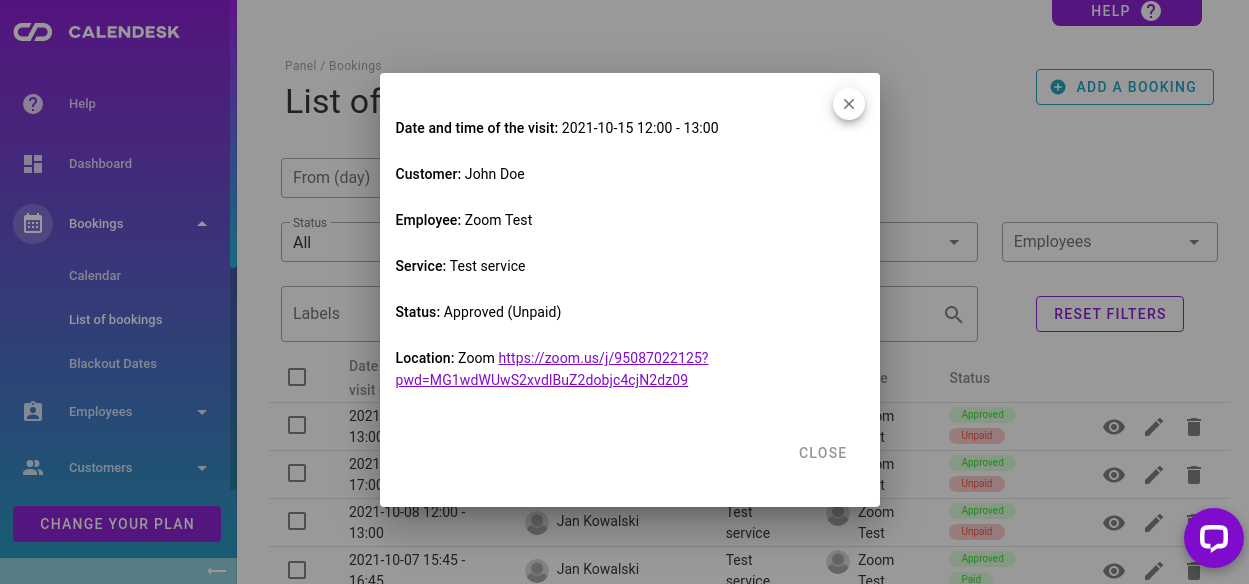
- Reload the bookings tab (go to a different tab and go back to load the bookings again). The Zoom Link should be attached to the booking. Click the “eye” icon to display details or the “edit” icon.
- Check the email. Your Zoom Link will also be sent to the selected employee and selected customer (according to the notification settings).
How to uninstall the app? Disconnecting Calendesk and Zoom.
If you decide to uninstall the Calendesk App from your Zoom account, you have two ways: from Calendesk Admin Panel or your Zoom account.
Uninstall from Calendesk
Go to the “Integrations” tab and select the “Disconnect Zoom” button (picture below).
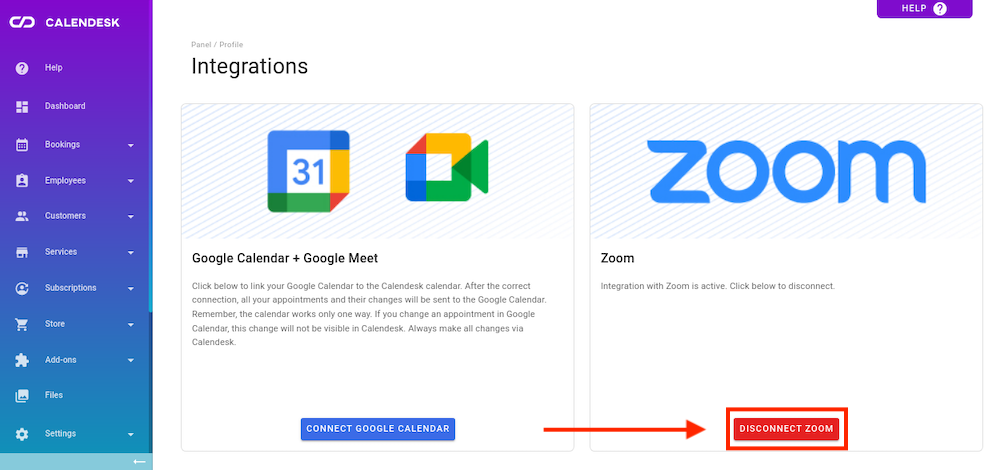
After confirmation, you will disconnect the Calendesk App from your Zoom account.
Uninstall from Zoom
- Login to your Zoom account and navigate to the Zoom App Marketplace.
- Click Manage > Installed Apps or search for the Calendesk – Online Booking System app.
- Click the Calendesk – Online Booking System app.
- Click Uninstall.
Once Zoom and Calendesk are disconnected, you will not be able to use Zoom as the location for your services.
Contact Calendesk support
If, for some reason, you can’t manage to link your Calendesk and Zoom accounts, or you have other questions, we will be happy to help you. You have a few ways to contact our Support:
- Chat – Thanks to the chat, our team will answer all your questions live! All you need to do is click the purple chat button in the bottom right corner and write to us.
- Contact form – go to Contact page and select Contact Form. We usually reply to messages within a few hours, but the maximum response time may be up to 24 hours.